ClearWater Lights Darla Installation Manual
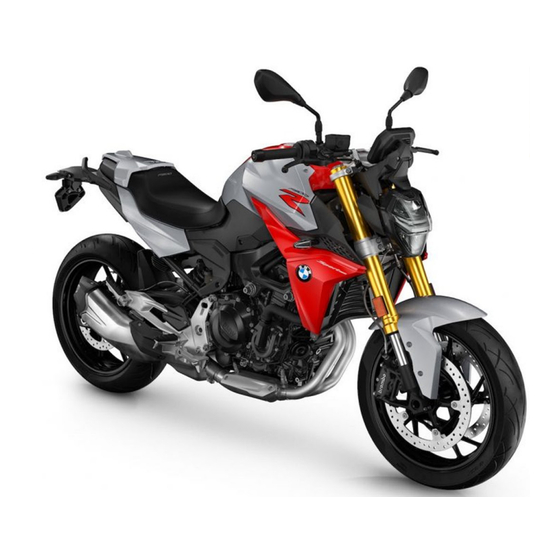
Led lights dimmable for bmw f900r
Hide thumbs
Also See for Darla:
- Installation manual (16 pages) ,
- Installation manual (12 pages) ,
- Installation manual (12 pages)
Summary of Contents for ClearWater Lights Darla
- Page 2 CANopener and WonderWheel. Please reference the CANopener manual for programming proceedures. Clearwater lights include a simple and high quality means of connecting to the motorcycle’s electrical system. “Posi” devices made by Posi-Products are used to securely and safely make electrical connections on the bike. You can view instructions on the proper installation of the Posi-Products on the manuals page of our website or on Posi-Product’s web site at http://www.posi-lock.com.
- Page 3 Step 1: Parts List and Bike Preparation Tools Needed For Installation 4mm Hex Key T25 Torx T30 Torx Zip Tie Cutting Tool 10mm Wrench Wire Strippers Terminal Crimper Page 3 Page 2...
-
Page 4: Wiring Diagram
Wiring Diagram Page 4 Page 3... - Page 5 Mounting The Lights / Fender Mount The engine needs to be running for lights to work Note: Fender Mount Overview (For F900R): To mount the Darlas to the front fender of your F900R, first remove the existing factory bolts from the fender using the T25 Torx. It may help to do one side at a time.
- Page 6 Step 1: Parts List and Bike Preparation Disassembly Removal of the seat/seats and left side fairing is required for a clean install. Disconnect the battery from the bike to prevent damage to the electrical sys- tem. Follow the photos below as a guide to remove the left side fairing. The fasteners that need to be removed have been highlighted.
- Page 7 Mounting the Harness We recommend that the harness be mounted near the front of the bike, just behind the steering column (highlighted below with red circle). The data cable (cable with green connectors on both ends) and the power wires from the harness should be routed back from the harness through the bike’s left side wiring trough to the area where the battery is located.
- Page 8 Installing the CANopener The CANopener utilizes the bike’s Lean Angle Sensor and its connector for a proper install. The Lean Angle Sensor is located just in front of the battery (highlighted with a red circle). Unplug the factory harness from the Lean An- gle Sensor and plug in the CANopener.
-
Page 9: Finishing The Install
Finishing the Install Note: Bike engine must be running for lights to work. To finish the install of your Clearwater Lights, verify that all wires are routed away from pinch points, steering stops and direct contact with heat sources. Insert the fuse into the fuse holder and start the engine to activate the Clearwater Lights. - Page 10 Erica/Krista/Sevina Mode 2 – off On/Off Hold TSC Left for 5 Mode 1 - on and dimmable (default) Darla On/Off seconds to turn OFF Mode 2 – off (Version 2.3 and later) Hold TSC Right for 3 seconds to turn back ON...
- Page 11 Notes Page 10...
- Page 12 As Of 8/13/21...


Need help?
Do you have a question about the Darla and is the answer not in the manual?
Questions and answers