
Related Manuals for ClearWater Lights Krista


Summary of Contents for ClearWater Lights Krista
- Page 2 Step 1: Parts List and Bike Preparation Please be sure to read our instructions thoroughly before attempting installation. • Check Parts list below with your kit to be sure all parts are handy. If something is missing, please call us at (916) 852-7029. Please take the time to review the included instructions.
-
Page 3: Installation Tips
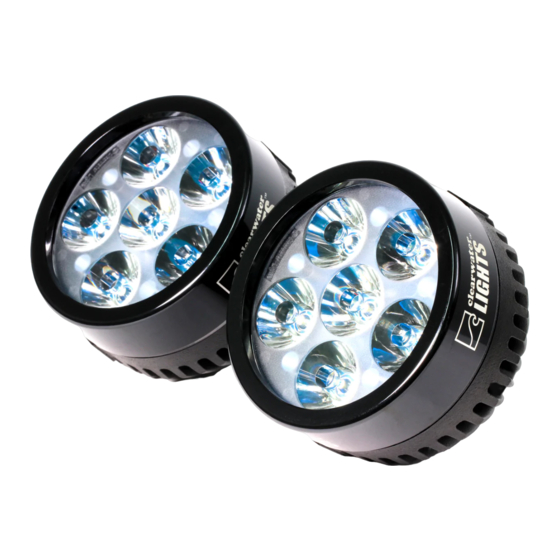
. Krista / Erica / Sevina lights work great for off road use due to the powerful light output and specific beam pattern they boast. The wide circular pattern is very useful on mountain roads, as it keeps light on the road and in the tree canopy. - Page 4 Step 2: Mounting The Lights Mounting The Lights: First, ensure your kit is complete. Mount bracket loosely with the supplied parts, loosely at first. Once the assembly is complete, snug the bolts on the clamp and adjust the alignment of your lights as desired.
- Page 5 Step 3: Mounting The Volume Control Knob Mounting Flush Mount Volume Control Knob: The volume control knob should be placed in an available area for the flush mount to be nearly and conveniently placed. We find the side compartment works very well. A small hole will need to be drilled to mount the knob.
-
Page 6: Wire Routing
Step 4: Wiring Wire Routing: (Please consult owners manual for wiring diagram and color codes) • Be sure to route wires so that they cannot become tangled or caught in either a suspension part or steering part. Check movement of both steering and suspension before riding. - Page 7 Step 4: Wiring Wiring Diagram for Krista/ Erica/ Sevina Note: it does not matter Switch: Connect the Yellow wir e mar ked “Switch which white wire you Load” to the “load” terminal (Middle terminal) on the Horn Option: hook up to the horn or switch.
- Page 8 Step 5: Alignment / Drip Loop Instructions Aligning The Lights: As Erica, Krista, and Sevina are designed as auxiliary lights, adjustment is up to the user depending on his or her needs. Ask an assistant to help you with this procedure. Make sure the bike is on level ground and have an assistant sit on the bike.
- Page 9 Posi-Products Installation Instructions: ...
- Page 10 Notes: Page 10 Page 9...
- Page 11 Notes: Page 11 Page 10...
- Page 12 Revised 6/29/20...
Need help?
Do you have a question about the Krista and is the answer not in the manual?
Questions and answers