
Subscribe to Our Youtube Channel
Related Manuals for ClearWater Lights Billie Brake Light


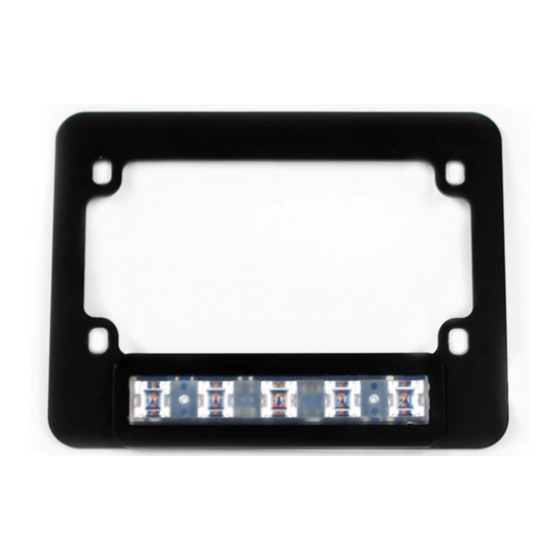
Summary of Contents for ClearWater Lights Billie Brake Light
- Page 2 This brake light installs in place of your license plate frame (our apologies to your dealer for robbing his valuable advertising space). The Billie brake light and frame are CNC machined from billet aluminum and are very solid. The aluminum frame...
- Page 3 Step 1: Parts List and Bike Preparation Mounting Diagram Short Spacer Long Spacer Page 3 Page 2...
- Page 4 TSC = Turn Signal Cancel WW = WonderWheel (BMW multifunction controller) TPM = Tire Pressure Monitor FTP = Flash To Pass Function Command Modes Clearwater Rotate WonderWheel to select 10 To enter the dimmer Brake Light brightness levels (10% to 100%) program, you must first Dimmer hold the front brake, next...
- Page 5 CANopener Mounting Location CANopener Mounting Location: The following pictures list CANopener mounting locations on various bikes. Tire Pressure Monitor hidden here. CANopener location on an R1200GSW. Lean-angle sensor hidden here. CANopener location on a K1600GT. Tire Pressure Monitor hidden here under frame. CANopener location Front of Bike on an R1200RTW.
- Page 6 Step 1: Parts List and Bike Preparation Clearwater Billie Brake Light Features & Operations How To Adjust Brake Light Intensity: 1. To enter the dimmer program, you must first hold the front brake lever. Next, press and release the Turn Signal Cancel (TSC) switch once before holding the WW to the right for (2) seconds.
- Page 7 5 consecutive times (front brake released). Each mode will be signaled by a corresponding number of flashes by the brake light as well as by any other clearwater lights you may have installed. - Inertial Brake Mode 1a: Inertial braking disabled. The front and/or back brake lever must be engaged for the brake light to activate.
- Page 8 CANopener. Next, the red and black wires from the Indicator light will be Posi-Locked to the CANopener red and black wires, along with the red and black wires from the Billie Brake Light. The image below shows our recommended mounting location.
- Page 9 Notes: Step 1: Parts List and Bike Preparation Page 9 Page 8...
- Page 10 Notes: Step 1: Parts List and Bike Preparation Page 10 Page 9...
- Page 11 Notes: Step 1: Parts List and Bike Preparation Page 11 Page 10...
- Page 12 Step 1: Parts List and Bike Preparation Version 3.3 6/18/18 Page 12...
Need help?
Do you have a question about the Billie Brake Light and is the answer not in the manual?
Questions and answers