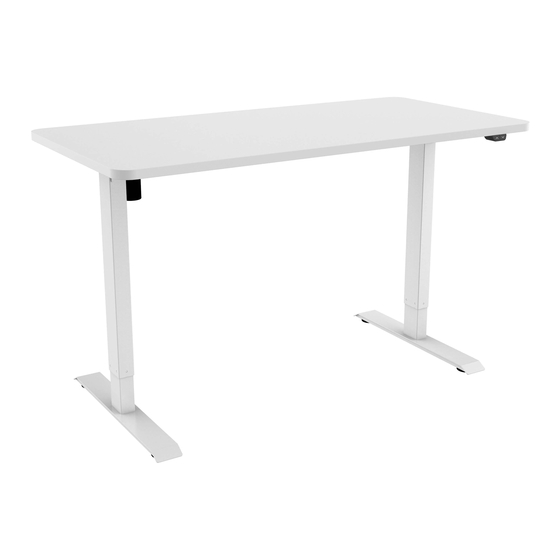
Summary of Contents for RTA Products Techni Mobili RTA-3930SU
- Page 1 MODELS: RTA-3930SU, RT A-3940SU ASSEMBLY INSTRUCTIONS Thank you for purchasing our product. � R I A REV.052020-0 PAODUCTB•LLC...
- Page 2 RTA-3930SU, RTA-3940SU • Please read carefully the assembly instructions before the installation. • Do not discard this manual or any of the packaging material until the unit has been completely assembled. • Might require two people.
- Page 3 RTA-3930SU, RTA-3940SU � Adjustable support beam Transmission rod Support plates Power adapter Metal covers Power cable (for the beam) � Tabletop Cable ties Metal holder (for adapter) Handset Switch cord...
- Page 4 RTA-3930SU, RTA-3940SU ■ LIST OF SCREWS AND TOOLS mDErl mDEDI ITEM ITEM M6x 1 6 ST4.2x 1 9 � @111111 Wrench M8x50 � ==rn 4x4(qty.1) NOTE: You will need for the assembly a 5x5 (qty. 1 ) Phillips screwdriver which is not included with the product.
- Page 5 RTA-3930SU, RTA-3940SU BEFORE YOU START THE ASSEMBLY, PLEASE READ THE FOLLOWING TIPS AND WARNINGS. To avoid Do a quick inventory misalignments, always to make sure the package c::JII • leave the screws loose contains all the parts and and tighten them until hardware listed in the all pieces are assembly instructions.
- Page 6 RTA-3930SU, RTA-3940SU...
- Page 7 RTA-3930SU, RTA-3940SU With the help of another person, place the frame (legs and beam) over the tabletop 12, and slide the metal holder 11 under the beam 4. •I• Then assemble the legs 2 and 3 to Then Tighten the screws on the the support plates 6 with screws A support beam 4.
- Page 8 RTA-3930SU, RTA-3940SU Use the wrench G to loosen up the nut on the transmission rod 5, then with the help of another person, attach the end with the plastic gear into the receiver of the motor on the leg 3, and the other end into the hole of the leg 2.
- Page 9 P.8 I RTA-3930SU, RTA-3940SU STEP 5 It is important to do a lift test before proceeding. Connect the following pieces: • The motor cable 3, switch cord 14 and handset cable 13 to the control box 15 in the respectives ports as shown. •...
- Page 10 RTA-3930SU, RTA-3940SU STEP6 Insert the power adapter 7 into the holder 11. Then attach the covers 8 Screws/Tools: to the beam 4 with screws E. Then secure all the devices and cables as follows: • The handset 13 to the edge of the tabletop 12 with screws F on the same side where the leg with motor is located.
- Page 11 RTA-3930SU, RTA-3940SU P.10 Use the keys C to assemble the feet 1 to the legs 2 and 3 with screws A as shown. STEPS With the help of another person, carefully turn the unit over and re connect to the power supply.
- Page 12 1 P . 11 P . 11 RTA-3930SU, RTA-3940SU � ALL DONE! Give yourself a nice pat on the back. You did a great job!
-
Page 13: Technical Data
RTA-3930SU, RTA-3940SU P.12 AFTER THE ASSEMBLY IS DONE, PLEASE READ CAREFULLY THE FOLLOWING CARE AND MAINTENANCE WARNINGS: WEIGHT LIMIT • TECHNICAL DATA 59 in/min Max. lift speed (25mm/s) • • Input voltage 100-240V Duty cycle 10%: 2 min on at (power cycle) most, 18 min off. - Page 14 RTA Products, LLC warrants to the Original Purchaser who acquired a new product from RTA Products or its authorized resellers that this product will be free from defects in its workmanship and materials, under normal use and service conditions, as described herein.
- Page 15 RTA-3930SU, RTA-3940SU P.14 FOR SEVERAL HELP OPTIONS INCLUDING REPLACEMENT PARTS ORDERS v1s1r: WWW.TECHNIMOBILI.COM <,� CLICK ON SUPPORT TAB Scan QR Code to order replacement parts SUPPORT@RTAPRODUCTS.COM OR EMAIL US: PRODUCTS•LLC...


Need help?
Do you have a question about the Techni Mobili RTA-3930SU and is the answer not in the manual?
Questions and answers