Do you have a question about the ID4 Series and is the answer not in the manual?
Questions and answers
Alena
July 8, 2025
Нужна спецификация на бумагу для iD4S
2 comments:
Алена
July 8, 2025
@Alena . Уточнение необходимо именно для цветной термоленты
Mr. Anderson
August 28, 2025
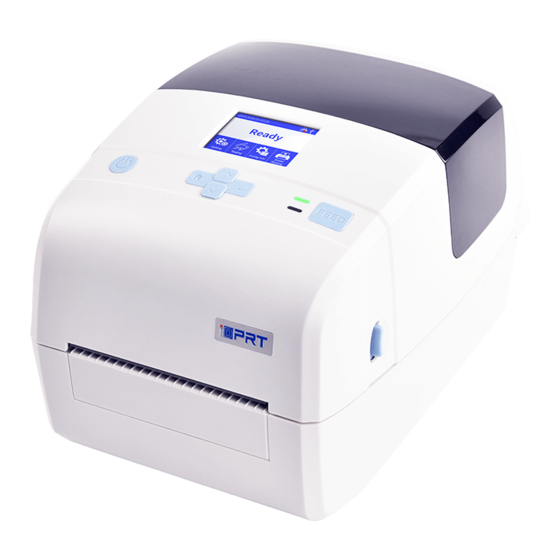
The iDPRT iD4S supports a maximum printing width of 108 mm (203 dpi) or 106 mm (300 dpi) and a maximum printing length of 2286 mm (203 dpi) or 1524 mm (300 dpi). It uses direct thermal paper and supports an external paper roll holder (optional).
This answer is automatically generated
Игорь
May 29, 2025
Добрый день! приобрел принтер iDPRTiT4s2 не может откалиброваться
моргает оранжевый и пищит.
1 comments:
Mr. Anderson
May 29, 2025
If the iDPRT iT4s2 printer cannot calibrate and is flashing orange and beeping, follow the troubleshooting procedure:
1. Identify the trouble phenomenon (flashing orange light and beeping). 2. Check for possible causes such as: - Faulty sensor - Incorrect media installation - Obstruction in the media path 3. Follow the check method: - Inspect sensors like the upper and lower photoelectric modules. - Verify that media is loaded correctly and matches the printer settings. 4. Apply remedies: - Clean or replace faulty sensors. - Reinstall the media correctly. - Remove any obstructions.
These steps will help identify and fix the issue preventing calibration.


Need help?
Do you have a question about the ID4 Series and is the answer not in the manual?
Questions and answers
Нужна спецификация на бумагу для iD4S
@Alena . Уточнение необходимо именно для цветной термоленты
The iDPRT iD4S supports a maximum printing width of 108 mm (203 dpi) or 106 mm (300 dpi) and a maximum printing length of 2286 mm (203 dpi) or 1524 mm (300 dpi). It uses direct thermal paper and supports an external paper roll holder (optional).
This answer is automatically generated
Добрый день! приобрел принтер iDPRTiT4s2 не может откалиброваться моргает оранжевый и пищит.
If the iDPRT iT4s2 printer cannot calibrate and is flashing orange and beeping, follow the troubleshooting procedure:
1. Identify the trouble phenomenon (flashing orange light and beeping).
2. Check for possible causes such as:
- Faulty sensor
- Incorrect media installation
- Obstruction in the media path
3. Follow the check method:
- Inspect sensors like the upper and lower photoelectric modules.
- Verify that media is loaded correctly and matches the printer settings.
4. Apply remedies:
- Clean or replace faulty sensors.
- Reinstall the media correctly.
- Remove any obstructions.
These steps will help identify and fix the issue preventing calibration.
This answer is automatically generated