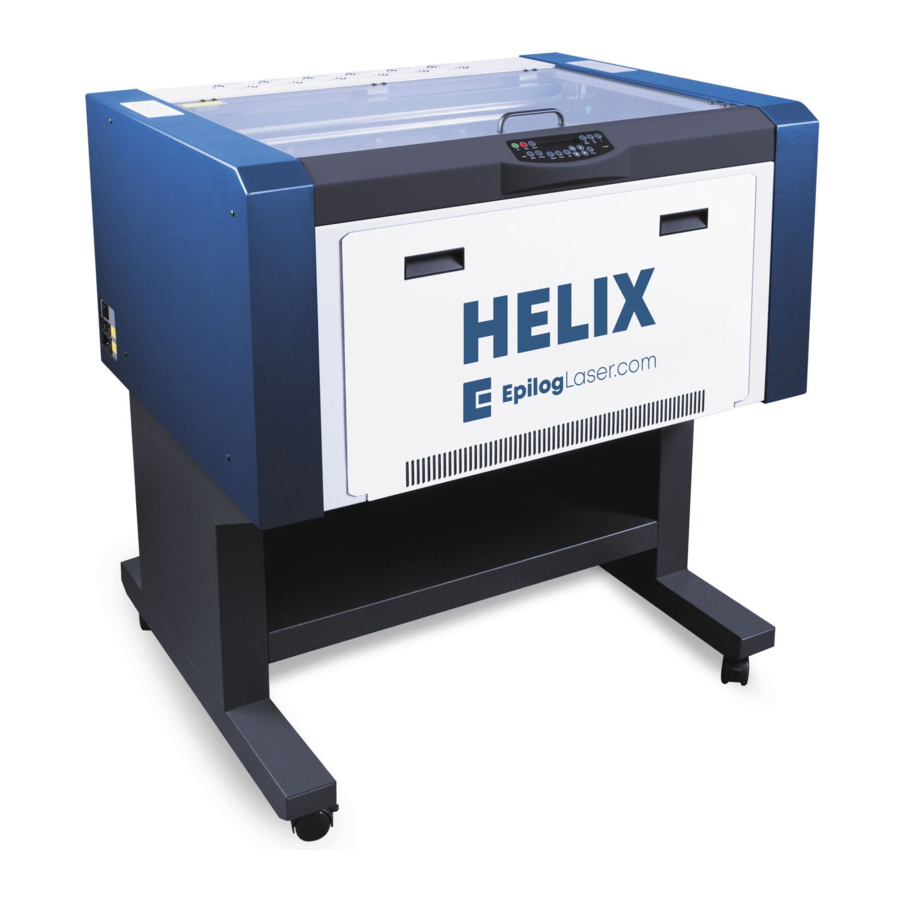
Epilog Laser Helix Manual
Replacing the x-beam belt
Hide thumbs
Also See for Helix:
- Instructions for using manual (7 pages) ,
- Replacing instructions (4 pages) ,
- Manual (17 pages)
Advertisement
EPILOG LASER
16371 Table Mountain Parkway
Golden, Colorado 80403
Phone 303-215-9171 - FAX 303-277-9669
www.epiloglaser.com
Procedure Title:
Machine Type:
Tools Needed:
Intro:
This procedure details steps to replacing the I-beam
belt on the Helix. The X-beam belt controls the side
movement of the laser head.
Procedure:
1. Unplug the power cord from the machine.
2. Remove both side panels.
3. Pull X-beam to the center of the machine.
Replacing the X-beam belt
Helix
Philips head screw driver
Needle nose pliers
Advertisement
Table of Contents

Related Manuals for Epilog Laser Helix


Summary of Contents for Epilog Laser Helix
- Page 1 Philips head screw driver Needle nose pliers Intro: This procedure details steps to replacing the I-beam belt on the Helix. The X-beam belt controls the side movement of the laser head. Procedure: 1. Unplug the power cord from the machine.
- Page 2 4. With a Philips head screw driver, remove the X-beam cover. The X-beam cover contains two screws in the front and five screws on the back, loosen these screws, however, it is not necessary to remove them. I-beam cover 5. Slacken the belt. a.
- Page 3 7. Slowly pull one end of the belt out of the lens assembly. Re-Installing the Belt 8. Replacing the belt on the Helix is tricky. On the right side of the X-beam, the belt must go around two pulleys. a. Connect the left end of the belt, with the grooves toward the inside of the machine to the right side of the lens assembly.
- Page 4 e. Loop the belt around the black pulley inside the motor bracket. f. With your index finger, slide the belt around the silver spindle connected to the motor. g. Replace the motor. Screw in the three captive screws. h. Pull the belt end close to the X-beam. Pull the belt behind the X-beam but in front of the white ribbon cable.
- Page 5 Pull belt close to I-beam i. Loop the belt end around the black pulley on the left side of the machine. j. Place the belt end onto the left side of the lens assembly. Tighten the screws on the plate. 9.
Need help?
Do you have a question about the Helix and is the answer not in the manual?
Questions and answers