Ruijie RG-AP180 Series Hardware Installation And Reference Manual
Hide thumbs
Also See for RG-AP180 Series:
- Hardware installation and reference manual (31 pages) ,
- Quick installation manual (7 pages)

Related Manuals for Ruijie RG-AP180 Series


Summary of Contents for Ruijie RG-AP180 Series
- Page 1 Ruijie RG-AP180 Series Access Points Hardware Installation and Reference Guide V1.00...
- Page 2 Ruijie Networks reserves all copyrights of this document. Any reproduction, excerption, backup, modification, transmission, translation or commercial use of this document or any portion of this document, in any form or by any means, without the prior written consent of Ruijie Networks is prohibited. Exemption statement This document is provided “as is”.
- Page 3 It is intended for the users who have some experience in installing and maintaining network hardware. At the same time, it is assumed that the users are already familiar with the related terms and concepts. Obtaining Technical Assistance Ruijie Networks Website: https://www.ruijienetworks.com/ Technical Support Website: https://ruijienetworks.com/support...
-
Page 4: Product Overview
· 1 Product Overview Ruijie RG-AP180 AP is designed for indoor scenarios in campuses, hotels, offices and residential buildings. Featuring a concise design and easy deployment, the AP enables zero disruption to the interior finishes and offers the best solution for scenarios with delicate interior design. -
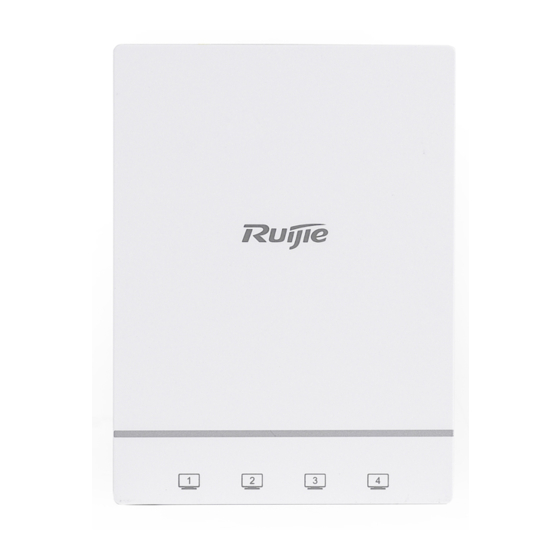
Page 5: Product Image
Hardware Installation and Reference Guide Product Overview 11ax: HE80: -79dBm(MCS0), -53dBm(MCS9),-52dBm(MCS11) · ≤ 100mw (20dBm) Max Transmit Power (Depending on the country of use, laws and regulations.) Transmit Power 1 dBm Adjustment Dimensions 86mm x 116mm x 40mm (W x D x H) ≤... - Page 6 Hardware Installation and Reference Guide Product Overview · Figure 1-2 Bottom View of RG-AP180 1. Four 10/100/1000Base-T LAN ports Note Figure 1-3 Side View of RG-AP180 1. Micro USB management port (Console) 2. Reset button Note 3. Port for local power supply...
-
Page 7: Led Indicators
Hardware Installation and Reference Guide Product Overview Figure 1-4 Rear View of RG-AP180 · Note 1. 10/100/1000Base-T Ethernet WAN port 1.3 LED Indicators Figure 1-5 Indicator on the AP Fat AP Mode State Frequency Meaning The AP is powered off. Or the AP is in Silent mode, which can be disabled via software. -
Page 8: Reset Button
Hardware Installation and Reference Guide Product Overview software. · Fast blinking 2.5Hz (fast Initialization is in progress. The AP is operational. green before blinking green) solid green Fast blinking 2.5Hz Firmware upgrade in progress. Do not power off the AP. Blinking orange AP is operational and Ethernet link is down. -
Page 9: Preparing For Installation
Hardware Installation and Reference Guide Preparing for Installation · 2 Preparing for Installation 2.1 Safety Suggestions To prevent device damage and bodily injury, please read carefully the safety recommendations described in this chapter. The recommendations do not cover all possible hazardous situations. 2.2 Installation ... -
Page 10: Power Supply
The DC input power should be greater than the power actually consumed by the system. The input power for the RG-AP180 should not be lower than 10W. Use DC power adapters with specifications recommended by Ruijie. Please use Ruijie certified PoE injectors. -
Page 11: Installation Tools
Hardware Installation and Reference Guide Preparing for Installation the energy is known as radiated interference. The interference source can be both a part of the interfered system and a · completely electrically isolated unit. Conducted interference results from the electromagnetic wire or signal cable connection between the source and the sensitive component, along the cable the interference conducts from one unit to another. -
Page 12: Installing The Access Point
Hardware Installation and Reference Guide Installing the Access Point · 3 Installing the Access Point Make sure you have carefully read Chapter 2, and be sure that the requirements set forth in Chapter 2 have been met. 3.1 Installation Flowchart 3.2 Before You Begin To ensure normal operation and a prolonged useful life of the equipment, observe the following safety precautions: ... - Page 13 Hardware Installation and Reference Guide Installing the Access Point · Be sure that the equipment is installed in a place where it is easy to be observed. Loosen screws on the 86-type faceplate that is mounted on the wall. (Skip this step if the faceplate has not been mounted.) Figure 3-1 Loosen Screws on the Faceplate Connect the uplink cable to the UpLNK port.
- Page 14 Hardware Installation and Reference Guide Installing the Access Point · Install the plate cover in the way as shown in the following figure. Figure 3-4 Install the Cover Compete the installation. Figure 3-5 Cover for RG-AP180 3.4 Removing the Plate Cover You can use a straight screwdriver to remove the plate cover as constructed in the following figure.
- Page 15 Hardware Installation and Reference Guide Installing the Access Point ·...
-
Page 16: System Debugging
Hardware Installation and Reference Guide System Debugging · 4 System Debugging 4.1 Setting up a Debugging Environment Use a power adapter or PoE to power the AP. Setting up the Environment Verify that the AP is properly connected to the power source. ... -
Page 17: Monitoring And Maintenance
Hardware Installation and Reference Guide Monitoring and Maintenance · 5 Monitoring and Maintenance 5.1 Monitoring You can observe the LED to monitor the AP in operation. Fast blinking green followed by solid green: The AP is being initialized and is operational. ... -
Page 18: Troubleshooting Flowchart
Hardware Installation and Reference Guide Troubleshooting · 6 Troubleshooting 6.1 Troubleshooting Flowchart 6.2 Troubleshooting LED does not light up after the AP is powered on Verify that the power source is IEEE 802.11af compliant. And then verify that the cable is connected properly. Orange LED blinks after the Ethernet cable is connected Verify that the device at the other end of the Ethernet cable is working properly. -
Page 19: Appendix A Connectors And Media
Hardware Installation and Reference Guide Appendix A Connectors and Media · Appendix A Connectors and Media 1000BASE-T/100BASE-TX/10BASE-T The 1000BASE-T/100BASE-TX/10BASE-T is a 10/100/1000 Mbps auto-negotiation port that supports auto MDI/MDIX. Compliant with IEEE 802.3ab, 1000BASE-T requires Category 5e 100-ohm UTP or STP (STP is recommended) with a maximum distance of 100 meters (328 feet).
Need help?
Do you have a question about the RG-AP180 Series and is the answer not in the manual?
Questions and answers