Advertisement
Quick Links
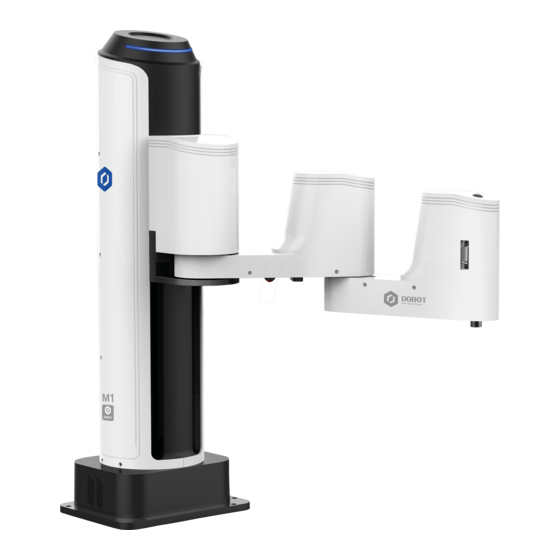
Quick Start
Fixing Dobot M1
Drill the holes on the work platform based on the size of the Dobot M1 base hole and Fix the Dobot M1 on
the work platform.
Drill holes based on
Fix Dobot M1 on the work platform
Dobot M1's Base Hole Calibration Drawing
Connecting Cables
Step1. Connect to power supply
Connect one end of the AC power cable to the power adapter and the other end to the 220V AC socket.
Connect one end of the DC power cable to the power adapter and the other end to the power interface on
the Dobot M1.
Connect to
220V AC socket
Connect to power adapter
Step2. Connect to emergency stop switch.
Connect the terminal block connector with the emergency stop switch to the base I/O interface and tighten
it with a straight screwdriver .
connector on the Dobot M1
Step3. Connect to computer.
There are two ways to connect Dobot M1 and computer: one is connecting with USB to serial line and the other
is connecting with network cable. You can choose between them.
First way: Connect Dobot M1 and computer with USB to DB9 adapter cable.
Connect the serial port of the USB to DB9 adapter cable to the RS232 interface on the Dobot M1,
and connect the USB interface of the USB to DB9 adapter cable to the USB interface of the computer.
USB interface
Connect to RS232 interface
Second way: Connect Dobot M1 and computer with network cable.
Connect one end of the network cable to the Ethernet interface on the Dobot M1 and the other end to
the Ethernet interface of the computer .
Connect to Ethernet interface
NOTICE: If connecting Dobot M1 and computer with a router is required, please refer to Dobot M1 User Guide.
Installing and Connecting to M1Studio
Step1. Download and install the matched M1Studio software.
Download path: https://www.dobot.cc/downloadcenter/dobot-m1.html#most-download
NOTE: The M1Studio supports the following Windows versions.
Connect to
Step2. Power on Dobot M1.
power adapter
Hold down the power button on the Dobot M1 for about 2 seconds, and then release your fingers when the
yellow LED indicator is on.
When the Green LED indicator is blinking, the Dobot M1 is in service.
GND
+48V
Hold down
the power button
for about 2 seconds
Step3. Connect to M1Studio.
First way: If you use the USB to DB9 adapter cable for connection, please select the corresponding serial port
from the serial drop-down list and click Connect.
Fix the terminal block
Second way: If you use the network cable for connection, please click
ForceConfigure IP...
M1Studio page and click Connect.
................
................
................
................
................
................
................
................
................
................
NOTICE: Please make sure that the IP address of PC belongs to class C networks when configuring IP
address. Otherwise, the forced configuration will be failed.
Class C IP addresses range: 192.0.0.0 - 223.255.255.255. Default subnet mask: 255.255.255.0.
Ethernet interface
Windows 7.
Windows 8.
Windows 10
Release your fingers when
the yellow LED indicator is on
COM1
ForceConfigureIP
on the
Tools
page, then select the corresponding IP address from the serial drop-down list on the
192.168.10.5 (dobot M1)
Quick Start- Teaching and Playback
Example: Dobot M1 moves from point A(200,0,60,240) to point B(350,20,60,240) with teaching and playback.
Step1 . Define point
.
Click X(200), Y(0), Z(60), R(240) on the
Add At Last .
Select
Z
0.0000
R
0.0000
100
X
200
0.0000
100
Y
0
0.0000
Z
60
0.0000
Content
R
240
0.0000
100
100
Click X(350), Y(20), Z(60), R(240) on the
Step2 . Define point .
Add At Last .
Select
Z
0.0000
R
0.0000
100
X
350
0.0000
100
Y
20
0.0000
Z
60
0.0000
Content
R
240
0.0000
100
100
Start
Step3. Click
,Dobot M1 will move from point A to point B as the saved points list.
>
P1 ayback
Soript
1
New
Open
Save
Save As
Start
Stop
Index
Name
Type
Content
OPtion
Save As
Start
Stop
Name
Type
NOTE: For more details of Dobot M1 functions, please refer to Dobot M1 User Guide.
Security Precautions
Before operating and maintaining the robot, the personnel responsible for the installation, operation and maintenance
must be trained to understand the various security precautions and to master the correct methods of operation and
maintenance.
People cannot repair and disassemble the robot without professional training. If there is a problem with the robot, please
contact Dobot technical support engineer in time.
When the robot is running, please do not plug in or out the power and communication cables at will.
When powering on robot for the first time, please ensure that the emergency stop button is bumped. Otherwise, the robot
will not work normally.
When powering on robot for the first time, please check Z-axis or J3 value from M1Studio. If the value is below 10mm,
an alarm about limitation is generated and meanwhile the red indicator on the base of robot is on, which is a noSSSSrmal
phenomenon. At that point, you need to click J3+ under Joint coordinate system on the M1Studio page to jog robot to the
position where the J3 value is above 10mm, and then the alarm will be cleared.
Please DO NOT connect power cable to robot directly without power adapter. Otherwise, the robot will be damaged.
If you need any help, please visit www.dobot.cc
Operation Panel
page.
Add Motion Command
Click
.
0.0000
0.0000
Operation Panel
page.
Add Motion Command
Click
.
0.0000
0.0000
X
0.0000
0.0000
Y
0.0000
0.0000
Z
0.0000
0.0000
R
0.0000
0.0000
Advertisement


Need help?
Do you have a question about the M1 and is the answer not in the manual?
Questions and answers