Advertisement
Quick Links
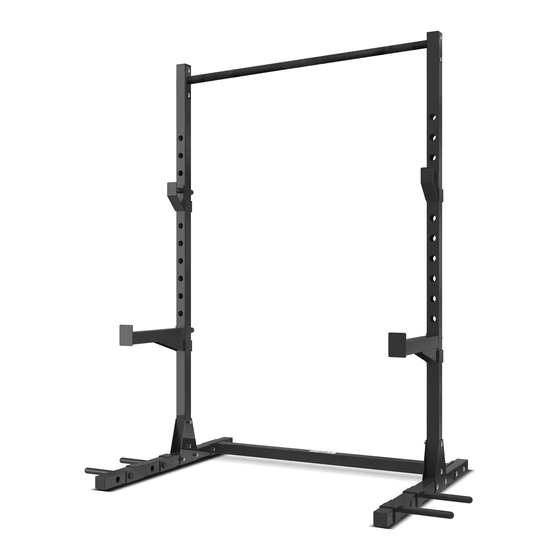
SR-3 SQUAT RACK
USER MANUAL
Product may vary slightly from the item pictured due to model upgrades.
Read all instructions carefully before using this product.
Retain this owner's manual for future reference.
NOTE:
This manual may be subject to updates or changes. Up to date manuals are available through our
website at www.lifespanfitness.com.au
Advertisement

Related Manuals for Cortex SR-3


Summary of Contents for Cortex SR-3
- Page 1 SR-3 SQUAT RACK USER MANUAL Product may vary slightly from the item pictured due to model upgrades. Read all instructions carefully before using this product. Retain this owner’s manual for future reference. NOTE: This manual may be subject to updates or changes. Up to date manuals are available through our...
-
Page 2: Table Of Contents
TABLE OF CONTENTS Important Safety Instructions ....... . 03 Care Instructions ..........04 II. -
Page 3: Important Safety Instructions
I. IMPORTANT SAFETY INSTRUCTIONS WARNING: Read all instructions before using this machine. Please take caution when re-racking your weights. Re-racking with excess forward momentum may cause the rack to topple over Please keep this manual with you at all times. •... -
Page 4: Care Instructions
II. CARE INSTRUCTIONS IMPORTANT • Where necessary, lubricate any moving joints with silicon spray after periods of usage. • Be careful not to damage plastic or metal parts of the machine with heavy or sharp objects. • The machine can be kept clean by wiping it down using dry cloth. •... -
Page 5: Parts List
III. PARTS LIST Part No. Name Model Quantity Tube Vertical Tube Strengthen Board Plate Rest Bar Support Bar Rest Connection Tube Strengthen Board 110mm Carriage Bolts M10X65mm Nuts Washers Pull-Up Bar Strengthen Board (different hole position) 110mm PARTS LIST |... -
Page 6: Assembly Instructions
IV. ASSEMBLY INSTRUCTIONS STEP 1 1. Attach the Tube (#1) to the Vertical Tube(#2). Secure it with: - 2 Strengthen Board (#3) - 1 Strengthen Board (#13) - 6 Carriage Bolts M10x65mm (#9) - 6 M10 Nuts (#10) - 6 Washers Dia10 (#11) STEP 2 1. - Page 7 STEP 3 1. Attach the Connection Tube (#7) to the Tube (#1). Secure it with: - 2 Strengthen Boards 110mm (#8) - 4 Carriage Bolts M10x65mm (#9) - 4 M10 Nuts (#10) - 4 Washers Φ10 (#11) ASSEMBLY INSTRUCTIONS |...
- Page 8 STEP 4 1. Attach the Tube (#12) to the Vertical Tube(#2). Secure it with: - 2 Strengthen Board (#8) - 4 Carriage Bolts M10x65mm (#9) - 4 M10 Nuts (#10) - 4 Washers Dia10 (#11) | ASSEMBLY INSTRUCTIONS...
-
Page 9: Exercise Guide
V. EXERCISE GUIDE PLEASE NOTE: Before beginning any exercise program, consult your physician. This is important especially if you are over the age of 45 or individuals with pre-existing health problems. The pulse sensors are not medical devices. Various factors, including the user’s movement, may affect the accuracy of heart rate readings. - Page 10 COOL DOWN Finish each workout with a light jog or walk for at least 1 minute. Then complete 5 to 10 minutes of stretching to cool down. This will increase the flexibility of your muscles and will help prevent post- exercise problems.
-
Page 11: Warranty
VI. WARRANTY AUSTRALIAN CONSUMER LAW Many of our products come with a guarantee or warranty from the manufacturer. In addition, they come with guarantees that cannot be excluded under the Australian Consumer Law. You are entitled to a replacement or refund for a major failure and compensation for any other reasonably foreseeable loss or damage. - Page 12 WWW.L IF ESPAN F ITNE S S . COM . A U...
Need help?
Do you have a question about the SR-3 and is the answer not in the manual?
Questions and answers