Advertisement
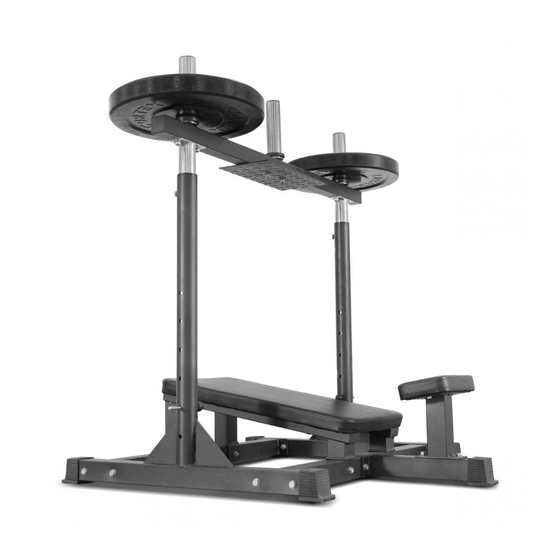
LP-1 LEG PRESS
OWNER'S MANUAL
Product may vary slightly from the item pictured due to model upgrades
Read all instructions carefully before using this product. Retain this owner's manual for future
reference.
NOTE: This manual may be subject to updates or changes. Up to date manuals are available through our website at
www.lifespanfitness.com.au
Advertisement
Table of Contents

Subscribe to Our Youtube Channel
Related Manuals for Cortex LP-1


Summary of Contents for Cortex LP-1
- Page 1 LP-1 LEG PRESS OWNER’S MANUAL Product may vary slightly from the item pictured due to model upgrades Read all instructions carefully before using this product. Retain this owner’s manual for future reference. NOTE: This manual may be subject to updates or changes. Up to date manuals are available through our website at...
-
Page 2: Table Of Contents
TABLE OF CONTENTS IMPORTANT SAFETY INSTRUCTIONS PARTS LIST ASSEMBLY INSTRUCTIONS EXPLODED DIAGRAM WARRANTY LP-1 Leg Press... -
Page 3: Important Safety Instructions
Do not place any sharp objects around the machine. Disabled person should not use the machine without a qualified person or physician in attendance. Never operate the machine if the machine is not functioning properly. A spotter is recommended during exercise. LP-1 Leg Press... -
Page 4: Parts List
SLIDE TUBE FOOT PLATE OP TUBE BACK CUSHION HEAD CUSHION FOOT CAP SMALL BUFFER BIG BUFFER HEX BOLT M10*80MM HEX BOLT M10*25MM HEX BOLT M8*45MM HEX BOLT M8*20MM BOLT M8*10 WASHER φ10 WASHER φ8 NYLON LOCK NUT M10MM LP-1 Leg Press... -
Page 5: Assembly Instructions
(01) using hex bolt M10*80mm (17), washer φ10 (22) and nylon lock nut M10mm (24). 3. Attach back cushion tube (04) to front bottom connect tube (02) and rear bottom connect tube (03) using hex bolt M10*80mm (17), washer φ10 (22) and nylon lock nut M10mm (24). LP-1 Leg Press... - Page 6 2. Attach front cross tube (05) to front bottom connect tube (02) using hex bolt M10*80mm (17), washer φ10 (22) and nylon lock nut M10mm (24). 3. Attach head cushion tube (06) to front cross tube (05) using washer φ10 (22) and nylon lock nut M10mm (24). LP-1 Leg Press...
- Page 7 1. Attach back cushion (11) to back cushion tube (04) using hex bolt M8*45mm (19) and washer φ8 (23). 2. Attach head cushion (12) to head cushion tube (06) using hex bolt M8*20mm (20) and washer φ8 (23). LP-1 Leg Press...
- Page 8 3. Attach foot plate (09) to top connect tube (07) using washer φ10 (22) and nylon lock nut M10mm (24). 4. Attach small buffer (14) to top connect tube (07). 5. Attach OP tube (10) to top connect tube (07) using bolt M8*10mm (21). 6. Attach big buffer (15) to OP tube (10). LP-1 Leg Press...
-
Page 9: Exploded Diagram
4. EXPLODED DIAGRAM LP-1 Leg Press... -
Page 10: Warranty
For all warranty or support related enquiries an email must be sent to lodge a support case in our system. Head Office and Customer Service: Global Fitness and Leisure Pty Ltd 17 Fordson Rd Campbellfield VIC, 3061 Australia PH: 03 9357 2166 LP-1 Leg Press...
Need help?
Do you have a question about the LP-1 and is the answer not in the manual?
Questions and answers