
Related Manuals for SMITH SYSTEM Planner Studio Bench


Summary of Contents for SMITH SYSTEM Planner Studio Bench
- Page 1 Assembly Instructions Planner Studio Bench If you have damaged or missing components, please contact customer service at 1-800-328-1061 Document #: 179670 REVISED: 08/2020...
- Page 2 Hardware and Components BENCH TOP 12” DEEP: QTY. 1 24” DEEP: QTY. 2 BENCH SUPPORT CHANNEL 12” DEEP: QTY. 1 24” DEEP: QTY. 2 24” DEEP BENCH LEG BASE 12” DEEP BENCH LEG BASE QTY. 2 QTY. 2 GLIDE INSERT GLIDE 3/16”...
-
Page 3: Special Notes
Special Notes: • TOOLS REQUIRED: • Drill w/#2 Phillips driver bit, or #2 Phillips head screwdriver. • 7/16” socket & ratchet, or 7/16” wrench. • Hammer • Check that all components are accounted for and undamaged before assembling. • Please assemble the product in a clean and dry area. •... - Page 4 Assembly Instructions Lay top down on a clean smooth surface that will not harm the top finish. Underside of top should be exposed. 2. For the 24” deep bench, lay both tops down on a clean smooth surface that will not harm the top finish.
- Page 5 Position the support channel(s) onto the top, as shown. Do not attach support channel to top yet. First attach the legs, one at a time, to the support channel(s) by using the supplied 1/4”-20 x 3” bolts and 1/4”-20 lock nuts. Helpful Hint: The nut goes on the inside;...
- Page 6 Lay assembled frame on top and line up holes on frame with the hole pattern on the top. Document #: 179670 REVISED: 08/2020...
- Page 7 Attach the frame to the wood top using #10 x 3/4” wood screws. Document #: 179670 REVISED: 08/2020...
- Page 8 6. Hammer in glide inserts into the legs. Make sure to carefully trim off any excess plastic between the edge of the leg and glide insert. 7. Install glides by screwing them into the glide inserts. Document #: 179670 REVISED: 08/2020...
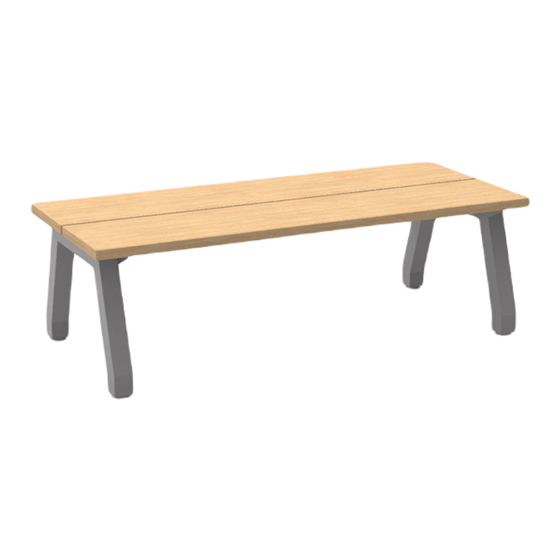
- Page 9 8. Flip bench over. ASSEMBLY COMPLETE Document #: 179670 REVISED: 08/2020...
Need help?
Do you have a question about the Planner Studio Bench and is the answer not in the manual?
Questions and answers