Table of Contents
Advertisement
Quick Links
Advertisement
Table of Contents

Related Manuals for ACME Uploader II


Summary of Contents for ACME Uploader II
-
Page 2: Table Of Contents
CONTENTS 1. Safety Instructions .................. 2 2. Technical Specifications ................2 3. Control Panel ..................3 4. How to Use the Fixture ................4 4.1 Upload ....................4 4.2 Upgrade via an SD Card..............4 4.3 DMX Test ................... 6 4.4 DMX View .................. -
Page 3: Safety Instructions
Features: Universal DMX 512 control adaptable Easily upgrade the software via IU-02 to the fixture, no need to change chips 3-pin & 5-pin XLR connecting to the fixture and USB connector Please log in www.acme.com.cn to download the latest software... -
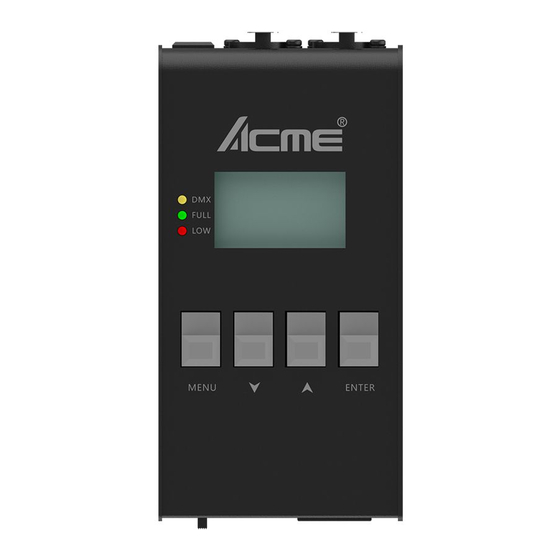
Page 4: Control Panel
Charging Time to Full Hour: 3.5-4 hours Working Hour: 6.5-8 hours Temperature of Charging Time: 0~45℃ Dimension/Weight: 79 x 51 x 159 mm, 0.6kgs 3.1" x 2.0" x 6.3"in, 1.3lbs 3. Control Panel... -
Page 5: How To Use The Fixture
4. How to Use the Fixture 4.1 Upload 1. Put ACME software file with new version into the root directory of the SD card and rename the file as upgrader.yfu. 2. Insert the SD card into the SD card slot of the Upgrader. - Page 6 2. Power off the Uploader before inserting the SD card. Insert the SD card into the SD card slot of the Upgrader and turn on the power switch, UPGRADER will be shown on the display (Figure Figure 1 3. Press the MENU button and the menu will be shown on the display (Figure 2), use the UP and DOWN button to select the Firmware Upgrade.
-
Page 7: Dmx Test
5. As shown in Figure 4 and Figure 5, when the upgrade process is displayed to 100%, it means that the luminaire has completed the upgrade process. Figure 4 Figure 5 4.3 DMX Test 1. Сconnect the unit to the fixture, switch on the unit (Figure 1). Figure 1 2. -
Page 8: Dmx View
Figure 3 4.4 DMX View 1. Connect the unit to the fixture, switch on the unit (Figure 1). Figure 1 2. Press the MENU button and the Main Menu will be shown on the display (Figure 2), use the UP and DOWN button to select the DMX View. Press the ENTER button to confirm. MainMenu Firmware Upgrade DMX Test... -
Page 9: Normal Upgrade
Figure 3 Figure 4 4.5 Normal Upgrade This mode is used for "one-to-one" or "one-to-many" upgrade 1. Link the fixture and the Uploader with 3-pin or 5-pin DMX cable, turn on the power of the fixture and Uploader. 2. Switch on the Uploader, enter menu mode, use the UP/DOWN button to select "Firmware Upgrade", press the ENTER button to confirm. -
Page 10: Lock Upgrade
4.6 Lock Upgrade This mode is used for "one to one" upgrade when the upgrade process is failed for many times. 1. Link the fixture and the Uploader with 3-pin or 5-pin DMX cable. 2. Switch on the Uploader, enter menu mode, use the UP/DOWN button to select " Firmware Upgrade ", press the ENTER button to confirm. - Page 12 Innovation, Quality, Performance...
Need help?
Do you have a question about the Uploader II and is the answer not in the manual?
Questions and answers