Table of Contents
Advertisement
EC - Declaration of Conformity
We declare that our products (lighting equipments) comply with the
following specification and bears CE mark in accordance with the
provision of the Electromagnetic Compatibility (EMC) Directive
89/336/EEC.
EN55014-2: 1997 A1: 2001, EN61000-4-2: 1995;
EN61000-4-3: 2002;
EN61000-4-4: 1995; EN61000-4-5: 1995, EN61000-4-6: 1996,
EN61000-4-11: 1994.
&
Harmonized Standard
EN60598-1: 2000+ALL: 2000+A12: 2002
Safety of household and similar electrical appliances
Part 1: General requirements
Innovation, Quality, Performance
19-
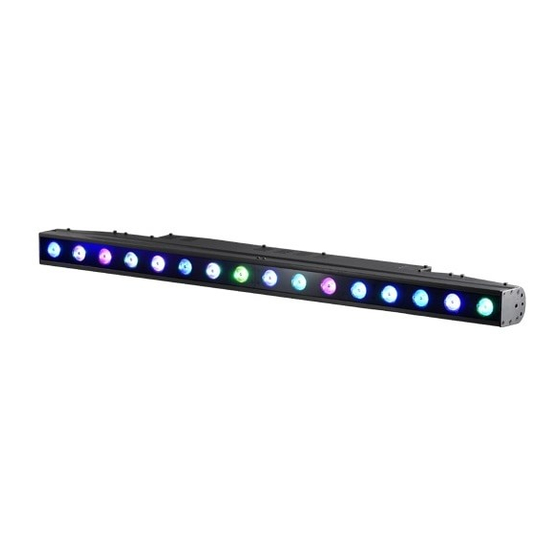
COLOR BAR 16TC
CB-16TC
Professional Entertainment Technology
User Guide
Advertisement
Table of Contents

Related Manuals for ACME CB-16TC


Summary of Contents for ACME CB-16TC
- Page 1 EN55014-2: 1997 A1: 2001, EN61000-4-2: 1995; EN61000-4-3: 2002; EN61000-4-4: 1995; EN61000-4-5: 1995, EN61000-4-6: 1996, EN61000-4-11: 1994. & Harmonized Standard EN60598-1: 2000+ALL: 2000+A12: 2002 Safety of household and similar electrical appliances Part 1: General requirements CB-16TC User Guide Innovation, Quality, Performance Professional Entertainment Technology...
-
Page 2: Table Of Contents
1. Make sure the unit does not receive DMX signal. 2. Check if the sound sensitively is too low. E. One of the channels is not working well 1. The cable connected to the PCB may broken . TABLE OF CONTENTS 6. -
Page 3: Safety Instruction
The address number is between 0-511 (usually 0 & 1 are equal to 1). 1. Safety Instruction 6. The end of the DMX 512 system should be terminated to reduce signal errors. 7. 3 pin XLR connectors are more popular than 5 pin XLR. Please read carefully the instruction, which includes important information about the installation, usage and maintenance. -
Page 4: Technical Specification
To prevent or reduce the risk of electrical shock or fire, do not expose the unit to rain or moisture. Do not open the unit within five minutes after switching off. 4.5 DMX512 Connection The housing, the lenses must be replaced if they are visibly damaged. Caution There are no user serviceable parts inside the unit. -
Page 5: How To Set The Unit
3. How To Set The Unit 3.1 Control Panel Display To show the various menus and the selected functions DMX input present MASTER Master Mode SLAVE Slave Mode SOUND Flashing Sound activation Button MENU To select the programming functions DOWN To go backward in the selected functions To go forward in the selected functions ENTER... -
Page 6: Main Function
Fuse For over current protection. DMX input/output For DMX512 link, use 3/5-pin XLR plug cable to link the unit together. Safety Ring Keep the installation safe. 3.2 Main Function To select any of the given functions, press the MENU button up to when the required one is showing on the display. - Page 7 DMX Configuration:...
- Page 8 4.3 DMX Controller Using universal DMX controller to control the units, you have to set DMX address from 1 to 512 channel so that the units can receive DMX signal. Press the MENU button up to when the DMX Address is showing on the display. Press ENTER button and the display will blink.
-
Page 9: How To Control The Unit
wait for 8 seconds. 4. How To Control The Unit You can operate the unit in three ways: Show Mode 1. By master/slave built-in preprogram function Press the MENU button up to when the Show Mode is showing on the display. Press 2. - Page 10 control on) or off (sound control off) mode. Once selected, press the ENTER button to store. White Balance Back to the main functions without any change press the MENU button (or wait for 8 Press the MENU button up to when the White Balance is showing on the display. Press seconds to exit menu mode).
Need help?
Do you have a question about the CB-16TC and is the answer not in the manual?
Questions and answers