Kasco J Series Operation & Maintenance Manual
Hide thumbs
Also See for J Series:
- Operation & maintenance manual (18 pages) ,
- Owner's manual (14 pages) ,
- Operation & maintenance manual (14 pages)

Related Manuals for Kasco J Series


Summary of Contents for Kasco J Series
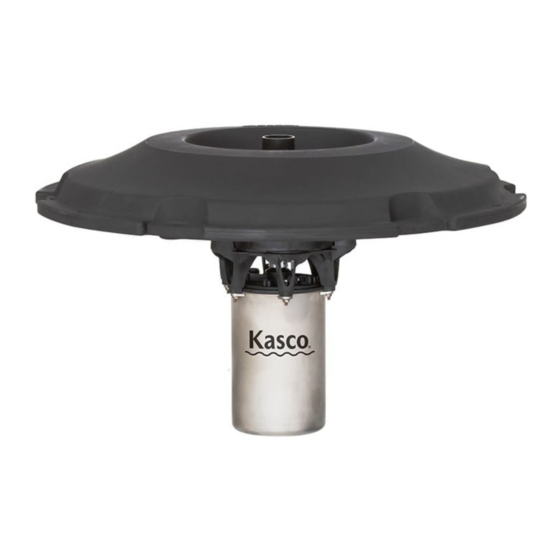
- Page 1 J Series Fountain 8400JF, 3.1JF, 2.3JF, 3.3JF, 2.3HJF, 3.3HJF Operation & Maintenance Manual 800 Deere Rd. Prescott, WI 54021 • 715.262.4488 • sales@kascomarine.com • www.kascomarine.com Document number 884168...
-
Page 2: Table Of Contents
Assembly Instructions ��������������������������������������� Repair Contact Form �������������������������������������� IMPORTANT SAFETY • Please read and follow these important instructions to help ensure your safety and the quality performance of your Kasco equip- ment� • Use caution when dealing with any electrical and/or moving equipment�... -
Page 3: Tools And Supplies Needed
Back to Contents 2 – 3 HP J SERIES FOUNTAIN MANUAL installed a minimum of 5 feet (3m in Canada) from the body of water unless separated from the body of water by a fence, wall, or other permanent barrier that will make the unit inaccessible to persons in the water� A complete list of control panels can be found... -
Page 4: Parts Included
Back to Contents 2 – 3 HP J SERIES FOUNTAIN MANUAL PARTS INCLUDED Description Part # 3/8-16 hex head screw 820093 3/8” lock washer 566230 3/8” x 1�25” OD fender washer 840325 Float, single piece See Table below Interchangeable nozzles See “nozzles”... -
Page 5: Nozzles Included
Back to Contents 2 – 3 HP J SERIES FOUNTAIN MANUAL NOZZLES INCLUDED Fig. 2 Pattern Description Height Width Included in Kit 11’ 10’ 284302 16’ 12’ Birch Wide geyser 24’ 14’ 284305 7�5 26’ 16’ 21’ 10’ 284302 26’... -
Page 6: Premium Nozzles (Not Included)
Premium nozzles are not included as standard but may be added and installed at any time� These nozzles offer unique patterns that truly showcase your pond or lake� Contact Kasco Marine at sales@kascomarine�com or your local distributor for order information�... -
Page 7: Assembly Instructions
1� Place the float (D) over the unit assembly (G). Ensure the three channels on the inside of the float line up with the threaded holes in the baseplate, and the Kasco logo on the top side of the float lines up with the power cord on the unit assembly. This will allow the power cord to run in the power cord channel on the underside of the float later. - Page 8 Back to Contents 2 – 3 HP J SERIES FOUNTAIN MANUAL 3� On the underside of the float, start threading the (3) 3/8 – 16 x 1/2’’ serrated hex head screws (I), but do not tighten down at this time�...
- Page 9 If your Kasco cord comes with a strain relief kit attached, attach the available link to the float-side knot in the mooring rope, as pictured here�...
-
Page 10: Nozzle Installation Instructions
Back to Contents 2 – 3 HP J SERIES FOUNTAIN MANUAL NOZZLE INSTALLATION INSTRUCTIONS After removing the current nozzle and ensuring that the nozzle O-ring (F) is properly seated in its groove, twist the selected nozzle (E) clockwise (as viewed from the top) so that the flanges in the nozzle lock into place on the top of the pump chamber by hand. Twist until the nozzle flanges can move no further and are completely snug. -
Page 11: Unit Installation Instructions
Fig. 25 After unit is installed in the water, connect the power cord to a properly installed Kasco control panel (C-85, C-95, etc�) with built-in ground fault protection according to the instructions and electrical schematics included with the panel� Follow all local and national electrical codes for unit and control panel installation;... -
Page 12: 3-Phase Startup Procedure
Keep clear of the propeller while verifying rotation� Air will be blowing out (up) of the pump chamber when rotating in the correct direction� If a Kasco 3-phase panel is supplied, follow the instructions included with the panel in addition to the steps below�... - Page 13 Seal replacement and all other repair services should be performed by Kasco Marine or a Kasco-trained Authorized Repair Center� Any alterations or changes made to Kasco units by an unauthorized source will void the warranty� This includes tampering with the unit, power cord, and/or control panel�...
-
Page 14: Repair
Kasco® Marine, Inc� warrants this fountain to be free from defects in material or workmanship under normal use and service (exclud- ing ropes, power cord, and propeller)� The Kasco Marine, Inc� obligation under this warranty is limited to replacing or repairing free of charge any defective part within the warranty period from the date of shipment�... -
Page 15: Non-Warranty Repairs
• Kasco Marine does estimates on repairs at the request of the customer� The request for estimate should be included in the letter that accompanies the returned unit and must include a daytime phone number and/or e-mail address� We will contact the customer with a total after the unit has been evaluated, but before the work is performed�... -
Page 16: Troubleshooting Tips
“My unit turns itself off and back on without the timer and without tripping the GFI breaker.” (single phase units only) Each Kasco fountain has a Thermal Overload built in that will turn the unit off when it overheats� Once the unit has cooled down, it will start back up�... -
Page 17: Repair Contact Form
2 – 3 HP J SERIES FOUNTAIN MANUAL REPAIR CONTACT FORM • Kasco requires that all equipment sent for repair MUST be accompanied by this form and marked to Repairs attention� • Kasco is NOT responsible for shipping damage accrued in return shipment� •...
Need help?
Do you have a question about the J Series and is the answer not in the manual?
Questions and answers