Advertisement
Advertisement
Table of Contents

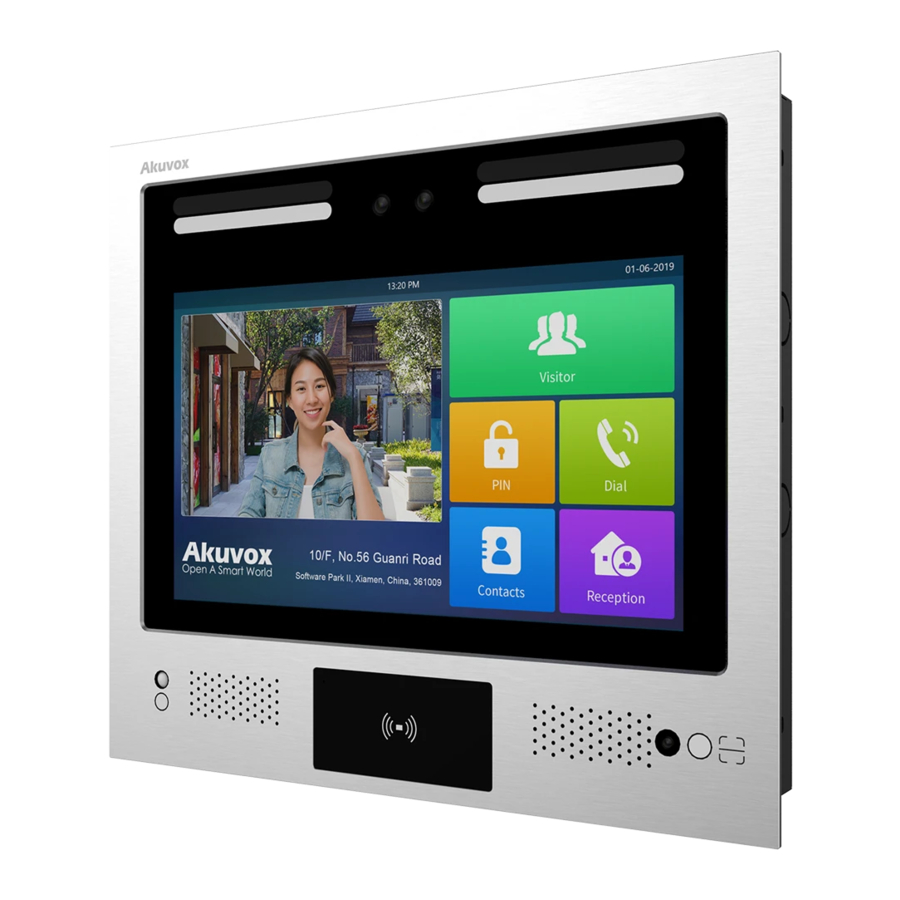
Summary of Contents for Akuvox X916S
- Page 1 Installation Tips for X916S...
- Page 2 Content 1. Step-by-Step Instructions..................1 2. Guidelines........................ 1 3. Some specifications are recommended.............. 2 4. Installation........................ 3 5. Test Relays......................3...
- Page 3 3 meters away from window and door. Guidelines 1. NO AC POWER. 2. Confirm network communication from mount point to main headend. 3. For retrofit installations, check existing wiring for the network and power. 4. Akuvox provides the following: Smart Intercom Installation kits (Optional) ...
- Page 4 5. Akuvox does not provide: RF Card Cat cable UPS device Extension cable for power 6. Provide room behind the mounting location for excess wiring. 7. Never introduce two power sources for lock release in parallel.
- Page 5 3. Connect Panel to Power Supply OR> POE+ > UPS > Wall Outlet. The Panel will start up like a computer. After loading, you should see the Akuvox software. Test Relays 1. In the Dial interface, press "9999"->"Dial key"->"3888"->"OK" to enter the system setting.


Need help?
Do you have a question about the X916S and is the answer not in the manual?
Questions and answers