Advertisement
Quick Links
®
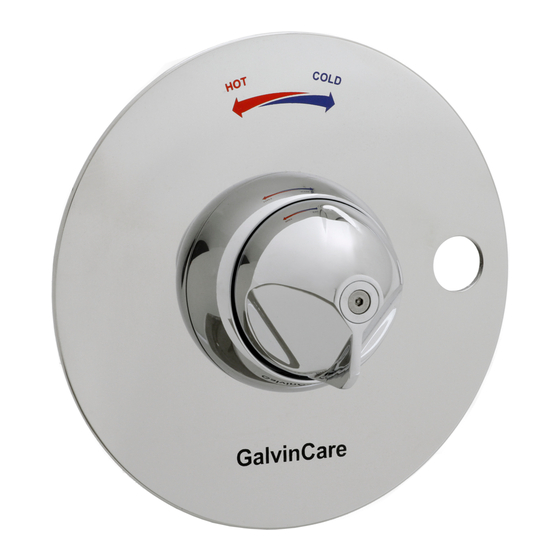
GalvinCare
PRODUCT CODES:
- 50197
SPECIFICATIONS
This products unique design concept eliminates the institutional look and provides anti-ligature
features and vandal resistant compliance
The paddle design handle allows the diverter to be activated with minimal effort.
The 170mm round faceplate has a polished stainless steel finish for a homely look and can
withstand heavy knocks and bevelled edges provide tight fixing
This item is designed for wall installation
IMPORTANT: All GalvinCare
in good working order.
TECHNICAL DATA
Inlet
Outlet
Headwork
Working Pressure Range (kPa)
Working Temperature Range (°C)
Finish
NOTE: Galvin Specialised continually strive to improve their products. Specifications may change without
notice.
TOOLS REQUIRED
Power drill
PRE-INSTALLATION
MOUNTING DETAILS – ROUGH IN & OVERALL DIMENSIONS
Suitable for in-wall mounting
Drill 6.5mm hole as shown for Anti-Rotation pin.
Mental Health Tapware
®
prison taps are tested in accordance with AS/NZS 3718 and leave our premises
-
Spanner or adjustable crescent
½" BSP – Male
½" BSP – Female
Diverter Cartridge
Min
50
Max
500
Min
5
Max
90
Chrome / Polished Stainless Steel
Advertisement

Related Manuals for Galvin Specialised GalvinCare 50197


Summary of Contents for Galvin Specialised GalvinCare 50197
- Page 1 Headwork Diverter Cartridge Working Pressure Range (kPa) Working Temperature Range (°C) Finish Chrome / Polished Stainless Steel NOTE: Galvin Specialised continually strive to improve their products. Specifications may change without notice. TOOLS REQUIRED Power drill Spanner or adjustable crescent PRE-INSTALLATION MOUNTING DETAILS –...
- Page 2 INSTALLATION IMPORTANT: Galvin Specialised products must be installed in accordance with these installation instructions and in accordance with AS/NZS 3500, the PCA and your local regulatory requirements. Water and/or electrical supply conditions must also comply to the applicable national and/or state standards. Failing to comply with these provisions shall void the product warranty and may affect the performance of the product.
- Page 3 Fit the handle 6. Testing Fit the nylon insert and handle, ensuring the arrow on the Once fitted all parts & connected with handle matches the lines on the faceplate when rotated. controller, test body for leaks and correct operation.
- Page 4 3. Remove flange screws 4. Remove faceplate (with button) and flange Unscrew the flange screws 5. Remove cartridge nut and check cartridge 6. Re-assemble Unscrew cartridge nut and remove cartridge. Re-assemble, by reversing steps 5 to 1. ...
Need help?
Do you have a question about the GalvinCare 50197 and is the answer not in the manual?
Questions and answers