Sign In
Upload
Download
Table of Contents
Contents
Add to my manuals
Delete from my manuals
Share
URL of this page:
HTML Link:
Bookmark this page
Add
Manual will be automatically added to "My Manuals"
Print this page
×
Bookmark added
×
Added to my manuals
Manuals
Brands
OnRobot Manuals
Accessories
HEX-E v1
User manual
OnRobot HEX-E v1 User Manual
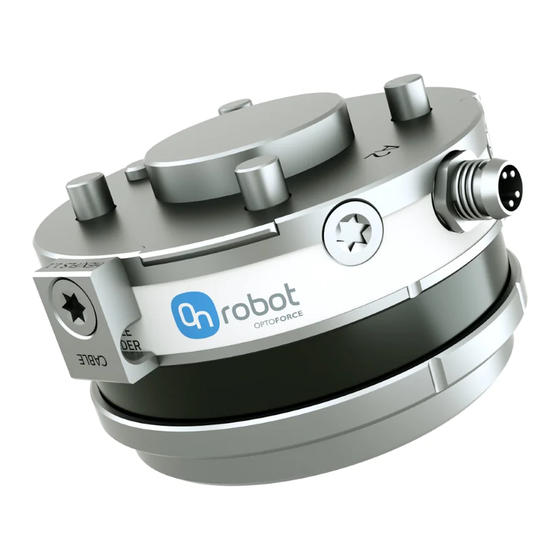
Force torque sensor
Hide thumbs
1
Table Of Contents
2
3
4
5
6
7
8
9
10
11
12
13
14
15
16
17
18
19
20
21
22
23
24
25
26
27
28
29
30
31
32
33
34
35
36
37
38
39
40
41
42
43
44
45
46
47
48
49
50
51
52
53
54
55
56
57
58
59
60
61
62
63
64
65
66
67
68
page
of
68
Go
/
68
Contents
Table of Contents
Troubleshooting
Bookmarks
Table of Contents
Table of Contents
1 Preface
Target Audience
Intended Use
Important Safety Notice
Warning Symbols
Typographic Conventions
2 Getting Started
Scope of Delivery
Mounting
Cable Connections
Software Upload to Robot Controller
Urcap Plugin Installation
Urcap Plugin Setup
Example Setup
3 Using the Urcap Plugin
Onrobot Feedback Variables
Effects of the TCP Position
Hand Guide Toolbar
Onrobot Urcap Commands
F/T Center Command
F/T Control Command
F/T Destack Command
F/T Fix and Rotate Command
F/T Guard Command
F/T Insert Box Command
F/T Insert Pin Command
F/T Move Command
F/T Path Command
F/T Search Command
F/T Stack Command
F/T Waypoint Command
F/T Zero Command
TCP Offset Propagation
Application Examples
Collision Detection
Center Point Detection
Polishing and Sanding
Stacking and Destacking
Palletizing
Pin Insertion
Box Insertion
Fix and Rotate
4 Glossary of Terms
5 List of Acronyms
6 Appendix
Changing the IP of the Compute Box
Updating the Software on the Compute Box
Software Uninstallation
Return Values
F/T Center Command Return Values
F/T Control Command Return Values
F/T Destack Command Return Values
F/T Fix and Rotate Command Return Values
F/T Guard Command Return Values
F/T Insert Box Command Return Values
F/T Insert Pin Command Return Values
F/T Move Command Return Values
F/T Path Command Return Values
F/T Search Command Return Values
F/T Stack Command Return Values
F/T Waypoint Command Return Values
F/T Zero Command Return Values
Troubleshooting
The Robot Has no IP Address
Discovery Tool was Able to Find Onrobot Device Available in the Network
Too Close to Singularity
Warning Sign on Hand Guide Bar
Socket_Read_Binary_Integer: Timeout
Socket Vectorstream Opening was Unsuccessful
Path Replay Is Slower than Expected
Error Number -2" on Path Saving
Error Number -3" on Path Saving
Editions
Advertisement
Quick Links
1
Mounting
2
Cable Connections
Download this manual
USER MANUAL
HEX
Force Torque Sensor
For the Universal Robots
Edition E10
OnRobot FT URCap Plugin Version 3.1.3
June 2018
Table of
Contents
Previous
Page
Next
Page
1
2
3
4
5
Advertisement
Table of Contents
Need help?
Do you have a question about the HEX-E v1 and is the answer not in the manual?
Ask a question
Questions and answers
Related Manuals for OnRobot HEX-E v1
Accessories OnRobot HEX-E v2 User Manual
Force torque sensor (68 pages)
This manual is also suitable for:
Hex-h v1
Hex-e v2
Hex-h v2
Table of Contents
Print
Rename the bookmark
Delete bookmark?
Delete from my manuals?
Login
Sign In
OR
Sign in with Facebook
Sign in with Google
Upload manual
Upload from disk
Upload from URL


Need help?
Do you have a question about the HEX-E v1 and is the answer not in the manual?
Questions and answers