Table of Contents
Advertisement
Quick Links
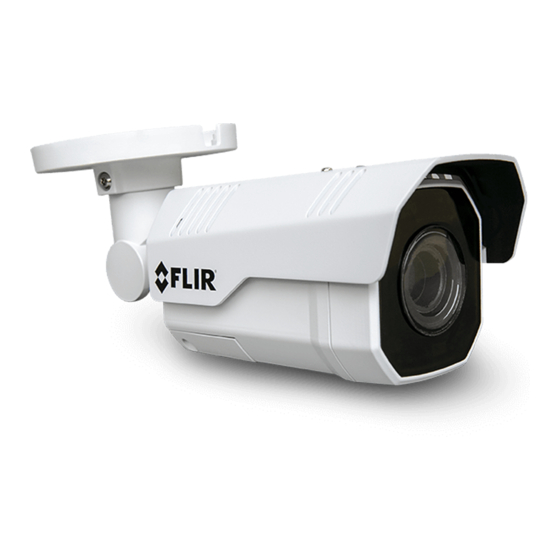
Quasar™ Bullet
CB-6404/CB-6408
Quick Install Guide
1 Check Contents
Make sure all of the items above are included in the camera kit.
2 Select a Location
Select a suitable location to mount the camera. Make sure that when mounted, the
camera's general orientation covers the required field of view.
For advice on positioning and orienting the camera, see the camera's installation
and user guide.
Verify that the operating temperature range is between -40°C ~ 60°C (-40° ~ 140°
F) cold start, 0-95% relative humidity.
For the list of mounting accessories available for the camera, see the FLIR
Security Cameras - Accessory Guide.
3 Configure the Camera
FLIR recommends configuring the camera before mounting and aiming it. It is also
possible to configure the camera after mounting it, which could be more
appropriate for certain installations.
CB-6404/CB-6408 QIG Rev 100
February 2021
This document does not contain any export-controlled information.
Advertisement
Table of Contents

Subscribe to Our Youtube Channel
Related Manuals for FLIR Quasar CB-6404


Summary of Contents for FLIR Quasar CB-6404
- Page 1 Verify that the operating temperature range is between -40°C ~ 60°C (-40° ~ 140° F) cold start, 0-95% relative humidity. For the list of mounting accessories available for the camera, see the FLIR Security Cameras - Accessory Guide. 3 Configure the Camera FLIR recommends configuring the camera before mounting and aiming it.
- Page 2 3.1 Install the FLIR DNA tool The FLIR Discovery Network Assistant (DNA) tool does not require a license to use and it is free. Download it from the FLIR Quasar™ Premium Bullet pages at FLIR.com > Products > Security > Visible Security Cameras.
- Page 3 FLIR's Horizon or Meridian VMS and the VMS is configured as a DHCP server, the VMS automatically assigns the camera an IP address. If the camera is managed by FLIR’s Latitude VMS or is on a network with static IP addressing, you can manually specify the camera’s IP address using the DNA tool or the camera's web page.
- Page 4 In the DNA Discover List, verify that the camera's status is Authenticated. c. Change the camera’s IP address. Right-click the camera and select IP Setup. In the DNA - IP Setup window, clear Use DHCP and specify the camera's IP address.
- Page 5 Securely fasten the rubber seal to either the bottom or the side conduit hole. In addition, FLIR recommends applying 3M waterproofing tape on the cables that pass through either conduit hole.
- Page 6 Mounting Complete Attach Camera to Back Box b. Adjust the sun shield. Loosen the two screws on the shield hood. Move the sun shield forward or backward. Tighten the two screws. c. Aim the camera. While supporting the camera with your hand, loosen the three locking screws and adjust the camera's pan, tilt, and rotation.
- Page 7 5 Complete Camera Setup Specify the camera's zoom and focus, and format the microSDXC card, using the camera's web page, which supports Google Chrome (recommended), Firefox, Microsoft Edge, and Internet Explorer 11 (32-bit), on PCs running 64-bit Windows 7, 8, 8.1, or 10. a.
- Page 8 After mounting the camera and discovering or defining its IP address, use VMS Discovery/Attach procedures to attach the camera to a supported VMS. 7 Camera Dimensions The Quasar CB-6404/CB-6408 camera’s dimensions are: Side View Front View 8 Register the Product Register your Product with FLIR at https://customer.flir.com.
Need help?
Do you have a question about the Quasar CB-6404 and is the answer not in the manual?
Questions and answers