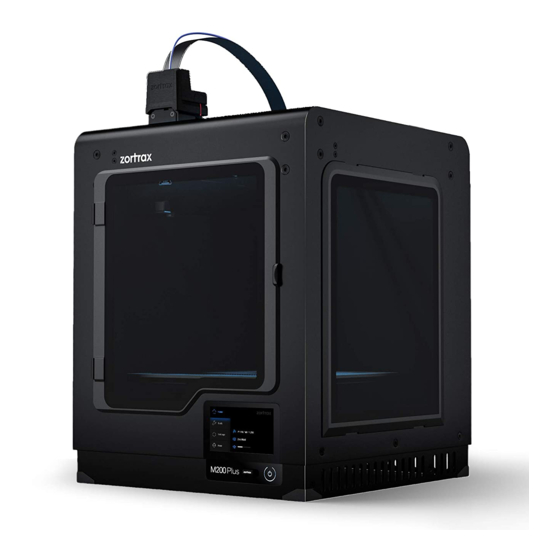
Summary of Contents for zortrax M200
- Page 1 Nozzle Replacement SOURCE: https://support.zortrax.com/nozzle-replacement/ page 1 / 7...
- Page 2 Table Of Content Unloading the Material Nozzle Removal Unplugging the Power Cable Nozzle Assembly page 2 / 7...
- Page 3 Follow these steps in case cleaning does not help. The following manual shows the M200 repair work. For the M300, these procedures are the same. page 3 / 7...
- Page 4 Unloading the Material From the main menu select Material and then Unload the material option. The extruder will start to heat up automatically. Once it is hot, the motor will start to unload the material. page 4 / 7...
- Page 5 Nozzle Removal Unscrew the nozzle counterclockwise (when viewed from below). Use the nozzle key from the Starter Kit box. Removing the nozzle should take place while the extruder is still hot. When the nozzle is loose, remove it using pliers. page 5 / 7...
- Page 6 Unplugging the Power Cable Turn off the printer and unplug the power cable. Wait about 15 minutes and let the machine cool down. page 6 / 7...
- Page 7 Nozzle Assembly Install the new nozzle in the hotend and screw it in clockwise using the nozzle key (when viewed from below). Screw in the nozzle gently; do not use too much force. page 7 / 7...


Need help?
Do you have a question about the M200 and is the answer not in the manual?
Questions and answers