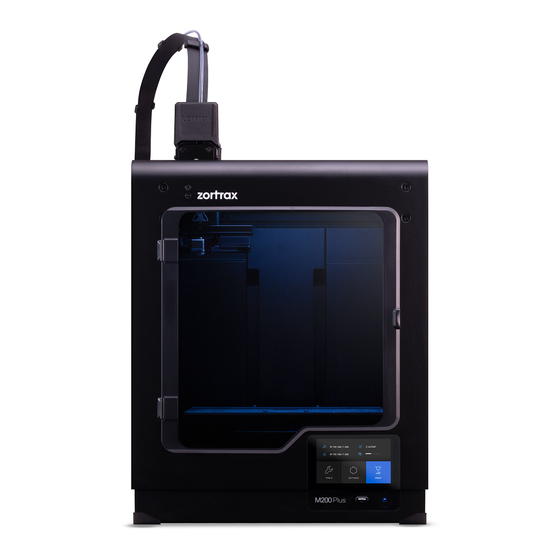
Summary of Contents for zortrax M200
- Page 1 Platform Maintenance SOURCE: https://support.zortrax.com/m200-platform-maintenance/...
-
Page 2: Table Of Contents
Table Of Content Unplugging the Power Cable Unplugging the Heatbed Cable Platform Removal Cleaning the Platform Unscrewing the Perforated Plate Cleaning the Heatbed Cleaning the Perforated Plate with a Spatula Cleaning the Perforated Plate with Sandpaper Cleaning the Perforated Plate with Acetone Securing the Perforated Plate Platform Installation Plugging the Power Cable... -
Page 3: Unplugging The Power Cable
Unplugging the Power Cable Turn off the printer and unplug the power cable. -
Page 4: Unplugging The Heatbed Cable
Unplugging the Heatbed Cable Unplug the heatbed cable from the platform. Both big and small connectors need to be unplugged. -
Page 5: Platform Removal
Platform Removal Remove the platform from the printer. -
Page 6: Cleaning The Platform
Cleaning the Platform Clean the platform from material residues using a spatula. BE CAREFUL NOT TO DAMAGE THE PLATFORM CONNECTORS. -
Page 7: Unscrewing The Perforated Plate
Unscrewing the Perforated Plate Unscrew the screws that secure the perforated plate to the heatbed. Remove the perforated plate. -
Page 8: Cleaning The Heatbed
Cleaning the Heatbed Remove material residues from the heatbed using a piece of cloth or, if it is necessary, use a spatula. -
Page 9: Cleaning The Perforated Plate With A Spatula
Cleaning the Perforated Plate with a Spatula Turn the perforated plate over and clean it from material remains using a spatula. -
Page 10: Cleaning The Perforated Plate With Sandpaper
Cleaning the Perforated Plate with Sandpaper Turn the plate over again. Use 320-400 grit sandpaper to smooth down the surface of the plate. Be careful not to damage the platform connectors. -
Page 11: Cleaning The Perforated Plate With Acetone
Cleaning the Perforated Plate with Acetone Wipe the perforated plate with a piece of cloth damped in acetone. -
Page 12: Securing The Perforated Plate
Securing the Perforated Plate Secure the perforated plate to the heatbed with the screws. -
Page 13: Platform Installation
Platform Installation Put the platform back in the printer and plug the heatbed cable in. Both big and small connectors need to be plugged in. -
Page 14: Plugging The Power Cable
Plugging the Power Cable Plug the power cable in. Turn on the printer and wait until the plate heats up. Then, using a piece of cloth, apply few layers of Z-ABS juice onto the perforated plate. Preparing Z-ABS Juice... -
Page 15: Platform Calibration
Platform Calibration After finishing the maintenance work, the platform needs to be calibrated -> follow the steps included in this manual: platform calibration.


Need help?
Do you have a question about the M200 and is the answer not in the manual?
Questions and answers