
Related Manuals for zortrax M200


Summary of Contents for zortrax M200
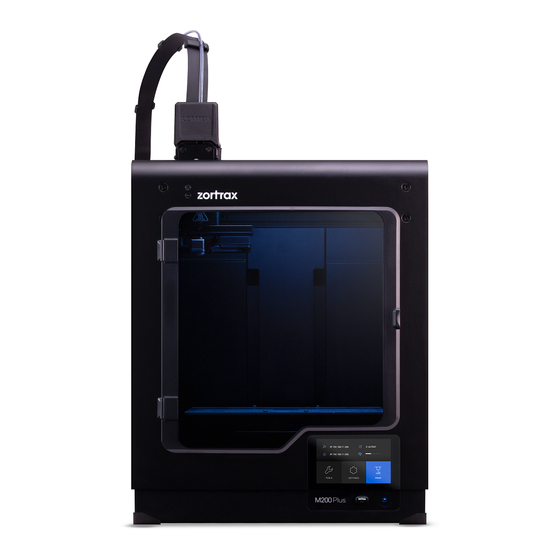
- Page 1 Extruder Cable Replacement SOURCE: https://support.zortrax.com/extruder-cable-replacement/ page 1 / 26...
-
Page 2: Table Of Contents
Table Of Content Unplugging the Power Cable Material Guide Removal Unplugging the Extruder Cable Changing the Printer's Position Unscrewing the Bottom Plate, part 1 Turning the Printer Unscrewing the Bottom Plate, part 2 Separating the Bottom Plate New Version of the Motherboard Adapter Removal Extruder Cable Removal Extruder Cable Assembly... - Page 3 Follow the steps from this manual to see the correct replacement procedure. The following manual shows the M200 repair work. For the M300, M200 Plus and M300 Plus, these procedures are the same.
-
Page 4: Unplugging The Power Cable
Unplugging the Power Cable Turn off the printer and unplug the power cable. page 4 / 26... -
Page 5: Material Guide Removal
Material Guide Removal Detach the material guide from the extruder cover. Next, separate the guide from the extruder cable. page 5 / 26... -
Page 6: Unplugging The Extruder Cable
Unplugging the Extruder Cable Detach the extruder upper printed cover and unplug the extruder cable. page 6 / 26... -
Page 7: Changing The Printer's Position
Changing the Printer's Position Grab the printer’s housing and change the printer’s position so that you can easily access the bottom plate. page 7 / 26... -
Page 8: Unscrewing The Bottom Plate, Part 1
Unscrewing the Bottom Plate, part 1 Unscrew the screws that secure the bottom plate on one side of the housing. Use a 2.5mm Allen key. page 8 / 26... -
Page 9: Turning The Printer
Turning the Printer Turn the printer over. page 9 / 26... -
Page 10: Unscrewing The Bottom Plate, Part 2
Unscrewing the Bottom Plate, part 2 Unscrew the screws that secure the bottom plate on the other side of the housing. Use the same key. page 10 / 26... -
Page 11: Separating The Bottom Plate
Separating the Bottom Plate Separate the bottom plate from the printer and unplug the bottom fan cable from the motherboard. page 11 / 26... -
Page 12: New Version Of The Motherboard
New Version of the Motherboard The photos show the new version of the motherboard in the M200. The extruder cable connection is placed underneath the motherboard so you can use the extruder cable without an adapter. page 12 / 26... -
Page 13: Adapter Removal
ADAPTER REMOVAL page 13 / 26... -
Page 14: Extruder Cable Removal
If the extruder cable you’re using has an adapter, separate the adapter from the cable so you can plug it into the new version of the motherboard. EXTRUDER CABLE REMOVAL Unfasten the two extruder cable straps and unplug the cable from the motherboard. Next, unfasten the third strap and pass the cable through the hole. - Page 15 Place the cable in the cable clamps and secure it by closing the clamps. Next, pass the cable through the hole and secure it with the first strap. Plug the extruder cable into the motherboard and fasten the two remaining straps. page 15 / 26...
-
Page 16: Old Version Of The Motherboard
Old Version of the Motherboard The photos show the old version of the motherboard. The extruder cable connection is placed on top of the motherboard. For this reason, you have to use the extruder cable with an adapter. page 16 / 26... -
Page 17: Extruder Cable Removal
EXTRUDER CABLE REMOVAL page 17 / 26... -
Page 18: Extruder Cable Assembly
Unfasten the two extruder cable straps and unplug the cable from the motherboard. Next, unfasten the third strap. Open the three cable clamps and remove the extruder cable from the clamps, then pass the cable through the hole. EXTRUDER CABLE ASSEMBLY Pass the extruder cable through the hole and place in the clamps. -
Page 19: Bottom Plate Installation
Bottom Plate Installation Plug the bottom fan cable into the motherboard and install the bottom plate. page 19 / 26... -
Page 20: Securing The Bottom Plate, Part 1
Securing the Bottom Plate, part 1 Secure the bottom plate on one side of the housing. Use a 2.5mm Allen key. page 20 / 26... -
Page 21: Turning The Printer
Turning the Printer Turn the printer over. page 21 / 26... -
Page 22: Securing The Bottom Plate, Part 2
Securing the Bottom Plate, part 2 Secure the bottom plate on the other side of the housing. Use the same key. page 22 / 26... -
Page 23: Changing The Printer's Position
Changing the Printer's Position Grab the printer’s housing and set the printer upright. page 23 / 26... -
Page 24: Plugging In The Extruder Cable
Plugging in the Extruder Cable Plug the extruder cable in, and then attach the extruder upper cover to the lower cover. page 24 / 26... -
Page 25: Material Guide Installation
Material Guide Installation Attach the material guide to the extruder cover. Next, secure the guide to the extruder cable with the material guide clamps. page 25 / 26... -
Page 26: Plugging In The Power Cable
Plugging in the Power Cable Plug the power cable in. page 26 / 26...
Need help?
Do you have a question about the M200 and is the answer not in the manual?
Questions and answers