Advertisement
Quick Links
Advertisement

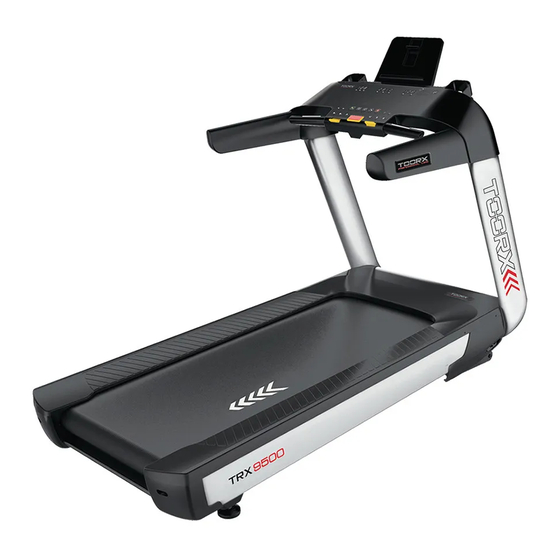
Summary of Contents for TOORX TRX 9500
- Page 1 INSTRUCTION...
-
Page 2: Assemble Instruction
Assemble Instruction Assembly Parts List Spec. Name Q.T.Y. Part # Name Q.T.Y. Part # Main Frame Hex Bolt M10*25 Console Frame Hex Bolt M8*15 Ipad holder Hex Bolt M8*25 Water holder Tapping Screw ST4.2*15 Pillar Frame Tapping Screw M8*40 Power plug Washer Ø10.5*ø20*t2 Motor Cover... -
Page 3: Assembly Steps
Assembly Steps Step 1: a: Use Philips Screw Driver to disassemble #07and #12 parts from 01(see figure below), and collect #12 (screw), take out of #07(motor cover) carefully from left and right side. Step 2: Set pillar (#05) into main frame (#01), use Hex Bolt and Flat Washer (as showed in figure) to fix #05, #13, #08 into Main Frame. - Page 4 Step 3: Connect wire D of #02 and wire D of #05. Set console frame (#02) into main frame (#05), and Use Allen Wrench (as shown in figure) with #10and #14 to fix console frame into #05. Screw it tight after 6 screws are screwed.
- Page 5 Step 5: Use PH Screw Driver to fix #09, #14 and #03 into #04. Finally, screw it tight. Notice: When setting #03 into the #4, please note the position of #04. And it takes 2 persons to screw it. Step 6: Use Hexagon wrench to screw #8 tight.
- Page 6 Step 7: Take power plug (#06) and set it into main frame (#01) Caution! ü Make sure the above assembly is finished properly as above steps before connect the equipment with electricity. ü Carefully check below instruction before operating the treadmill.
-
Page 7: Moving Instructions
Moving Instructions To Move the Treadmill ü Make sure the treadmill is fully stopped before trying to move it. ü Stand towards the rear end of running deck. Lift up the rear end of the running deck as the arrow shown in above picture. - Page 8 Operation Instruction Kindly reminder: please check the safety key before start Window display 1. ”speed”, “time “,”distance” ”calorie” ”calorie/h” ”heart rate” ”steps” ”incline” ”pace” window: Display ”speed”, “time “,”distance” ”calorie” ”calorie/h” ”heart rate” ”steps” ”incline” ”pace” information during exercise. Buttons function 1.
- Page 9 8. “cool down ” mode: choose “cool down” mode to relax when running. 9. “Volume+”,“Volume-” key: Adjust the volume of sound. 10.“3、6、9”are speed shortcut key which can set speed and incline quickly. 11.safety key: press safety key or pull safety key under any situation can stop the treadmill. Manual mode 1.
- Page 10 30. The user can press the "velocity +, -" key or "ascension +, -" button to select the appropriate to their age, the age range was 15-80 years, lattice window hints "input age"; ² The user selects his age, then press the "program" key, lattice window prompt "enter the target heart"; system according to the user to choose a good age, automatic recommend a suitable target heart displayed in the window, for the reference of the users.
- Page 11 Note: Heart rate control programs must use a chest strap to detect the heartbeat. The strap must be attached to the chest and close to the skin. Heart rate display is not a medical device, and there are many reasons for...
-
Page 12: Light Status
inaccurate detection. The results are for reference only. If feeling uncomfortable during exercise; press the stop button to stop running. Do not run with this program if you have high blood pressure, heart problems, etc. 4. Sleep mode: Stand by within 10 minutes without press any keys or programs. Press any keys or programs to start. 5. - Page 13 GARLANDO SPA Via Regione Piemonte, 32 - Zona Industriale D1 15068 - Pozzolo Formigaro (AL) - Italy contact@toorxprofessional.it www.toorxprofessional.it...


Need help?
Do you have a question about the TRX 9500 and is the answer not in the manual?
Questions and answers