
Related Manuals for SPRT SP-POS891


Summary of Contents for SPRT SP-POS891
- Page 1 SPRT ® POS Thermal Receipt Printer (SP-POS891) User’s Manual (Ver 1.03) Beijing Spirit Technology Development Co.,Ltd. www.sprt-printer.com...
-
Page 2: Table Of Contents
Content Introduction................................1 Chapter 1 Feature and Performance.........................1 1.1 Print Performance............................1 1.2 Print Paper..............................2 1.3 Print Font................................. 2 1.4 Interface................................2 1.5 Print Control Commands..........................3 1.6 Power Supply..............................3 1.7 Operation Environment..........................3 1.8 Outline Dimension............................3 1.9 Model classification............................4 Chapter 2 Operation Specification........................4 2.1 Printer Appearance............................ -
Page 3: Introduction
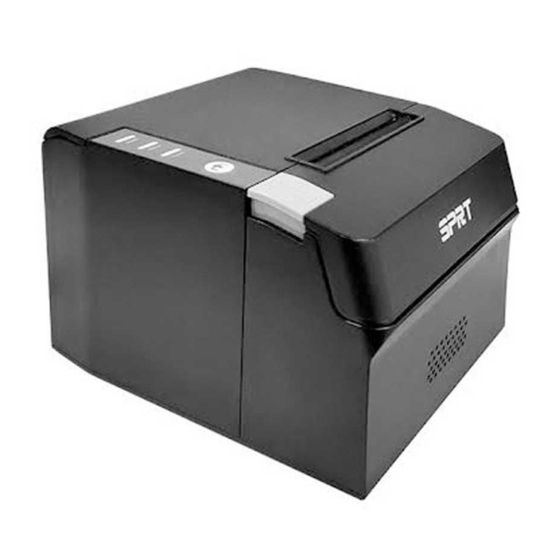
Introduction POS891 printer is a new type line thermal printer, it features in fast speed print, low print noise, high reliability, perfect print quality and ribbon needless, avoiding the vexation of regular maintenance. POS891 printer: small in outline dimension, simple operation, and extensive application, especially suitable for commercial cash register, PC-POS, bank POS and all kinds of receipts print. -
Page 4: Print Paper
Using condition: less than 30 cuts/minute ● Valid print width: 72mm 1.2 Print Paper ● Thermal paper roll model: TF50KS-E (Japan paper co.ltd) AF50KS-E (JUJO THERMAL) ● Thermal paper roll: Paper Type--Thermal Paper 79.5 xф80mm(max) Inner Diameter---13mm (min.) Thickness --- 0.06mm~0.08m 1.3 Print Font ●... -
Page 5: Print Control Commands
● USB Interface: Standard USB interface ● Cash Drawer Control DC24V, 1A, 6-pin RJ-11 socket. 1.5 Print Control Commands ● Character print commands: support double-width, double height print of ANK characters, user-defined characters and Chinese characters, the character line spacing is adjustable. ●... -
Page 6: Model Classification
1.9 Model classification Model Interface Print speed (Max) SP-POS891U 220mm/s SP-POS891US RS-232C、USB SP-POS891E 100M Ethernet RS-232C、USB SP-POS891USd SP-POS891UEd USB、100M Ethernet 200mm/s SP-POS891Udn SP-POS891UEdn USB、100M Ethernet Chapter 2 Operation Specification 2.1 Printer Appearance Printer part name diagram:... -
Page 7: Paper Installation
Figure 2-1 Printer Part Name Diagram 2.2 Paper Installation 2.2.1 Paper Loading POS891 adopts 79.5mm±0.5mm width thermal paper roll. Steps of Loading Thermal Paper are as below: Hold down the upper cover button on the left side, open the movable upper cover, draw a certain length of the paper roll, put the paper end on the print head, close the upper cover and press it downwards lightly. -
Page 8: Interface
Cutting Error. 2.3 Interface 2.3.1 Serial Interface The serial interface of SP-POS891 printer is compatible with RS-232C, supports DTR/DSR and XON/XOFF handshaking protocols, uses DB9 socket (female). The pin order of the serial port is as Fig.2-2 shows: Signal Pin No. -
Page 9: Ethernet Interface
2.3.2 Ethernet Interface The model with Ethernet interface use RJ45 Network socket. The appearance is as Fig.2-3 shows: Fig2-3 Ethernet Interface 2.3.3 USB Interface The standard accessories of POS891 printer includes a Mini USB cable with D Type connector which connects printer and main device. The USB type belongs to the slave device type(DEVICE). -
Page 10: Power Connection
The pin assignment is as below: Pin No. Signal Direction Chassis Ground —— Cash drawer driver signal 1 Cash drawer on/off status signal +24VDC —— Cash drawer driver signal 2 Signal ground —— 2.3.5 Power Connection POS891 uses the external power supply adopter as 24V±10%,1.5A, power socket is A-1009-3P model, as Fig. - Page 11 【FEED】is paper feeding button, the function of its enabling or disabling the button on/off can be set by print command, when the button is enabled, press 【FEED】 button, then the paper presenting driver starts up and paper fed into the printer; release【FEED】...
- Page 12 The details are as below: .. Non-recoverable error, the indicator flickers several times, then persistent ① lighting. The times of flickering means the error type, ERROR Indicator Flickering ERROR Type ERROR Description Type LED Flikers once:Internal memory reading and writing error LED Flikers twice:over-voltage LED Flikers three times:under-voltage...
-
Page 13: Power On Status
2.5 Power on status Paper cover close when power off. Press the power button, the error indicator and paper out indicator flash twice alternately and out, then printer will be on the normal working mode. 2.6 Self-test The self-test will check the condition of printer, if the printer prints out the self-test receipt correctly, it means the printer works normally, except interface with host. -
Page 14: Hexadecimal Printing
Fig.2-7 2.7 Hexadecimal Printing Turn on the printer according to the step below, it will enter the mode of Hexadecimal Printing 1.Open the cover; 2.Hold down 【FEED】 button,and connect with power; wait for the alarm and close the paper cover. 3.The printer will print out 3 lines as below: Hexadecimal Dump To terminate hexadecimal dump,... -
Page 15: Parameter Setting
single-click of “FEED” button, after 3 times, it will print out “*** Completed ***”, and exit hexadecimal printing mode. 2.8 Parameter Setting There are two ways to set printer parameters: 1. Use the setting tool on the PC side for setting. 2. - Page 16 Quick enter method: Open the paper case cover firstly when printer is power off. Hold the 【FEED】button and switch on the printer, then release the 【FEED】button quickly, then printer enter the program upgrade mode. At this time, the status indicator flash once a second. Notice: 1.
- Page 17 Baud rate: FEED FEED FEED 9600 19200 38400 57600 FEED FEED FEED FEED FEED 4800 2400 1200 115200 Language: FEED FEED China-BIG5 China English FEED Font: FEED 12×24 9×17 FEED Print density: FEED FEED MEDIUM HIGH FEED Print speed: FEED FEED FEED 250mm/s...
Need help?
Do you have a question about the SP-POS891 and is the answer not in the manual?
Questions and answers
how to provide page setup for sprt sp-pos891
The SPRT SP-POS891 printer allows parameter setup through the following steps:
1. Enter Setting Mode:
- Open the paper case cover.
- Press the FEED button twice.
- Close the paper cover.
- The printer will enter setting mode and print the first set of parameters with default values.
2. Adjust Parameters:
- Follow the instructions in Appendix A for detailed parameter settings.
3. Exit Setting Mode:
- Open the paper case cover.
- Press the FEED button.
- Close the paper cover and release the FEED button.
- The printer will save the settings and return to normal mode.
Note: The models SP-POS891USd and SP-POS891Udn do not support button-based parameter settings. Additionally, turning off the printer directly will not save changes.
This answer is automatically generated