Table of Contents
Advertisement
Quick Links
Scan for full manual
Step 1: Check what's in the box
KT-107SC KronoMeet Touch Panel
or
KT-107SCRB KronoMeet Touch
Panel
(Reduced Bandwidth)
1 C-USB/Micro B cable
Step 2: Get to know your KT-107SC / KT-107SCRB
#
Feature
1
Hidden Reset Button
2
Light Sensor
3
Activity RGB LED
4
Camera
5
Microphone
6
Speakers
7
Tabletop Mount Connector
8
Cover
9
Power Button
10
Volume-up Button
11
Micro USB Port
12
Flat Cable Connector
13
Connecting Holes
KT-107SC, KT-107SCRB Quick Start
KT-107SC / KT-107SCRB Quick Start Guide
This guide helps you install and use your
Go to
www.kramerav.com/downloads/KT-107SC
upgrades are available.
5V AC/DC adapter
Installation screws
Function
Located on top side. Insert a pin and hold for a few seconds to reset KT-107SC.
Automatically adjusts the screen brightness according to the room lighting conditions.
Lights green when powered, flashes green when charging the battery, lights red when
camera is on.
For remote room viewing or video conferencing.
For audio communication, recording or conferencing.
To output the sound.
For connecting to the tabletop mount.
Covers the wall mount connections and power button.
Press to power on the KT-107SC. When powered, press briefly to open the pop-up menu
and power down the device, reboot it or return to the Home-page. Press and hold to
power down the device immediately. This button is also used for firmware upgrade.
Used for firmware upgrade. Use also to increase
For connecting to an adjacent on-wall USB device and for firmware upgrade.
For connecting to the on-wall mount unit.
For connecting to the panel mount plate. To prevent potential damage to the
Touch
Panel, use only Kramer supplied screws and mounts.
KT-107SC
/
KT-107SCRB
for the first time.
to download the latest user manual and check if firmware
On-wall mount unit
Panel mount plate
KT-107SC
P/N: 2 9 0 0 - 3 0 1 3 3 7 QS
1 Quick start guide
1 right-angle OTG USB cable
speaker volume.
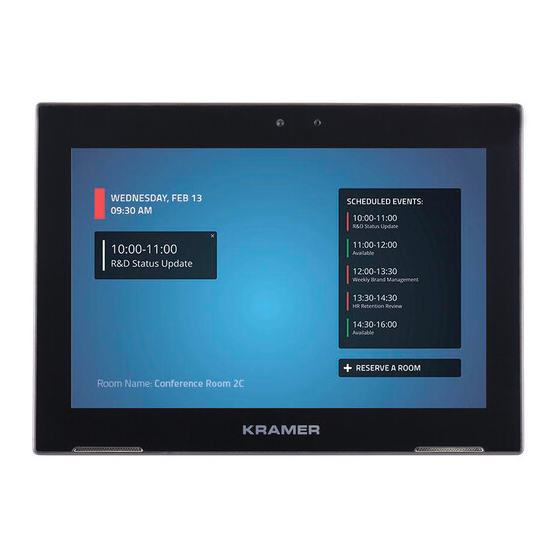
KronoMeet
Rev: 3
Advertisement
Table of Contents

Related Manuals for Kramer KT-107SC


Summary of Contents for Kramer KT-107SC
- Page 1 Step 2: Get to know your KT-107SC / KT-107SCRB Feature Function Hidden Reset Button Located on top side. Insert a pin and hold for a few seconds to reset KT-107SC. Light Sensor Automatically adjusts the screen brightness according to the room lighting conditions. Activity RGB LED Lights green when powered, flashes green when charging the battery, lights red when camera is on.
- Page 2 Screw the 4 wall-mounting screws (supplied) through the screw openings. The various screw openings fit various types of wall junction boxes. On the rear side of the KT-107SC, remove the screw cover and the cover (by slightly pressing downwards and then pulling out) and set aside.
- Page 3 Wait for Kramer KronoMeet log-in page to load. 2. Press power button (9) on the rear of the panel to exit the KronoMeet app. 3. Enter the default password (Kramer) and proceed to the Home Screen. 4. Make sure thew device is connected to the Internet.
- Page 4 ▪ Status Bar: Show/hide lower and/or top status ▪ Auto Sleep: Sleep timeout. KT-107SC model: FCC-ID-R8S-KT-107 This equipment has been tested and found to comply with the limits for a Class A digital device, pursuant to Part 15 of the FCC Rules.
Need help?
Do you have a question about the KT-107SC and is the answer not in the manual?
Questions and answers