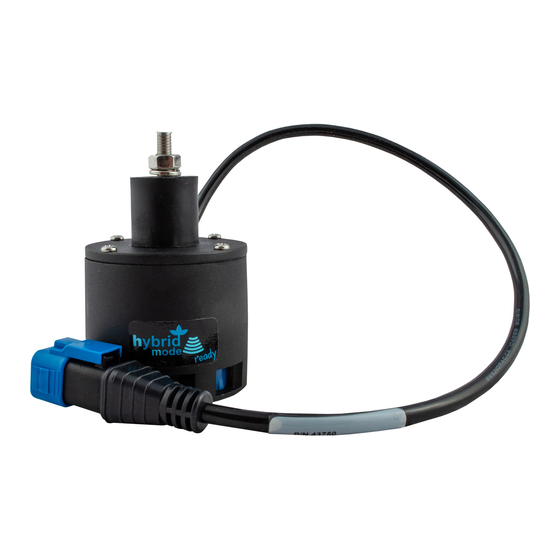
Norac UC5 Manual
Hide thumbs
Also See for UC5:
- Operator's manual (68 pages) ,
- Installation manual (50 pages) ,
- Instruction manual (35 pages)
Advertisement
Norac Unlock
The Features Tab is where you can enter unlock
codes. Unlock codes are unique to the serial
number of each display and the feature
registration number. You must supply these
numbers to your dealer when purchasing any
unlock codes. Press
code and press
to enable the feature.
Norac UC5 can be used with or without an unlock but how you setup and run the system differs depending on whether
the system is locked or unlocked and using CAN A or CAN B.
CAN A
CAN B
Create Configuration
To create a configuration, make the following button presses to start the Configuration Wizard and then follow the
instructions given on the display. The configuration can be started in two places:
OR
The wizard will guide you through the process of selecting or creating a vehicle, implement and controllers.
Your Operating Configuration will then be viewable when you start a new Field Operation with the Field Operation Wizard.
Setup Configuration
PN 2006019–ENG Rev. I
Features
to enter the unlock
Locked
No Functionality
Setup using Universal Terminal Screens
Operate using Universal Terminal Screens
Configuration
Configuration
Consule Setup
Features
Display
AgFiniti
General
Feature
Automatic Swath
Multiple Product
Norac UC Interface
ISOBUS
Hardi Sprayer
Setup using Ag Leader Screens
Operate using Ag Leader Screens
Setup using Universal Terminal Screens
Operate using Ag Leader Screens
Application
Select Your Specific
Configuration
Norac UC5
Advanced
Status
Feature Description:
Enabled
Enabled
Enabled
Enabled
Enabled
Unlock
UnLocked
OR
Planting
NORAC UC5
1
Advertisement
Table of Contents

Related Manuals for Norac UC5


Summary of Contents for Norac UC5
- Page 1 Hardi Sprayer Enabled Unlock Norac UC5 can be used with or without an unlock but how you setup and run the system differs depending on whether the system is locked or unlocked and using CAN A or CAN B. Locked...
- Page 2 • Boom Control Module—Turn motion detection on/off, choose source as GPS or AUX. • Advanced Settings—For use by a technician. • Retune—From time to time it may be necessary to recalibrate (Retune) the UC5 electronics to your sprayer’s hydraulics. Examples of such times are: •...
- Page 3 • Soil Mode - The minimum height setting when operating in Soil Mode. • Crop Mode - The minimum height setting when operating in Crop Mode. Also, consult the NORAC UC5 manual for more information.
-
Page 4: Load Configuration
Engage button appears on the display’s Task Bar. The Engage button enables boom height control. This button is green when the NORAC UC5 system is engaged; and grey when disengaged. Press on this button to engage and disengage the NORAC UC5 Boom Height Control. -
Page 5: Boom Height Control Options Button
At the center of the Map screen’s Equipment Mode: Crop Target Height: 12 in Sensitivity: 5 Tab, the Boom Height Control Options button displays data on NORAC UC5 Run Time performance. • The Boom Icon appears as blue when in 50 F 15.9 Automatic Mode;... -
Page 6: Boom Height Diagnostics
The Boom Height Diagnostics screen shows all data for individual sensors, including Height, Roll and Temperature. To go to the Boom Height Diagnostics screen, press on the Device Information button. At the Devices screen, highlight the item marked NORAC UC5 then press the Diagnostics button. The NORAC UC5 Diagnostics screen appears. - Page 7 Norac UC5 UC5 Stand-Alone System GPS 6500 WITH RELAY POWER PN 2006019–ENG Rev. I...
- Page 8 UC5 Self-Propelled with Modules GPS 6500 WITH RELAY POWER 4003875 WSM AUX INPUT 7 SECTON WITH RATE CONTROL ECU POWER 4002871 LOCAL TERM CAN CABLE PART NUMBER TO MODULES AND SWITCHBOX MAY DIFFER FROM CABLES SHOWN...
- Page 9 Norac UC5 UC5 ISOBUS Vehicle GPS 6500 WITH RELAY POWER 4003875 WSM AUX INPUT 7 SECTON WITH RATE CONTROL FRONT IBBC CONNECTOR (IF AVAILABLE) VEHICLE ISOBUS VEHICLE ISOBUS REAR IBBC CONNECTOR PN 2006019–ENG Rev. I...
Need help?
Do you have a question about the UC5 and is the answer not in the manual?
Questions and answers