Advertisement
Quick Links
Advertisement

Subscribe to Our Youtube Channel
Related Manuals for Verano Mallorca Special V150


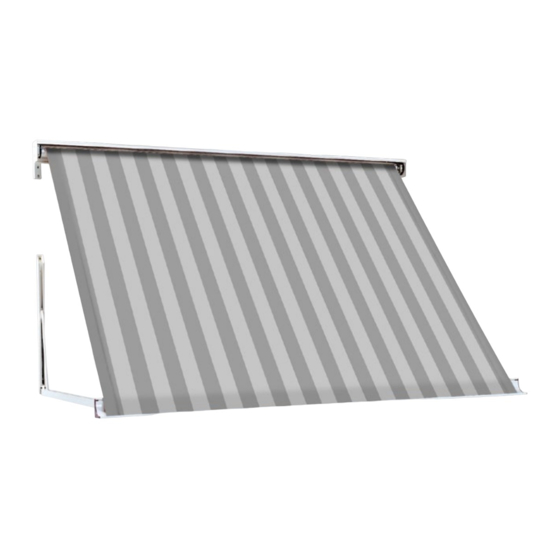
Summary of Contents for Verano Mallorca Special V150
- Page 1 INSTALLATION MANUAL DROP-ARM AWNING V150 - MALLORCA SPECIAL...
-
Page 2: Necessary Tools
INSTALLATION MANUAL DROP-ARM AWNING V150 - MALLORCA SPECIAL Content 1. Drop-arm awning * 2. Control a. Manual control: crank handle b. Manual control: strap coiler c. Electrical control: switch + plug d. Remote control: remote control + plug * Depicted awning has manual control Necessary tools •... - Page 3 Important before installation General warning Installing the Verano® product yourself is at your own risk. Only use this instruction as a tool and for the installation of this specific Verano® product. If you cannot install the product yourself, you can always opt for professional installation. The installation team of Verano®...
- Page 4 INSTALLATION MANUAL DROP-ARM AWNING V150 - MALLORCA SPECIAL Installation of the wall supports 1.1 Marking the holes for the wall supports The wall supports need to be installed 10 cm to 15 cm from the ends (fig 1.1). Optional remaining wall supports need to be divided equally between the two outer wall supports. X = Width of the awning wall support wall support...
- Page 5 INSTALLATION MANUAL DROP-ARM AWNING V150 - MALLORCA SPECIAL 1.2 Drilling the holes Drill the installation holes. Use matching, high quality plugs and bolts (standard A2 or for a sea climate A4). Install the awning to the wall and fixate the bolts. See figure 1.3. fig.
- Page 6 INSTALLATION MANUAL DROP-ARM AWNING V150 - MALLORCA SPECIAL Installation of the awning 2.1 Installation of the awning with manual control (outside) Hang the awning in the wall supports. See figure 2.1 and 2.2. Proceed with step 2.3 “Securing the awning”. fig.
- Page 7 INSTALLATION MANUAL DROP-ARM AWNING V150 - MALLORCA SPECIAL 2.2 Drilling the hole for control 1. Carefully mark the extension hole where the cable or strap needs to go inside for the control. - Cable: the hole needs to be exactly at the same height as where the cable comes out of the box. - Strap: minimally 50 mm below the box, straight beneath the location where the strap comes out of the box.
- Page 8 INSTALLATION MANUAL DROP-ARM AWNING V150 - MALLORCA SPECIAL 2.4 Securing of the awning 1. Secure the wall supports using the included bolts. The bolts need to be applied manually. If this is not possible, the wall supports are nog aligned well! Attention! The awning may not be opened before the securing bolts are in place! fig.
- Page 9 INSTALLATION MANUAL DROP-ARM AWNING V150 - MALLORCA SPECIAL Installation of the drop-arms 3.1 Marking the holes for the drop-arms Mark the drop-arms following the drawing below. The drop-arms need to be placed in one line. If the positions of the drop-arms are not levelled, the awning will not function well. The pictured sizes are the minimal sizes that the drop-arm needs to fall inside the drop-arm awning.
- Page 10 INSTALLATION MANUAL DROP-ARM AWNING V150 - MALLORCA SPECIAL 3.3 Setting the sheets to the arms Slide the sheets in the ends of the arms. Make sure that the sheets are faced downwards (fig. 3.5). Fixate the sheets with the included screws (fig. 3.6) fig.
- Page 11 INSTALLATION MANUAL DROP-ARM AWNING V150 - MALLORCA SPECIAL Installation of the strap coiler (outside) 1. Determine the position of the strap guide (50 to 100 mm below the boxing of the drop-arm awning) and mark two holes on the window frame or the wall.
- Page 12 INSTALLATION MANUAL DROP-ARM AWNING V150 - MALLORCA SPECIAL 9. Lead the end of the pull-up strap through the strap coiler and place the holes over the flap. Attention! Never shorten the strap before installation! You need the strap length when the drop-arm awning opens.
- Page 13 INSTALLATION MANUAL DROP-ARM AWNING V150 - MALLORCA SPECIAL Installation of the strap coiler (inside) 1. Put the pull-up strap through the guide pulley. Make sure that the pull-up strap is not twisted. 2. Place the guide pulley in the control hole. 3.
- Page 14 INSTALLATION MANUAL DROP-ARM AWNING V150 - MALLORCA SPECIAL 7. Lead the end of the pull-up strap through the strap coiler and place the holes over the flap. Attention! Never shorten the strap before installation! You need the strap length when the drop-arm awning opens.
- Page 15 INSTALLATION MANUAL DROP-ARM AWNING V150 - MALLORCA SPECIAL Installation of electrical control (inside) 1. Determine the position of the switch and mark two holes on the inside of the wall. 2. Drill the holes with a 6 mm drill. Ø6 230 V 3.
- Page 16 INSTALLATION MANUAL DROP-ARM AWNING V150 - MALLORCA SPECIAL 5. Connect the 4-wired cable of the motor and the 3-wired cable and plug following the scheme below. If necessary, ask an installer for advise. Motor left (seen from the outside) Motor right (seen from the outside) 6.
- Page 17 INSTALLATION MANUAL DROP-ARM AWNING V150 - MALLORCA SPECIAL Setting of the front bar Make sure that the front bar is located at an equal distance from the cap over the whole width (fig. 7.1). Set the front bar by loosening the bolts of the drop-arm in one turn (fig 7.2). After that, the drop-arm can slide up and down (fig. 7.3). If the front bar is set well, you can fix the bolts of the drop-arm (fig 7.4).
-
Page 18: User Information
INSTALLATION MANUAL DROP-ARM AWNING V150 - MALLORCA SPECIAL User information A high quality cloth is integrated into your chosen screen. In view of optimal quality we have chosen a high technology production process in which every step of the production is strictly selected. By way of automation, permanent checks, laboratory tests and finely detailed after-care, nothing is left to chance.
Need help?
Do you have a question about the Mallorca Special V150 and is the answer not in the manual?
Questions and answers