Table of Contents
Advertisement
Quick Links
Advertisement
Table of Contents

Related Manuals for Verano V255 Salou


Summary of Contents for Verano V255 Salou
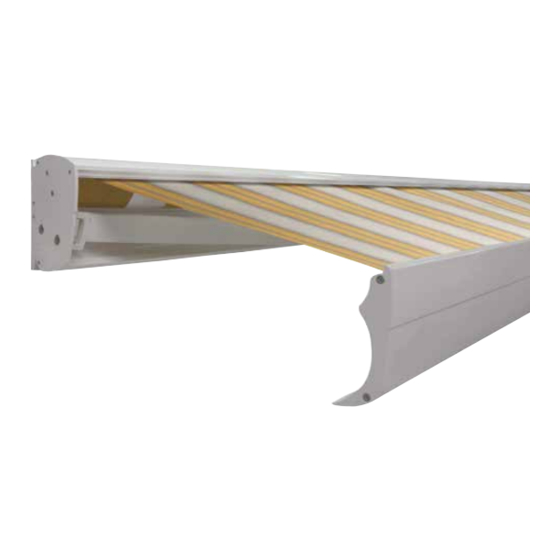
- Page 1 Installation manual Sun awning V255 Salou cassette...
-
Page 2: Content Package
Installation manual Sun awning V255 Salou Content package 1. Sun awning * 2. Control a. Manual control: crank handle b. Electrical: switch + plug c. Remote controlled: remote control + plug * The displayed awning is an electrical version. Necessary tools •... -
Page 3: Specifications
Installation manual Sun awning V255 Salou Specifications Sizes in mm Wall installation 157,5 32,9 32,9 Front view wall support, left Side view wall support, left Minimal width (W) per fabric projection Projection [mm] Minimal awning width (W) [mm] 1500 1655... - Page 4 General warning Mounting the Verano® product yourself is at your own risk. Only use this instruction as a tool and for the mounting of this specific Verano® product. If you cannot mount the product yourself, you can always opt for professional mounting. The mounting team of Verano®...
-
Page 5: Installation On The Wall
Installation manual Sun awning V255 Salou Installation on the wall 1.1 Marking the holes For the installation of the awning, the two wall supports (A) need to be level horizontal and vertical. See figure 1.1 and 1.2. The wall supports need to be installation in the same line on the wall. If the wall supports are not in the same line (with an uneven position of the arms as a result) the awning will not function correctly. - Page 6 Installation manual Sun awning V255 Salou 1.4 Installation using wall strips If there are less than five rows of stones above the installation location, wall strips need to be used. The strips divide the power over a larger wall surface so that the wall can carry more weight. figure 1.3.
- Page 7 Installation manual Sun awning V255 Salou Electrical wall control 2.1 Connecting the wall control 1. Check the position of the motor (left or right), seen from the outside! 2. If you have inside control, first guide the cable through the hole in the wall you drilled before.
-
Page 8: Remote Control
Installation manual Sun awning V255 Salou Remote control 3.1 Connecting the remote control 1. If the power point is located on the inside, first guide the wire through the hole in the wall you drilled before. 2. Install the plug according to the color scheme below: •... - Page 9 Installation manual Sun awning V255 Salou Inclination 4.1 Standard factory setting The walk-through height of the front bar is standardly set between 1,80 and 1,90 meter at an installation height of 2,70 meter. 4.2 Setting the inclination If you want to set the awning different from the standard factory setting, follow the steps below: 1.
-
Page 10: Front Bar
Installation manual Sun awning V255 Salou Front bar 5.1 Setting the front bar The right position can be achieved if the front bar connects perfectly to the top- and bottom cap if the awning is closed. See figure 5.1. fig. 5.1... - Page 11 Installation manual Sun awning V255 Salou Valance 6.1 Installation of the valance Follow the steps below for the installation of the valance. See figure 6.1. 1. Take the cover of the front bar on one side. The fabric tendon is locked in the front bar.
-
Page 12: User Information
User information A high quality cloth is integrated into your chosen in your screen that are difficult to detect and impossible screen. In view of optimal quality we have chosen a high to avoid. They are inherent in all technical materials but technology production process in which every step of do not reduce the technical presentation and durability the production is strictly selected.
Need help?
Do you have a question about the V255 Salou and is the answer not in the manual?
Questions and answers