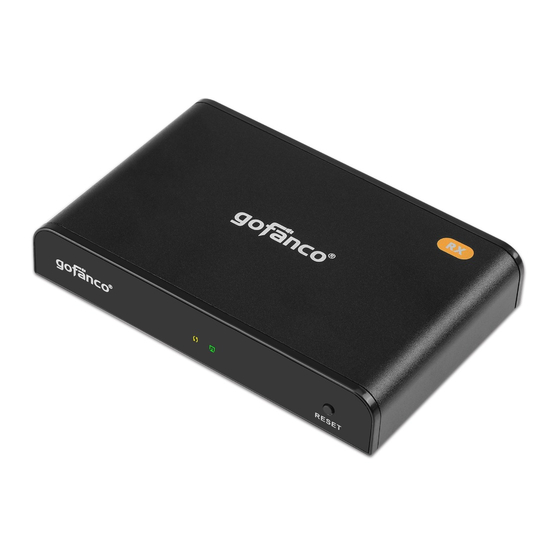
Summary of Contents for gofanco HDbitTPro
- Page 1 HDMI HDbitT CAT5e/6 Extender 1080p with Loopout - 120m User's Guide P/N: HDbitTPro G4-0054A...
- Page 2 Thank you for purchasing from gofanco. Our products aim to meet all your connectivity needs wherever you go. For optimum performance and safety, please read the instructions carefully and keep this User’s Guide for future reference. If you need more information about our products, please visit www.gofanco.com.
- Page 3 • Shut off power and make sure environment is safe before installation • Do not plug the HDMI cables and IR cables in/out when the device is in use to avoid cable damage. Make sure they are plugged into the correct ports •...
-
Page 4: Package Contents
• Supports IR remote control function to control the source device from long distances • Supports additional Receivers (part # HDbitTPro-RX) sold separately • HDMI out on the Transmitter (TX) for local monitoring of the HDMI signal • Easy and clean installation... -
Page 5: Product Layout
Product Layout Figure 1: Transmitter (TX) Power LED: On when the Transmitter is powered Activity LED: Blinks during data transmission Link LED: On when the Cat5e/6 cable is connected/linked properly to Transmitter's and Receiver's RJ45 Reset: Press to reset if HDMI extender doesn't work properly Power Jack: Connect the included power adapter here... - Page 6 HDMI In: Connect your HDMI source here with an HDMI cable (cable not included) Figure 2: Receiver (RX) Power LED: On when the Receiver is powered Activity LED: Blinks during data transmission Link LED: On when the Cat5e/6 cable is connected/linked properly to Transmitter's and Receiver's RJ45 Reset: Press to reset if HDMI extender...
-
Page 7: Installation Requirements
HDMI Out: Connect an HDMI display here with an HDMI cable (cable not included) Installation Requirements HDMI source device (computer, DVD player, etc) HDMI display device (SDTV/Monitor, HDTV/Monitor, projector, etc.) UTP/STP CAT5e/6 cable following IEEE-568B wiring standard Hardware Installation Power off all devices including your HDMI source and HDMI display(s). - Page 8 Optional: Connect the IR Blaster Extension Cable to the Transmitter's IR Out port. Face the eye towards your HDMI source device's IR window. This connection is needed only if you need to control your HDMI source from the remote location. Plug your Cat5e/6 cable between the Transmitter's RJ45 Out and Receiver's RJ45 Connect your HDMI display to the...
- Page 9 One-to-One: Extends HDMI signals up to 120 meters over a single Cat5e/6 cable. Transmitter Receiver One-to-Many: Extend and split using dedicated network router/switch. - One Transmitter (TX) to several Receivers (RX) - Additional Receivers (part # HDbitTPro- RX) sold separately Receiver Transmitter Receiver Receiver...
- Page 10 Cascade: Unlimited extension with dedicated network router/switch. Transmitter Receiver...
- Page 11 FAQ & Solutions What if my display shows “Waiting for connection...”on the bottom right corner? 1) Please check if the power adapters of Transmitter (TX) and Receiver (RX) are connected and powered on. 2) Check the network cable (Cat5e/6) is firmly connected between the TX and RX.
-
Page 12: Specifications
Specifications Item Specification Compliance HDMI 1.3, HDCP 1.2 Transmission protocol HDbitT Transmission distance Cat5e: 100m, Cat6: 120m 480i@60Hz, 480p@60Hz, 576i@50Hz, Resolution 576p@50Hz, 720p@50/60Hz, 1080i@50/60Hz, 1080p@50/60Hz IR frequency 20KHz - 60KHz HDMI connector Type A, 19-pin, Female Power consumption TX: 3.5W; RX: 3W Power supply 5VDC / 1A Operating temperature... - Page 13 Blank Page...
- Page 14 Blank Page...
- Page 15 Disclaimer The product name and brand name may be registered trademarks of related manufacturers. TM and ® may be omitted on the user’s guide. The pictures on the user’s guide are just for reference, and there may be some slight differences with the actual products.
- Page 16 Thank you for choosing gofanco www.gofanco.com...


Need help?
Do you have a question about the HDbitTPro and is the answer not in the manual?
Questions and answers