
Related Manuals for gofanco HD20Ext1xN


Summary of Contents for gofanco HD20Ext1xN
- Page 1 HDMI Over IP Extender 4K60 - 100m User's Guide P/N: HD20Ext1xN (Kit) HD20Ext1xN-RX (Receiver) G4-0155A...
- Page 2 Thank you for purchasing from gofanco. Our products aim to meet all your connectivity needs wherever you go. For optimum performance and safety, please read the instructions carefully and keep this User's Guide for future reference. If you need more information about our products, please visit www.gofanco.com.
- Page 3 Receiver (RX). See EDID Management on page 11 for more information • Direct 1-to-1 connection or 1-to-many over a dedicated Gigabit Ethernet switch or cascading switches. Additional Receivers (part # HD20Ext1xN- RX) sold separately • Low latency • Lightning/Surge/ESD protection...
-
Page 4: Installation Requirements
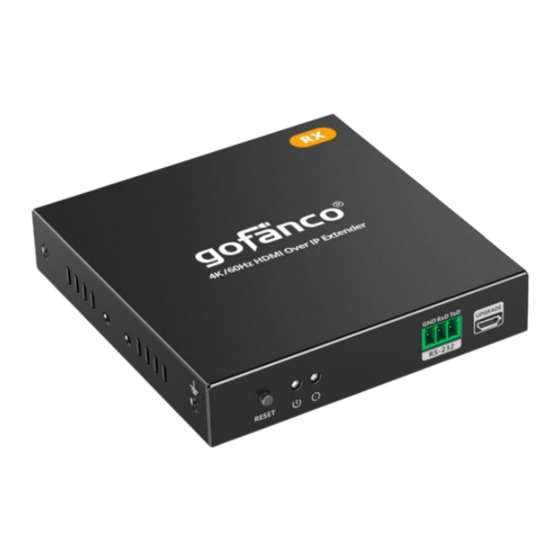
Package Contents • HDMI Over IP Extender 4K60- 100m Kit (1 Transmitter & 1 Receiver) • 1 IR Blaster cable and 1 IR Receiver cable • 2 Power adapters (5VDC/1A) • 2 Terminal blocks (RS232) • Surface mount accessories • User's guide Installation Requirements HDMI source device (DVD player, set top box, PC,... - Page 5 Product Layout Figure 1: Transmitter (TX) Front and Rear Panel Layout Reset: Press to reset if the extender doesn't work properly Power LED: On when the Transmitter is powered Status LED: • Off: Connection NOT established between the TX and RX •...
- Page 6 IR Out: Connect to the included IR Blaster cable to control the HDMI source device from the remote display location - See IR Application on page 10 HDMI In: Connect to your HDMI source with an HDMI cable (cable not included) HDMI Out: Connect to an HDMI display, with an HDMI cable, for local monitoring of the remote display (cable not included)
- Page 7 Status LED: • Off: Connection NOT established between the TX and RX • Flashing Slowly: Connection established between the TX and RX but there is NO signal transmission (Gigabit Ethernet connection) • Quick Flash: Connection established between the TX and RX but there is NO signal transmission (1 to 1 connection) •...
- Page 8 Hardware Installation To achieve optimal performance, 100% copper CAT6/7 cable is recommended. Power off all devices including your HDMI source and HDMI display(s). Connect your HDMI source to the Transmitter's HDMI In connector. Optional: Connect your HDMI display to the Transmitter's HDMI Out connector with an HDMI cable (HDMI cable not included) for local monitoring of the HDMI signal.
- Page 9 (100 m) over a single CAT6/7 cable. One-to-Many: Extend and split using a dedicated Gigabit switch or cascading switches. - One Transmitter (TX) to several Receivers (RX). - Additional Receivers, (part # HD20Ext1xN-RX), sold separately. - Supports up to 100 Receivers (RX).
- Page 10 Cascade: Flexible extension with dedicated Gigabit switches. Supports up to 100 Receivers (RX). IR Application HDMI Source Device Control from RX Location Connect the IR Blaster cable to the TX's IR Out port. Face the eye towards your HDMI source device's IR window.
- Page 11 EDID Management • The default EDID is 4K @60Hz (3840x2160) • If there's a display connected to the HDMI loopout on the Transmitter (TX), EDID learning of this display will occur automatically and override the default EDID • 4K to 1080p auto downscaling is supported on the Receiver (RX).
- Page 12 RS232 Passthrough Connect the TX's or RX's RS232 port to your control PC's serial port using an RS232 cable. COM Port Setting RS232 Serial Line Wiring Diagram Make sure the RS232 serial lines are firmly connected and the serial data lines are oriented correctly. Note: If your RS232 serial device does not communicate, try to change the order of the TXD and RXD lines.
- Page 13 FAQ & Solutions Q1: Why is the Status LED off? 1. Make sure that all equipment is powered on. 2. Make sure the network cable (CAT6/7) is firmly connected between the TX and RX. 3. Make sure the HDMI source device is connected to the Transmitter (TX) and powered on.
-
Page 14: Specifications
Specifications... - Page 15 Disclaimer The product name and brand name may be registered trademarks of related manufacturers. TM and ® may be omitted on the user's guide. The pictures on the user's guide are just for reference, and there may be some slight differences with the acutal products.
- Page 16 Thank you for choosing gofanco www.gofanco.com...
Need help?
Do you have a question about the HD20Ext1xN and is the answer not in the manual?
Questions and answers