Advertisement
Quick Links
Advertisement

Related Manuals for Lilliput 619AT


Summary of Contents for Lilliput 619AT
- Page 1 TFT LCD COLOR MONITOR...
- Page 2 DEAR CUSTOMERS Thank you for purchasing the liquid crystal display monitor. This product employs new integrate circuits and high quality TFT LCD modules. It is putting out with its low power consumption, emits no radiation, and other advantage characteristics. This product is shaped with modern style and is easy to be carried with.
-
Page 3: Table Of Contents
CONTENTS 1. PRODUCT DESCRIPTION -------------------- 2. REMOTE CONTROL---------------------------- 3. MATCHED CABLES------------------------- 4. MENU OPERATION ---------------------------- IN AV MODE-------------------------------------- IN PC MODE-------------------------------------- IN DVI&HDMI MODE-------------------------- 5. ACCESSORIES ------------------------------------ 6. PARAMETER -------------------------------------- 7. TROUBLESHOOTING --------------------------- 8. REMARK----------------------------------------... -
Page 4: Product Description
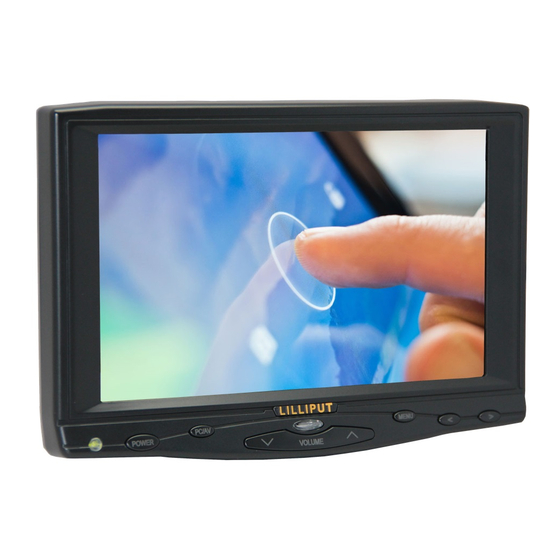
1. PRODUCT DESCRIPTION Picture 1. Indication light: Red is off, green is standby. 2. Power switch PC、DVI、VIDEO1、VIDEO2 and HDMI switch 3. A/V: 4. “ ” : Volume down or to adjust the value of menu setting function ∨ 5. IR Sensor for remote control 6. -
Page 5: Remote Control
10. DC 12V 、 11. DVI H DMI input 12. 14P SKS input 2. REMOTE CONTROL 1. MUTE 2. Display mode switch: PC、DVI、VIDEO1、VIDEO2 and HDMI switch : Left move,Volume down or to adjust the value of setting function : Down move, to adjust phase automatically under PC mode 5. -
Page 6: Matched Cables
3. MATCHED CABLES Match cable SKS cable: 1 14P SKS Input Jack: all kinds of AV signal input, note that put it correctly into the SKS input jack of the monitor 2 Black 9-pin VGA signal input jack 3 Yellow RCA: Video signal 1 input 4 Yellow RCA: Video signal 2 input 5 White RCA: Audio signal input 6 Black Jack: DC 12V Power input... -
Page 7: Menu Operation
HDMI connect HDMI cable (optional): 1. HDMI signal input end 2. HDMI signal input connect device with HDMI signal 3. USB port connect computer for touch function (optional) 4. MENU OPERATION After connected correctly and then Power on, Press “MENU” on the unit or by remote control to show MENU IN AV MODE IN PC MODE... - Page 8 IN DVI & HDMI MODE DVI MODE HDMI MODE As follows: OSD MISCELLANEOUS OF DVI MODE OSD MISCELLANEOUS OF HDMI MODE Press “>/<”on the unit or “ ” on the remote control to select item, eg. and it will be highlighted; and then press ∧/ ∨of the unit or to adjust the favorite values.
- Page 9 LANGUAGE: There are 2 languages provided for choice, English and Chinese RESET: you can reset adjustment of the unit when click “YES” OSD H-POSITION ADJUSTMENT: to adjust the OSD move in horizontal direction OSD V-POSITION ADJUSTMENT: to adjust the OSD move in vertical direction OSD DURATION: to adjust the duration of OSD from5-100seconds.
-
Page 10: Accessories
5. ACCESSORIES 1. Remote control 1piece 2. Bracket 1piece 3. Touch pen 1piece (optional) 4. Drive disk 1piece (touch driver, please choose and install correct touch driver as per your PC OS) 5. Home DC adapter 1piece 6. Car power (pass CE) 1piece 7. -
Page 11: Parameter
6. PARAMETER Panel Size 7” TFT LCD Resolution 800×480 Brightness 450cd/㎡ Contrast 500:1 Viewing Angle 140°/ 120°(H/V) Input Voltage DC 12V Input Signal PC(VGA),AV1,AV2,HDMI,DVI Power Consumption ≤8W Size(LWD): 187mm×128mm×33.4mm 7. TROUBLE SHOOTING 1. Only black-and-white image Check the level of color saturation and brightness is proper. 2. -
Page 12: Remark
8. REMARK: If there are still any problems, you can connect with the related deals *If interruptive image occurs, it maybe that the VGA signal frequency isn’t matched with normal standard *It is a normal condition that some bright lines appear on the screen when you turn the unit.
Need help?
Do you have a question about the 619AT and is the answer not in the manual?
Questions and answers