Table of Contents
Advertisement
Quick Links
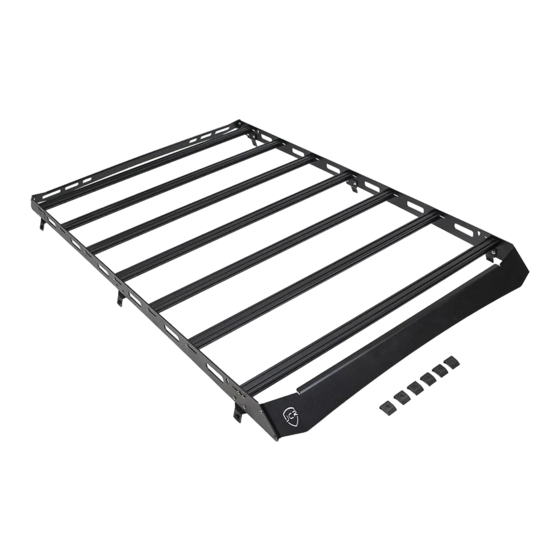
XJ ROOF RACK
INSTALLATION INSTRUCTIONS
TOOLS NEEDED
• 7/32 & 3/16 Allen
Please read the mounting instructions below
carefully before attempting to install.
HARDWARE
Roof Mount Hardware
• 5/16-18-5/8 Button Head (6)
• 1/4 USS Flat Washer (6)
Roof Rack Assembly Hardware
• 1/4-20-3/4 Button Head SS (60)
• 18-8 Washer SS (60)
• 1/4-20 Serrated Flange Nut (28)
• 316 SS Washer for M8 Screw Size (12)
• M8-1.25-25mm Button Head (12)
• Rubber Push-in Bumper (4) (Used for a different rack -not
needed)
• 80/20 Slide-in T-Nut (4)
• 18-8 SS Button Head 1/4-20 SS (4)
Thank you for purchasing your new roof rack from JcrOffroad!
Checkout our website, www.jcroffroad.com for other great off-
road products. Be sure to rate and review our product online. If
you have any questions or are missing parts, please don't hesitate
to call us at 269-353-1184!
Advertisement
Table of Contents

Related Manuals for JCROffroad XJRK


Summary of Contents for JCROffroad XJRK
- Page 1 • 80/20 Slide-in T-Nut (4) • 18-8 SS Button Head 1/4-20 SS (4) Please read the mounting instructions below Thank you for purchasing your new roof rack from JcrOffroad! Checkout our website, www.jcroffroad.com for other great off- carefully before attempting to install.
- Page 2 Assemble the rack on the ground. It’s easier to assemble the rack first then install it as one piece on the Jeep. Be sure to orient the crossbars with the milled t-slot holes facing up. This will allow you to add t-nut hardware for mounting gear later. Bolt the crossbars to the side rails using the 3/4"...
- Page 3 Bolt the fairings on the rack, using the same 3/4" button head bolts and washers as the crossbars, with the addition of flange nuts on the inside (3 per side for the front fairing, 2 per side for the rear). For now, position the fairings up as high as they will go and snug the bolts. We will adjust them down once the rack is on the roof.
- Page 4 With the help of a friend, place the rack up on the Jeep with the mounts sitting in the drip rails. Position the rack from front to back on the roof, as pictured. Install the outer mounting brackets, leaving them loose until you have all of them started. We recommend using red Loctite on the side outer bracket bolts.
- Page 5 Adjust the rack up and down at each mount to level the rack. Then tighten up all of the mounting brackets. Adjust the fairings down firmly against the roof. This will prevent them from flexing at higher speeds. Dirt/debris can get stuck in the edge trim over time and could wear on your paint.
- Page 6 Slide two t-nuts into each slot on the front crossbar. Bolt the light bar mounting brackets to these t-nuts using the 1/4" bolts and washers. Position your light bar and tighten down all of the hardware. Make sure all of your hardware is tightened and enjoy your new roof rack!
Need help?
Do you have a question about the XJRK and is the answer not in the manual?
Questions and answers