Advertisement
UNIVE RS AL
LI CE NS E P L AT E AND
C A M E RA RE LOC AT I ON
B RAC K E T
IN S TAL L I NSTRU C TIO NS
Please read the mounting instructions below carefully before attempting to install.
Be sure to check out the install video on the product page, if available.
Thank you for purchasing from JcrOffroad! Checkout our website, www.jcroffroad.com for other great off-road
products. Be sure to rate and review our product online. If you have any questions or are missing parts, please
don't hesitate to call us at 269-353-1184!
Advertisement
Table of Contents

Subscribe to Our Youtube Channel
Related Manuals for JCROffroad LPRLC2


Summary of Contents for JCROffroad LPRLC2
- Page 1 Be sure to check out the install video on the product page, if available. Thank you for purchasing from JcrOffroad! Checkout our website, www.jcroffroad.com for other great off-road products. Be sure to rate and review our product online. If you have any questions or are missing parts, please...
- Page 2 I NCLU D E D HARDWARE 1/4”-20 X 3/4” 3/8”-16 X 3/4” Button Head Carriage Bolt 1/4”-20 3/8”-16 Serr. Flange Nut Wing Nut 8-32 X 1” 8-32 Button Head Locknut...
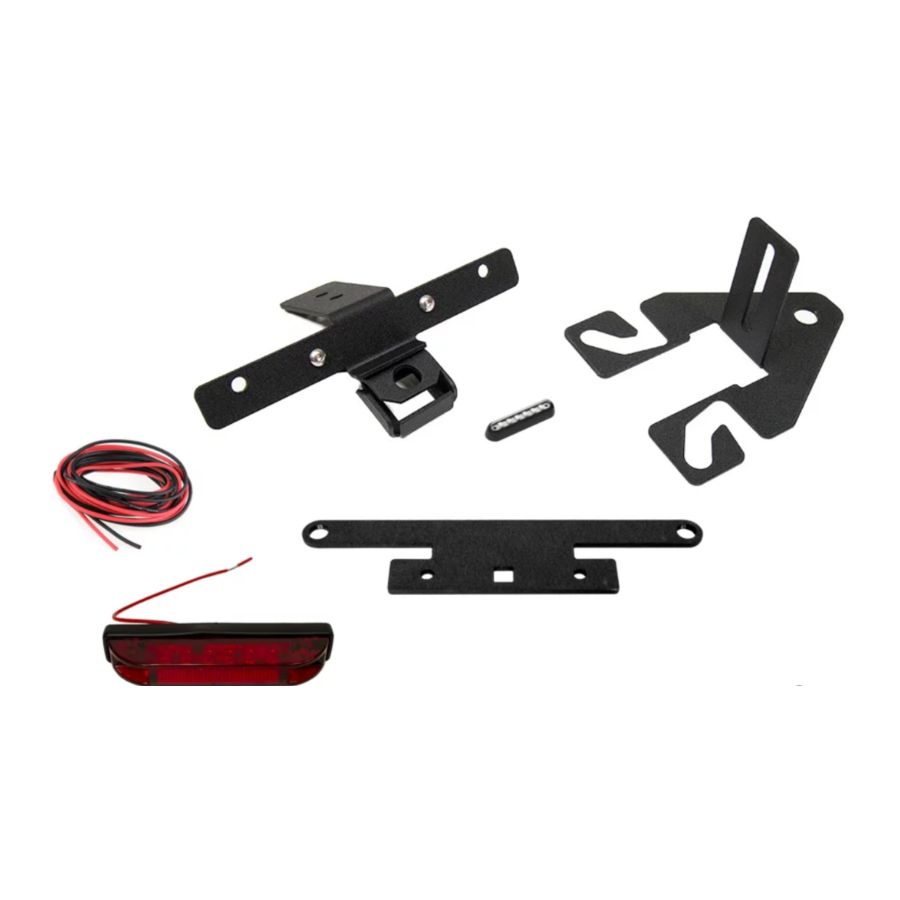
- Page 3 I NCLU D E D PARTS...
- Page 4 AS SE M BLY Assemble the brackets together as shown below using the 1/4”-20 X 3/4” button head bolts and 1/4”-20 serr. flange nuts. If you are choosing not to use our third break light, leave that bracket out.
- Page 5 AS SE M BLY Place the whole assembly onto the carrier-side bracket that is installed behind your spare and bolt them together using the 3/8”-16 X 3/4” carriage bolt and 3/8”-16 wing nut. It is up to you whether you want to put the carriage bolt through the top or bottom.
- Page 6 AS SE M BLY With everything assembled, take the backing off of the small white LED light and stick it to the bottom of the tab on the top of the license plate bracket in the area shown below. It can go anywhere on the tab but it works best if you place it as far out as possible.
- Page 7 AS SE M BLY If you are choosing to use our third break light, mount it to the bracket using the 8-32 X 1” button head bolts and 8-32 lock-nuts in the provided holes.
Need help?
Do you have a question about the LPRLC2 and is the answer not in the manual?
Questions and answers