Advertisement
Quick Links
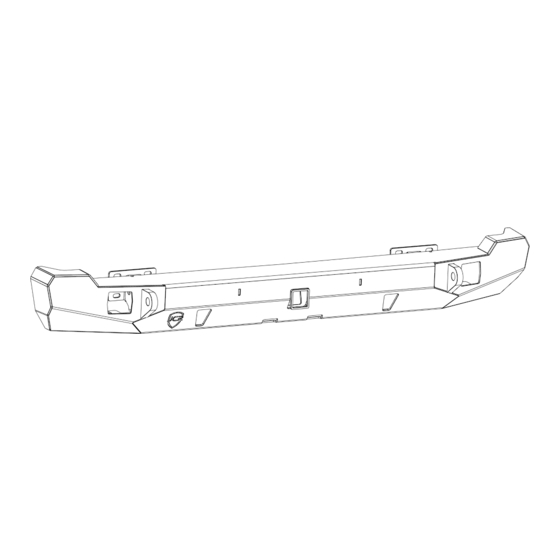
JEE P C H EROKEE X J ( 84 -01 )
REA R CRUSADE R BUMPER
I NS TALL INSTR UC T I O N S
Please read the mounting instructions below carefully before attempting to install.
Be sure to check out the install video on the product page, if available.
Thank you for purchasing from JcrOffroad! Checkout our website, www.jcroffroad.com for other great off-road
products. Be sure to rate and review our product online. If you have any questions or are missing parts, please
don't hesitate to call us at 269-353-1184!
Advertisement

Related Manuals for JCROffroad XJRC


Summary of Contents for JCROffroad XJRC
- Page 1 Be sure to check out the install video on the product page, if available. Thank you for purchasing from JcrOffroad! Checkout our website, www.jcroffroad.com for other great off-road products. Be sure to rate and review our product online. If you have any questions or are missing parts, please...
-
Page 2: I Nclu D E D H Ardware
I NCLU D E D H ARDWARE 1/2”-13 1/2” Locknut USS Washer 1/2-13 1-1/2” Hex Head... -
Page 3: Included Parts
INCLU DE D PARTS 1L/1R 1L/1R... -
Page 4: Installation
I N S TA LL ATI ON Start by removing the factory rear bumper. There are two mounting brackets from the bumper to the back of the bulkhead with 4 bolts each. (Photo shown is with the bumper skin removed for illustration purposes.) If you’re installing on a 97’... - Page 5 I NS TALL ATI ON If our nutstrips were purchased, remove whatever factory nut strips were inside the frame rails first. (If installed) You will need to unbolt any hitches, skids, or exhaust mounts that are bolted under the frame. Insert the new nutstrips into frame.
- Page 6 I N S TA LL AT I ON Install frame side bumper brackets with the slotted holes facing out and the offset down. Reusing factory bolts, center brackets with slots/holes. The outside width should be roughly 39 3/4". Lift the bumper into place over the frame side mounts. Use a helper or a jack to hold it into position and make sure it is somewhat level.
- Page 7 INSTA L L AT I ON Using the included 5/8" bolts, washers and nuts, reach up behind bumper and install into slots from the outside in. Assemble in the orientation shown below, and be sure to do this on both sides of the bumper. The swept back design of the bumper prohibits working a lot room on this step, so exhibit patience! *Alternatively, you can bolt the frame side brackets onto the bumper before hoisting the whole assembly onto the frame.
- Page 8 INS TALL ATION Once you are happy with the look and alignment, tighten down all of the hardware. If you have access, a one or two foot extension can be used to more easily reach the 5/8" nuts. If your using nutstrips, install any additional skids and the unibody tie in’s at this point. Their orientation (welded on spacer on top or bottom) will depend on what options you have on your Jeep.
- Page 9 I NSTA LL ATI ON Once all of your hardware is tight, your bumper install is now complete. Enjoy your new rear bumper!
Need help?
Do you have a question about the XJRC and is the answer not in the manual?
Questions and answers