Advertisement
ASSEMBLY INSTRUCTIONS
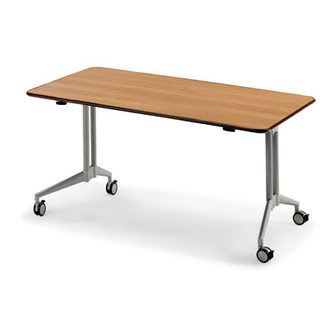
UXL Nest and Fold Table
SPECIAL NOTES
1.
Check that all components are accounted for and undamaged before assembling.
2.
Please assemble the product in a clean dry area.
3.
For larger units, you may need another person to help assemble the product.
4.
Clean the product with a mild cleaner and a damp cloth.
For assistance in assembling product, missing or damaged parts, or to place an order, please contact customer
Form #179977
service at 800-328-1061.
You may also place your order online at
www.smithsystem.com
04/2018
Advertisement
Table of Contents

Related Manuals for SMITH SYSTEM UXL Nest and Fold Table


Summary of Contents for SMITH SYSTEM UXL Nest and Fold Table
- Page 1 ASSEMBLY INSTRUCTIONS UXL Nest and Fold Table SPECIAL NOTES Check that all components are accounted for and undamaged before assembling. Please assemble the product in a clean dry area. For larger units, you may need another person to help assemble the product.
- Page 2 ASSEMBLY INSTRUCTIONS Step 1: Carefully place the Top with pre-attached Frame upside down on a clean dry surface. Step 2: Pull the handle towards the front of the table to unlock the mechanisms and flip both mechanisms up. Step 3: Remove the two Flat Head Allen Screws using the 5mm Allen Wrench and remove the Leg Plate from both legs.
- Page 3 Step 4: Slide the leg over the beam ensuring that the longer foot faces towards the handle and the shorter foot faces away from the handle. (FACE LEGS OUTWARD AS SHOWN) Step 5: Check that the Legs are not interfering with the mechanism and are equally spaced approximately ½”...
- Page 4 Step 8: Carefully place the Table back down on the floor. Step 9: Check the level of the Top using a level or measure the distance from each corner of the top to the floor with a tape measure. Step 10: If necessary, adjust the level of the Top using the two screws on the Leg Plate. PLATE Step 11: To Lower the side closest to You (handle side):...
- Page 5 Step 13: If the Top is still not level after Step 12, use the Beam Plate Screws shown below to adjust the level of Top an additional amount. BEAM PLATE Step 14: If needed, fine adjustment of the level of the Table can be accomplished by using the Lift up on the corner of the Table slightly to lessen the Knurled Disks just above each Caster.
Need help?
Do you have a question about the UXL Nest and Fold Table and is the answer not in the manual?
Questions and answers