3D Systems Cubify CUBEX Duo Replacement Manual
Print jet replacement manual
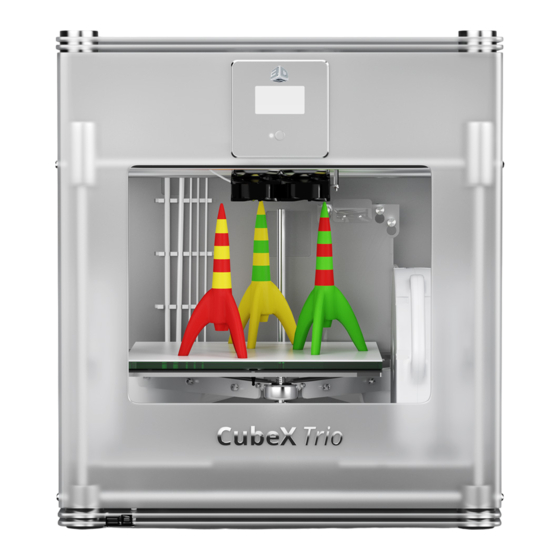
Hide thumbs
Also See for Cubify CUBEX Duo:
- Replacement manual (17 pages) ,
- Manual (10 pages) ,
- Manual (10 pages)
Advertisement
Advertisement

Related Manuals for 3D Systems Cubify CUBEX Duo


Summary of Contents for 3D Systems Cubify CUBEX Duo
- Page 1 CUBEX Print Jet Replacement Manual...
-
Page 2: Table Of Contents
Contents Removing the damaged print jet ................3 Installing the new print jet................... 7 Levelling the print tips for CubeX Duo/Trio............... 10 Setting Print Tip offsets .................... 11 Fastening the print tip on a CubeX................12... - Page 3 What you will need Print jet assembly 2.5mm Hex driver Pliers...
-
Page 4: Removing The Damaged Print Jet
Before beginning this process please remove all filament from the print jets and check that your print pad is level. For instructions on how to do this please refer to the CubeX users guide Removing the damaged print jet 1. Turn off the CubeX printer and unplug it from the mains power. 2. - Page 5 4. Remove the bolts holding the Feed Tube mount in place. The amount of bolt will vary depending on the amount of print jets your CubeX has. A CubeX will have the bolts circled in red. A CubeX duo will have the two bolts circled in red and the bolt circled in green. A CubeX trio has the bolts circled in red, green and blue.
- Page 6 6. Remove the mounting bolt. This can be very tight. 7. You should now be able to lift the print jet away from the Print Jet carriage plate.
-
Page 7: Installing The New Print Jet
Installing the new print jet 1. Check your Print Jet is assembled and that the print tip moves freely when pushed in and out of the drive. The Print tip moves freely for the levelling process. Once the levelling process has been completed the Print tip will be locked off. - Page 8 2. Place the Print Jet onto the Print Jet carriage plate as pictured, note the locating standoff and corresponding hole present on the Print Jet 3. Ensure that the wires from the Print tip are orientated to travel straight up to the Sensor board 4.
- Page 9 5. Re attach the Feed Tube mount. 6. Plug the motor looms back into their corresponding motors. 7. Plug in the Print Jet sensor board looms.
-
Page 10: Levelling The Print Tips For Cubex Duo/Trio
Levelling the print tips for CubeX Duo/Trio If your CubeX only has a single print jet please see section ‘Fastening the print tip on a CubeX’ 1. Power on the CubeX printer 2. To clean the nozzles for levelling, put the CubeX printer into PJ-Control mode. Heat all of the print jets EXCEPT for the new one to 230°... -
Page 11: Setting Print Tip Offsets
5. Slowly raise the print pad until it lifts the new print tip in line with the others. All three print tips should be touching the bed without putting any pressure on it. 6. Turn the CubeX printer off and unplug it from the mains power supply. 7. -
Page 12: Fastening The Print Tip On A Cubex
Fastening the print tip on a CubeX A CubeX with a single print jet does not have a second or third nozzle to reference the print tip level. Instead you have to use the CubeX wiping stick. 1. Power on the CubeX printer 2. - Page 13 6. Turn the CubeX printer off and unplug it from the mains power supply. 7. Using the 2.5mm hex driver, tighten the print jet holding bolt (pictured) to lock the print jet in place. With the print tip fastened you can now turn on the CubeX printer and start printing.
Need help?
Do you have a question about the Cubify CUBEX Duo and is the answer not in the manual?
Questions and answers