Sign In
Upload
Download
Table of Contents
Contents
Add to my manuals
Delete from my manuals
Share
URL of this page:
HTML Link:
Bookmark this page
Add
Manual will be automatically added to "My Manuals"
Print this page
×
Bookmark added
×
Added to my manuals
Manuals
Brands
Labnet Manuals
Laboratory Equipment
Prism R
User manual
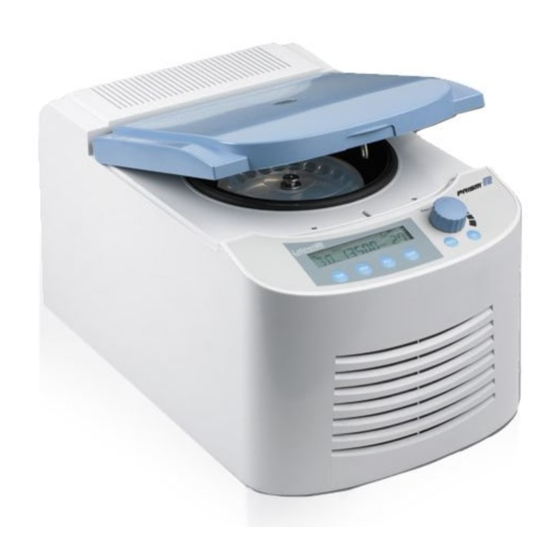
Labnet Prism R User Manual
Refrigerated microcentrifuge
Hide thumbs
1
2
Table Of Contents
3
4
5
6
7
8
9
10
11
12
13
14
15
16
17
18
19
20
21
22
23
24
page
of
24
Go
/
24
Contents
Table of Contents
Troubleshooting
Bookmarks
Table of Contents
Table of Contents
1 Safety Precautions
Operation Safety Precautions
2 General Description
Features
3 Getting Started
Unpacking
Initial Operation
Opening and Closing the Lid
Loading the Rotor
Starting and Stopping a Run
Emergency Lid Release
4 Overview
5 Operation
Setting the Time (TIME)
Setting the Speed (RPM)
Setting the Centrifugal Force (RCF)
Setting the Temperature (TEMP)
Cooling
Quick-Spin Operation
Changing the Settings During a Run
6 Service and Maintenance
Centrifuge Service
Cleaning the Centrifuge
Cleaning the Rotor
Disinfection
Replacing the Rotor
Replacing Fuses
7 Troubleshooting
Appendix A: Technical Specifications
Appendix B: Warranty
Advertisement
Quick Links
1
Emergency Lid Release
2
Centrifuge Service
3
Service and Maintenance
4
Replacing the Rotor
5
Troubleshooting
6
Appendix A: Technical Specifications
Download this manual
User Manual
C2500-R
C2500-R-230V
Lit M00502
July 2012 v2
Table of
Contents
Previous
Page
Next
Page
1
2
3
4
5
Advertisement
Table of Contents
Need help?
Do you have a question about the Prism R and is the answer not in the manual?
Ask a question
Questions and answers
Subscribe to Our Youtube Channel
Related Manuals for Labnet Prism R
Laboratory Equipment Labnet BioPette PLUS BPP2 Instuction Manual
Up to 10000ml (11 pages)
Laboratory Equipment Labnet ProBlot 6 Instruction Manual
Hybridization systems (8 pages)
Laboratory Equipment Labnet Prism Instruction Manual
Microcentrifuge (12 pages)
Laboratory Equipment Labnet Labpette FX Instruction Manual
Single-channel, fixed volume pipettors (21 pages)
Laboratory Equipment Labnet Biopette Pro Quick Start Manual
Single- and multichannel (9 pages)
Laboratory Equipment Labnet FastPette Pro Quick Start Manual
(6 pages)
Laboratory Equipment Labnet BioPette A Series Instruction Manual
Single-channel, 8-channel, and 12-channel pipettor (26 pages)
Laboratory Equipment Labnet Prism Mini User Manual
Centrifuge (8 pages)
Laboratory Equipment Labnet AccuSeal PS1000 Instruction Manual
Semi-automated plate sealer (10 pages)
Laboratory Equipment Labnet Excel P3600L-10 Quick Start Manual
Single- and multi-channel electronic pipettors (2 pages)
Laboratory Equipment Labnet Excel P3600L-10 Instruction Manual
Single- and multi-channel electronic pipettors (16 pages)
Laboratory Equipment Labnet FastPette Pro Quick Start Manual
Pipet controller (4 pages)
Laboratory Equipment Labnet Prism C2500-100V Instruction Manual
Microcentrifuge (12 pages)
Laboratory Equipment Labnet W1106A Instruction Manual
Labnet 6 liter water bath (7 pages)
Laboratory Equipment LABNET D1100 Instruction Manual
Digital dry bath (4 pages)
Laboratory Equipment Labnet BioPette Multichannel Quick Manual
(8 pages)
This manual is also suitable for:
C2500-r
C2500-r-230v
Table of Contents
Print
Rename the bookmark
Delete bookmark?
Delete from my manuals?
Login
Sign In
OR
Sign in with Facebook
Sign in with Google
Upload manual
Upload from disk
Upload from URL


Need help?
Do you have a question about the Prism R and is the answer not in the manual?
Questions and answers