Table of Contents
Advertisement
Quick Links
Advertisement
Table of Contents

Related Manuals for Ruijie RG-AP630


Summary of Contents for Ruijie RG-AP630
- Page 1 Ruijie RG-AP630 (CD) Wireless Access Points Quick Installation Guide...
- Page 2 This document is provided “as is”. The contents of this document are subject to change without any notice. Please obtain the latest information through the Ruijie Networks website. Ruijie Networks endeavors to ensure content accuracy and will not shoulder any responsibility for losses and damages caused due to content omissions, inaccuracies or errors.
- Page 3 It is intended for the users who have some experience in installing and maintaining network hardware. At the same time, it is assumed that the users are already familiar with the related terms and concepts. Obtaining Technical Assistance Ruijie Networks Website: https://www.ruijienetworks.com/ Technical Support Website: https://ruijienetworks.com/support...
-
Page 4: Packing List
Grounding cable Piece Hose clamp Piece Security cable Piece M8x60 expansion bolt Piece Product Warranty Manual Copy RG-AP630 (CD) Wireless Access Point Quick Installation Copy Guide 2 Accessories Mounting Plate Mounting Bracket Tie Rod M8X40/M8X20 Screw Grounding Cable Hose Clamp... -
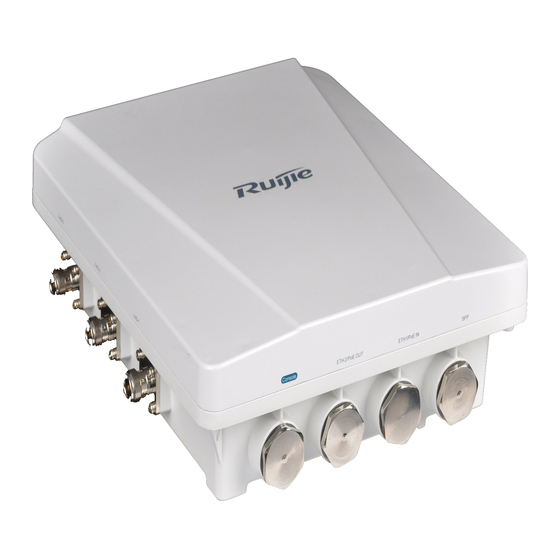
Page 5: Product Appearance
RG-AP630(CD) Wireless Access Point Quick Installation Guide 3 Product Appearance Product Appearance of RG-AP630 (CD) Note: 1. Console port 2. 10/100/1000 Base-T auto-sensing Ethernet/PoE IN port 3. SFP combo port... -
Page 6: Installation Tools
RG-AP630(CD) Wireless Access Point Quick Installation Guide 4 Installation Tools The tool kit is customer supplied. 5 LEDs State Meaning Blinking green Initialization in progress Solid yellow Initialization is complete, but no CAPWAP connection. System status Solid green Initialization is complete, and a CAPWAP connection is established. - Page 7 RG-AP630(CD) Wireless Access Point Quick Installation Guide 6 Installing the Security Cable Remove the security cable from the mounting plate first. Then, attach the mounting plate to the bottom of the AP and fasten the plate with the four M8x20 screws. Note that one screw is used to fix the metal shim of End A onto the plate before it is tightened.
- Page 8 RG-AP630(CD) Wireless Access Point Quick Installation Guide 7 Mounting the AP to the Pole Attach the mounting bracket to a pole with a hose clamp. Attach the mounting plate to the mounting bracket through the rod with the M8x40 screws, adjust AP orientation, and tighten the screws on the rod with the Phillips screwdriver (or the wrench).
-
Page 9: Connecting The Fiber Cable
RG-AP630(CD) Wireless Access Point Quick Installation Guide Attach the tie rod to the mounting plate and fix the rod with the supplied M8x40 screws. Adjust the AP orientation, and drive the two-side screws on the rod. Finally, drive the screw of Loop B into the fourth anchor. -
Page 10: Connecting The Network Cable
RG-AP630(CD) Wireless Access Point Quick Installation Guide Insert the plug of the fiber into the SPF port. Tighten A. Combine B and C and put the combination into A. Tighten D before applying waterproof glue to its joint with A. - Page 11 RG-AP630(CD) Wireless Access Point Quick Installation Guide The grounding cable is made on site. Connect the supplied grounding wire (yellow-green) to the AP grounding connector on one end and ground the wire on the other end through OT terminals. 12 Installing the Security Lock (Optional) The security lock is user-supplied.
Need help?
Do you have a question about the RG-AP630 and is the answer not in the manual?
Questions and answers