Table of Contents
Advertisement
Quick Links
Advertisement
Table of Contents

Subscribe to Our Youtube Channel
Related Manuals for NewLine PTC Series


Summary of Contents for NewLine PTC Series
- Page 1 Quick Start Manual...
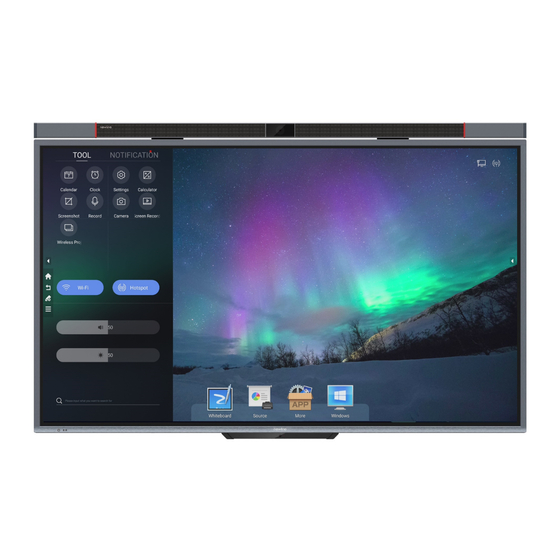
- Page 2 Please keep this manual for future reference. This manual is a general manual, the pictures are for reference only , please refer to the real product.
- Page 3 Thank you for choosing Newline unified collaboration touch screen. The symbol of the crossed out wheeled bin indicates this product should not be placed in municipal waste. Instead, dispose of waste equipment by handing it over to a designated collection point for the...
-
Page 4: Symbol Conventions
Symbol Conventions Symbols are used in this document to indicate operations that need particular attention. The symbols are defined as follows: Indicates a hazard with risk that, if not avoided, could result in death or WARNING injury. Indicates a potentially hazardous situation that, if not avoided, could result in equipment damage, data loss, performance deterioration, or CAUTION unanticipated results. - Page 5 WARNING Put the product on a stable surface. An unstable surface includes but is not limited to an inclined surface, a shaky stand, desk or platform, which might cause turnover and damage. Do not open the cover or modify the product on your own. High voltage components are installed in the product.
- Page 6 WARNING Do not touch the power cable with wet hands. CAUTION Do not install the product in high temperature environments. Do not install the product near a heat source, such as a radiator, a heat ● reservoir, a stove or other heating products. Do not expose the product to direct sunlight, which may cause high ●...
- Page 7 CAUTION Do not use it on other products. ● Correct battery usage. Galvanic corrosion, electric leakage, and even fire may be caused by improper ● battery usage. It is recommended to use the designated type of battery and install the battery ●...
-
Page 8: Product Overview
Product Overview Appearance CAUTION The plastic parts at the bottom of the tablet are fragile. To avoid damage to the plastic parts, please pay attention to the following: Do not strike the plastic parts at the bottom of the tablet. ●... - Page 9 Rear View ◆ TT-6519PTC/ TT-7519PTC / TT-8619PTC: 17 18 SoundBar Camera SoundBar Connector SoundBar Speaker Built-in Computer Port Rear Ports Touch Frame (within the profile cavity) LCD Panel & Tempered Glass Rear Ports Rocker Switch Power Button IR Receiver Power Socket Light sensor SoundBar Rear Ports Microphone...
-
Page 10: Front Control Panel
Front Control Panel Front Buttons ◆ Button Function description Power on/off. If the power is on, short press it to enter sleep mode, press and hold for 2 seconds to shut down. If the power is off, short press it to turn on the power. Rear Ports CAUTION Output: 5V/ 2A (Max.). - Page 11 network reset button...
- Page 12 Rear Ports Introduce: Name Function description Microphone input port Audio input port, used in combination with “VGA Input”. Audio In VGA signal input port. Used in combination with “USB 3.0 Touch sensor” to operate the VGA In PC in touch mode. HD signal input port 1.
-
Page 13: Remote Control Buttons
SoundBar rear ports: Name Function description Type C Connect to the machine interface. USB3.0 Output video source interface. SPDIF Digital audio input interface. LINE IN Audio input interface. Power interface. Note Under standard SoundBar configurations, you only need to connect the SoundBar to the Type-C interface of the machine. - Page 14 Buttons Function Description Buttons Function Description Power On/Off. Switch to HDMI1 source. Enter/exit the standby mode Switch to HDMI2 source. Enable screen capture Mute or unmute. function. Microphone switch. Switch to VGA source. Confirmation button. Switch to the built-in computer source. Up/Down/Left/Right selection button.
- Page 15 Instructions for Using Remote Control ◆ CAUTION To avoid potential malfunctions, please read the following instructions and use the remote control appropriately. Do not drop or smack the remote control. ● Do not spill liquids on the remote control. ● Do not place the remote control on a wet object.
-
Page 16: Safety Precautions
Installation Guide Safety Precautions Installation Environment ◆ Keep Temperature Below 120 F ( ≤50 c) KEEP AWAY FROM INDOOR COMBUSTIBLE GAS USE ONLY (gas leaks, etc.) Installation Direction ◆ Hang the Product Horizontally No Vertical Installation Do Not Install Tilted Do Not Lay Flat... -
Page 17: Installation Precautions
Installation Precautions Load Bearing ◆ You can select moveable installation or wall mounting according to your own needs. Wall mounting can help users significantly reduce occupied space. When using moveable installation, use the mobile stand specified by the manufacturer. If you use a self-made mounting bracket, its carrying capacity should be at least 4 times than the machine weight. - Page 18 Note • If the large screen glass is damaged, all personnel must stand 3m away from the screen to ensure safety. • Do not perform installation or removal if the screen glass is damaged. • For any abnormalities, please contact our service department immediately. We are not responsible for any loss or damage caused by users taking matters into their own hands.
- Page 19 Built-in Computer Installation WARNING Do not perform the following on the built-in computer, or the product may be damaged or end up being unusable! Do not plug or unplug the built-in computer with the power connected. Please make ● sure that the power has been turned off before plugging/unplugging. Do not use the built-in computer before the screws have been tightened or if any ●...
- Page 20 SoundBar Installation Please follow the steps below to install the SoundBar: Step 1:Loosen the four hex screws on the back panel, place the SoundBar bracket in the designated position, and fix it on the tablet with hex screws. Step 2:Place the SoundBar on the bracket, adjust the left and right sides to make it parallel, and fix it on the bracket with hex screws.
-
Page 21: Turning On/Off
Turning On/Off Power On Step 1: Use AC power (100V~240V, 50Hz/60Hz) as the machine power source. Make sure the power plug fully inserted and that the ground wire of the outlet is properly connected. Step 2. Turn on the rocker switch (on the rear side of the machine, next to the power socket) after a power source has been connected. -
Page 22: Indicator Status
CAUTION When the machine enters sleep mode or is turned off, the system will first detect ● whether the built-in computer is turned off. If not, it first turns off the computer and then enters the sleep mode or shutdown. Please shut down the machine before disconnecting the power source, or it may ●... - Page 24 For more product information, please visit https://newline-interactive.com National Service Hotline: +1 888 233 0868 The company is committed to product updates and technical improvements. The technical parameters and specifications are subject to change without prior notice. The pictures in this manual are for reference only.
Need help?
Do you have a question about the PTC Series and is the answer not in the manual?
Questions and answers