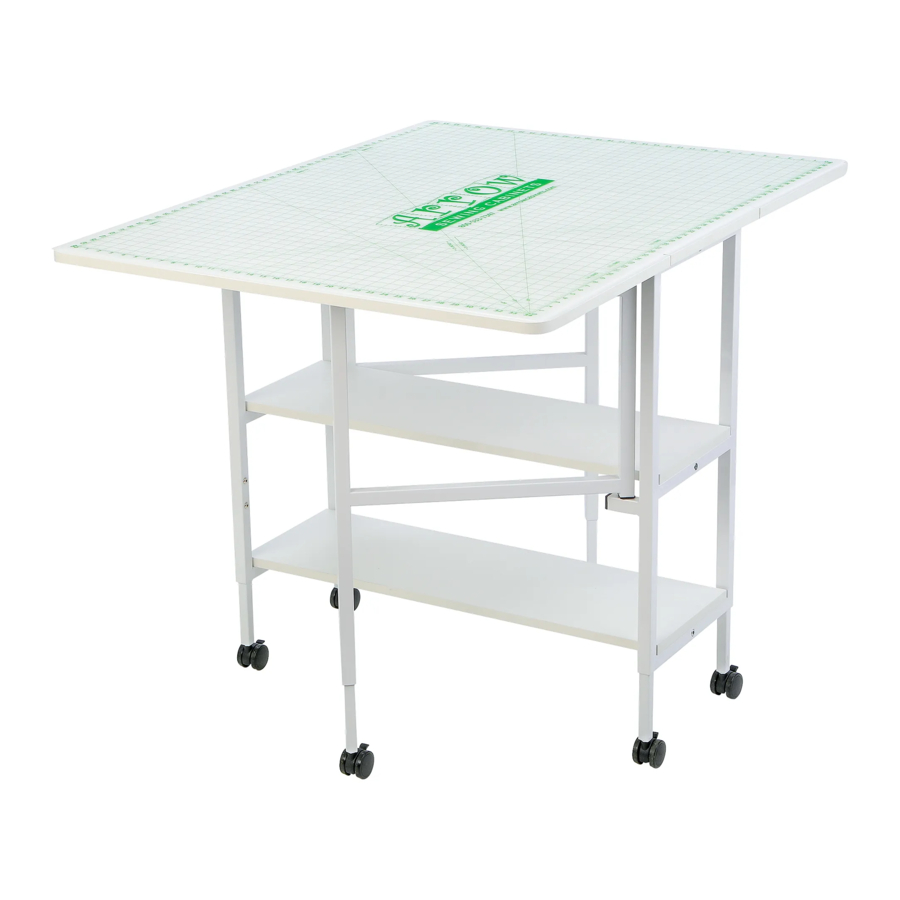
Summary of Contents for Arrow DIXIE 3401
- Page 1 D I X I E C U T T I N G T A B L E OWNER’S MANUAL Where Creativity Meets Color! Assembly Instructions Model Numbers: 3401 White IMPORTANT: Please read these instructions before assembling!
- Page 2 Parts List ITEM DESCRIPTION QTY. PACK. Top panel 2 of 2 Top leaf 2 of 2 Fixed shelf 2 of 2 Frame leg support 1 of 2 Side leg supports 1 of 2 Adjustable leg with casters 1 of 2 Rail 1 of 2 Dixie Cutting Table...
-
Page 3: Table Of Contents
Hardware Included ITEM DESCRIPTION QTY. 6x12 Bolt 8x25 Bolt 4x8 Bolt 6x35 Bolt Bracket Plastic Support Tube Hinge 4mm Allen key 5mm Allen key 14mm Spanner 3.5x14 Screw Caster (pre-installed) 6x35 Bolt x18 3.5x14 Screw x42 6x12 Bolt x12 4x8 Bolt x2 8x25 Bolt x10 4mm Allen key x12 Pre-installed part. -
Page 4: B1 6X12 Bolt
Table Assembly Step 1. Slide in adjustable legs (L) into frame legs (b1) with (r1) Allen key as shown on the illustration support (F1) to desired height and lock using bolts below. Use the same height for all legs so the table is balanced. -
Page 5: B2 8X25 Bolt
Step 3. Connect the two frame leg supports (F1) with three rails (R) using bolts (b2) using Allen key (r2) as shown on the illustration below. 8x25 Bolt x6 Step 4. Connect the two side leg supports (S) Place the Fixed shelf (F) on the leg frame assembly with leg frame assembly (F1) using bolts (b2) with (F1) and attach using bolts (b4) using Allen key (r1) Allen key (r2) as shown on the illustration below. -
Page 6: H1 Hinge
Step 5. Lay panels (A1), (A) on a clean soft surface. Attach hinges (h1) with screws (s1) as shown on the illustration below. Hinge x6 3.5x14 Screw x36 Step 6. Two people should flip and align entire leg assembly with holes on panels and attach using bolts (b4) using Allen key (r1) firmly as shown on the illustration below. -
Page 7: 4X8 Bolt X2
Step 7. Attach plastic support tube (p) with connector (b) using bolt (b3) firmly as shown on the illustration below. 4x8 Bolt x2 Step 8. Attach plastic support tube (p) and connector (b) assembly with screws (s1) firmly on both sides (A1) following the predrilled holes as shown on the illustration below. - Page 8 Two people should flip entire assembly and make supports are properly snapped to its connectors sure all legs contact the ground and side leg on both side before use. Dixie Cutting Table Page 7 Assembly Instructions...
- Page 9 Wood Parts and Part Numbers Wood Parts and Part Numbers Leaf Panel Top Panel Leaf Panel Fixed Shelf Frame Leg Support Side Leg Support Adjustable Leg with Caster Rail Dixie Cutting Table Page 8 Assembly Instructions...
- Page 10 Wood Parts and Part Numbers Ref. Description Part# Cabinet Model# 3401 (White) Top Panel 3401PARTA Leaf Panel 3401A1 Fixed Shelf 3401F Frame Leg Support 3401F1 Side Leg Support 3401S Adjustable Leg with Caster 3401L Rail 3401R Dixie Cutting Table Page 9 Assembly Instructions...
-
Page 11: Bracket X2
Hardware Included with Part Numbers 6x12 Bolt 8x25 Bolt 4x8 Bolt 6x35 Bolt 3.5x14 Screw 4mm Allen key Bracket Plastic Support Tube Hinge 14mm Spanner Caster (pre-installed part. 5mm Allen key Attached to part (L)) Item Description Part No. 3401B1 6x12 Bolt 3401B2 8x25 Bolt... - Page 12 (detailed receipt), and photos of the product. Arrow will replace any defective part (at its sole option), excluding labor. Replacement parts will be warranted for only the remaining period of the original Warranty.
- Page 13 Enhance your sewing experience with a custom- Our adjustable height sewing chair is a perfect made insert for your Arrow or Kangaroo cabinet. accessory for any craft and sewing room. The chair’s Inserts are designed to reduce the gap between height is adjustable with easy to use controls and the machine and cabinet opening.


Need help?
Do you have a question about the DIXIE 3401 and is the answer not in the manual?
Questions and answers