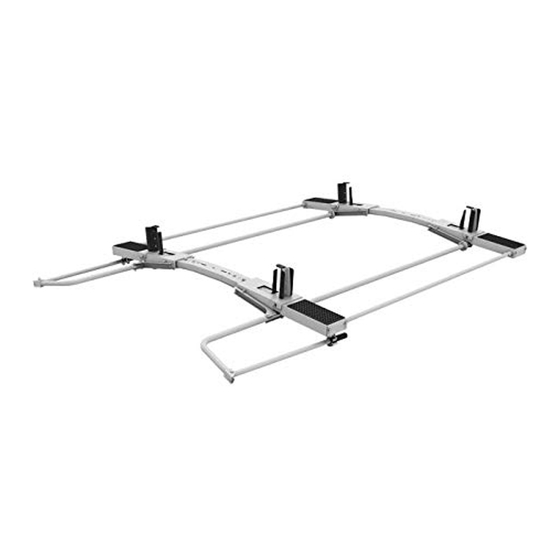
Summary of Contents for Kargo Master 4095L
-
Page 1: Installation Guide
Installation Guide 4095L Kargo Master Rancho Cordova, CA 95742 800-343-7486 CustomerService@KargoMaster.com DATE:______________... -
Page 2: Table Of Contents
Assembly Instructions – 4095L *PLEASE READ ALL INSTRUCTIONS AND WARNINGS PRIOR TO ASSEMBLING, INSTALLING, AND USING THIS PRODUCT* Warning Always check for wires, fuel tanks and lines, brake lines and other important vehicle functionality items prior to drilling and installing all products. -
Page 3: Parts List
Assembly Instructions – 4095L Parts For Technical Support Call: 800-343-7486 Monday-Friday 7AM - 4 PM (PST) Page 2... -
Page 4: Hardware List
Assembly Instructions – 4095L Hardware For Technical Support Call: 800-343-7486 Monday-Friday 7AM - 4 PM (PST) Page 3... -
Page 5: Step 1 Install Torque Tube
Assembly Instructions – 4095L Step 1 – Torque Tube Installation • Bolt torque tubes to the front and rear bow as shown. • Use 1/4" x 7/8” hex head bolts, two 1/4" flat washers and a 1/4" nyloc nut. • Snug Tighten, but allow movement. -
Page 6: Step 2 Install Ladder Pan
Assembly Instructions – 4095L Step 2 – Ladder Pan Support • Attach ladder pan support to the ends of the ladder pans as shown using 5/16” x 5/8” hex heads with 5/16” lock washers and 5/16” flat washers. • Repeat on front and rear bow, on both sides. -
Page 7: Step 3 Install Ladder Stops
Assembly Instructions – 4095L Step 3 – Ladder Stops • Decide location where ladder stop and hooks are wanted. • The picture below, shows the stop in the most common position. • Remove the 3/8” x 3/4” bolt, 3/8” split lock washer and 3/8”... -
Page 8: Step 4 Install Ladder Hooks
Assembly Instructions – 4095L Step 4 – Ladder Hooks • In the same locations as the previously installed ladder stops, install the ladder hooks. • Bolt ladder hook to the pem studs installed on each bow. The ladder stop will creat a clamp with previously installed ladder stop. -
Page 9: Step 5 Install Latch
Assembly Instructions – 4095L Step 5 – Install Latch • Move rear pan assembly out of the way to expose the end of the crossmember. • Bolt latch assembly to end of crossmember using 5/16” x 3/4" carriage bolts, 5/16” flat washers and 5/16”nyloc nuts.


Need help?
Do you have a question about the 4095L and is the answer not in the manual?
Questions and answers