
Related Manuals for Kargo Master 40918


Summary of Contents for Kargo Master 40918
- Page 1 Instruction Guide 40918 – Transit Kargo Master Rancho Cordova, CA 95742 800-343-7486 CustomerService@KargoMaster.com 20210209R1 DATE: ________________...
-
Page 2: Table Of Contents
Step 6 – Mount Feet to Rack ..........................9 Step 7 – Adjust Rail Length ............................. 9 Before You Begin Read all instructions prior to assembling or installing any Kargo Master product. Find your truck cap roof mounting locations prior to rack assembly. ... -
Page 3: Parts
Instructions – 40918 Transit Parts Hardware – Splice Plate Bolt Kit (18-40918-SP) For Technical Support Call: 800-343-7486 Monday-Friday 7AM - 4 PM (PST) Page 2... -
Page 4: Hardware - Foot Bolt Kit (18-409180-Ft)
Instructions – 40918 Transit Hardware – Foot Bolt Kit (18-40918-FT) For Technical Support Call: 800-343-7486 Monday-Friday 7AM - 4 PM (PST) Page 3... -
Page 5: Hardware - Transit Bolt Kit (18-4A818-T)
Instructions – 40918 Transit Hardware – Transit Bolt Kit (18-4A818-T) For Technical Support Call: 800-343-7486 Monday-Friday 7AM - 4 PM (PST) Page 4... -
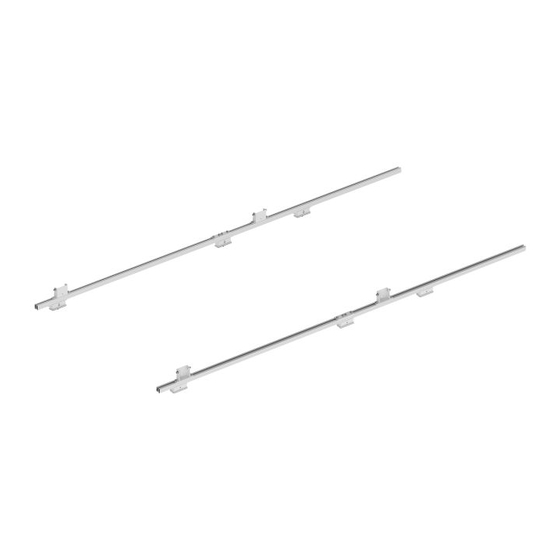
Page 6: Step 1 - Combine Extrusions
Instructions – 40918 Transit DO NOT EXCEED MANUFACTURERS WEIGHT CAPACITY FOR ROOF Step 1 – Combine Extrusions Thread threaded stud into center hole of one end of one extrusion. Using either a cap nut or two nuts on the end of threaded stud will aid in threading the stud into the extrusion. -
Page 7: Step 2 - Find Mount Locations On Roof Of Van
Instructions – 40918 Transit Step 2 – Find Mount Locations on Roof of Van Locate 6 mounting locations on each side of van. These are mounting blocks installation locations. Remove plugs from roof. 148” wheel base low roof van shown here. -
Page 8: Step 4 - Install Extrusion
Instructions – 40918 Transit Step 4 – Install Extrusion For each mounting block, slide two 5/16” x 3/4” carriage bolts into the bottom slot of t he extrusion. Set extrusion onto mounting blocks aligning carriage bolts with mounting blocks. -
Page 9: Step 5 - Install Feet
Instructions – 40918 Transit Step 5 – Install Feet Depending on the rack to be installed, the feet will be either center-to-center 71-1/2” apart or 96” apart. For each foot, slide two 5/16” x 3/4” carriage bolts into the top slot of the extrusion. -
Page 10: Step 6 - Mount Feet To Rack
Instructions – 40918 Transit Step 6 – Mount Feet to Rack The hardware for installation of rack to feet is included with this kit. Follow the rack installation instructions to mount rack to feet. Attach rack to feet using the two 3/8” x 3/4” hex head bolts, two 3/8” lock washers, and two 3/8” flat washers provided.
Need help?
Do you have a question about the 40918 and is the answer not in the manual?
Questions and answers