
Related Manuals for Kargo Master 40890


Summary of Contents for Kargo Master 40890
- Page 1 Assembly Guide 40890 Kargo Master Rancho Cordova, CA 95742 800-343-7486 CustomerService@KargoMaster.com DATE: ______________...
-
Page 2: Table Of Contents
Assembly Instructions – 40890 *PLEASE READ ALL INSTRUCTIONS AND WARNINGS PRIOR TO ASSEMBLING, INSTALLING, AND USING THIS PRODUCT* Warning Always check for wires, fuel tanks and lines, brake lines and other important vehicle functionality items prior to drilling and installing all products. - Page 3 Assembly Instructions – 40890 For Technical Support Call: 800-343-7486 Monday-Friday 7AM - 4 PM (PST) Page 2...
-
Page 4: Parts List
Assembly Instructions – 40890 Parts For Technical Support Call: 800-343-7486 Monday-Friday 7AM - 4 PM (PST) Page 3... -
Page 5: Hardware
Assembly Instructions – 40890 Hardware (18-40890) For Technical Support Call: 800-343-7486 Monday-Friday 7AM - 4 PM (PST) Page 4... -
Page 6: Assembly Instructions Step 1 - Measure Distance Between Feet
Assembly Instructions – 40890 Step 1 – Determine Distance Between Feet • On the roof of the van, determine desired mounting locations. Measure between the locations. This distance will determine the distance between the cross bar assemblies of the rack. (Transit Roof Shown) Step 2 –... -
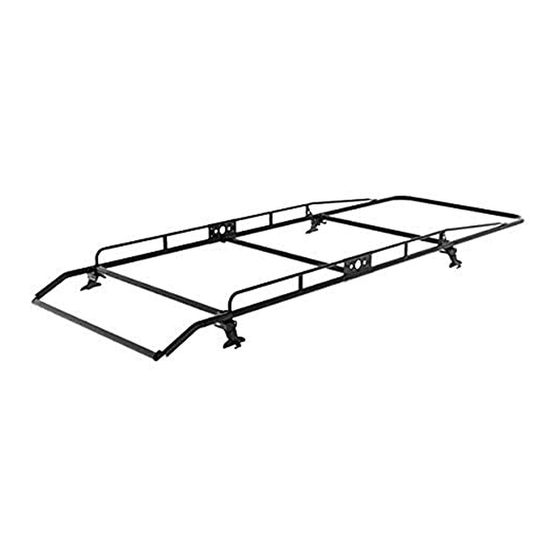
Page 7: Step 3 - Assemble Rack
Assembly Instructions – 40890 Step 3 – Assemble Rack • Assemble the rack as shown below. • Use the distances measured from step one to approximate where the cross bars should go. • Do not assemble any part of the rear roller bar assembly. - Page 8 Assembly Instructions – 40890 • Bolt front hoop to both side rails using 1/2" x 2-1/4” button head, 1/2" flat washer and a 1/2" nyloc nut. • Be sure to place BH-821 along the swage joint. • Repeat on both sides.
-
Page 9: Step 4 - Assemble Rear Roller Bar
Assembly Instructions – 40890 Step 4 – Assemble Rear Roller Bar • Insert plastic bushings into the end of the roller bar as shown. • Bolt roller bar with bushings to the roller bar side assembly using 3/8” oversize washer and 3/8”... -
Page 10: Step 5 - Install Wind Deflector
Assembly Instructions – 40890 Step 5 – Install Wind Deflector • Place wind deflector along the front hoop. Some adjustment may be needed once vehicle is driven to minimize road noise. • Position clamp so it hooks in the slot of the wind deflector and goes around the front hoop. - Page 11 Assembly Instructions – 40890 Follow the mount kit instructions in the mount kit box to finish the installation. Some adjustment on the wind deflector may be needed after driving and evaluating the wind noise. GO BACK AND MAKE SURE ALL HARDWARE IS TIGHT...
Need help?
Do you have a question about the 40890 and is the answer not in the manual?
Questions and answers