Advertisement
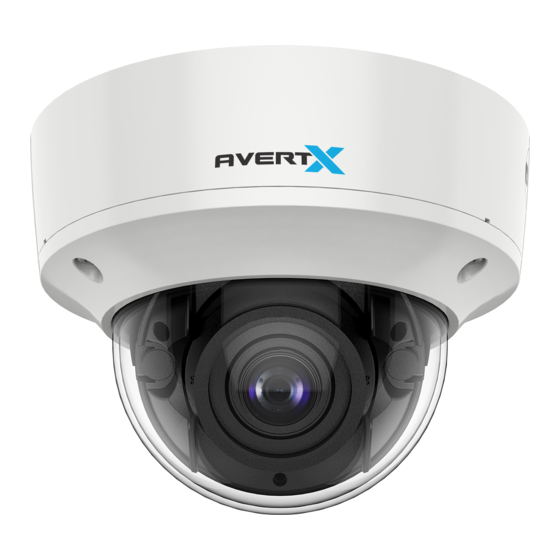
HD838IRM QUICK START GUIDE
ABOUT THIS GUIDE
This guide is a quick reference that offers users basic information regarding
installation and operation of the HD838IRM Night Vision Indoor / Outdoor Ultra
High Definition IP Cameras. For further details on installation and operation,
please refer to the User Manual at avertx.com.
CONTENTS OF CAMERA BOX
Before proceeding, please confirm that the box contains the items listed here. If
any item is missing or has defects, DO NOT install or operate the product and
contact AvertX for assistance.
HD838IRM Dome
Waterproof Cable
Camera
Adapter
Plate
Cleaning Cloth
Wall mount bracket, junction box and other mounting accessories are available
at avertx.com.
Paintable
Connector
Dome Cover
Documents &
Mounting
Hardware
4K IP DOME CAMERA
INDOOR/OUTDOOR WITH NIGHTVISION
INSTALLATION
Attach To Ceiling
Adjust View
Adapter Plate
(Optional)
Note:
The included adapter plate is optional and can be used to mount to double
gang electrical boxes. The adapter plate is required to use HD838IRM mounting
accessories from avertx.com.
If mounting outside, AvertX recommends sealing any wall openings and around
the base of the camera with silicone caulking to avoid water infiltration.
The HD838IRM camera can be installed onto a
wall or the ceiling. Be sure that the structure is
strong enough to support the camera.
1. Use the included mounting template to
pre-drill holes for the mounting screws and,
if passing the cable through the ceiling or
wall, drill a 7/8" hole.
2. Remove the camera dome cover by
removing 3 dome screws and lifting.
3. Thread your Cat5e cable through the
Waterproof Cable Connector and connect to
the camera dongle. See reverse page for
instructions on waterproof cable connector.
4. Attach the camera to the ceiling or wall with
the included screws.
5. Adjust the camera to the desired angle.
• The HD838IRM features 3-axis camera
positioning: Tilt, Camera Rotation, and
Lens Rotation.
• Rotate the lens so the 0 mark is vertical
relative to the horizon.
• TIP: Use the AvertX Connect app to view
the camera while adjusting view.
6. Replace the dome cover. To install, align
screws to the holes. Tighten dome cover
screws just enough for a good seal. Clean
the dome with the included cleaning cloth.
Advertisement
Table of Contents

Related Manuals for avertX HD838IRM


Summary of Contents for avertX HD838IRM
- Page 1 This guide is a quick reference that offers users basic information regarding strong enough to support the camera. installation and operation of the HD838IRM Night Vision Indoor / Outdoor Ultra High Definition IP Cameras. For further details on installation and operation, 1.
-
Page 2: Connecting To The Camera
• If your installation is in a commercial building, consult local fire codes. Plenum 4. AvertX cameras are set to DHCP by default. If a DHCP server is not detected rated cable may be required. after 4 minutes, the camera will default to IP address 192.168.51.2.
Need help?
Do you have a question about the HD838IRM and is the answer not in the manual?
Questions and answers