Table of Contents
Advertisement
Quick Links
How to install your
Motorised Honeycomb Blind
#65101-11752-D
Required Tools
Included Hardware
The hardware can be found in
the end of every box.
Installation
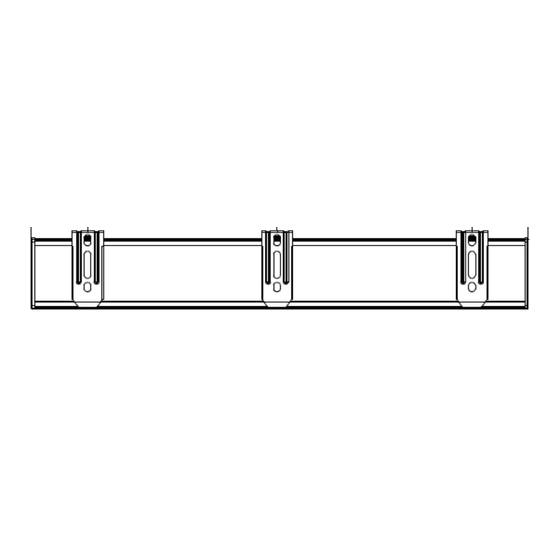
Bracket
Battery Clip
(Attached to
Battery Tube)
Spacer Block
(Outside Mount Only)
15mm Screw
31mm Screw
50mm Screw
63mm Screw
Wall Plugs for
Brick or Cement
using a 6mm bit
(If requested)
Items Not Included
8 x AA Batteries
measuring
drill with
tape
2mm bit
1
Installation Brackets
Installing inside the window frame...
At top of window frame, measure 40mm in from each end and mark
with a pencil (30mm for blind width less than 610mm); this is the
centre of the outer brackets.
Place brackets in position 2mm back from the front of the window
opening and mark where the screws will go.
We recommend drilling pilot holes for the screws using a 2mm bit.
Fix the brackets into position using 2 long screws for each bracket into
the first two holes closest to the front of the bracket.
If more brackets are supplied, space them evenly between the first
two brackets.
40mm
Space Evenly
Installing outside the window frame...
Measure 40mm (30mm for blind width less than 610mm) in from top left
and top right of where the blind will sit (normally edge of architrave)
and mark where the screws will go; this is the centre of the outer brackets.
We recommend using a spirit level to align brackets if not installing on
the architrave.
We recommend drilling pilot holes for the screws using a 2mm bit.
Fix the brackets into position using two 31mm installation screws for
each bracket.
If more brackets are supplied, space them evenly between the first two
brackets.
Note: If spacer blocks are required then always make sure the raised
side of the spacer block is against the bracket, then use 50mm screws
when using 1 or 2 blocks, or use the 63mm screws if using 4 blocks.
2
Install Battery Tube
Please first take off the battery clip from the battery tube.
Attach to back of headrail: Screw the battery clips into the pre-drilled
holes on the back of the headrail using one 15mm screw for each clip.
Or attach to window frame: Position the battery clips 113mm apart and
within reach of the motor cord using one 15mm screw for each clip.
Unscrew the end cap of the battery tube and load 8 AA Batteries (Not
Included).
Clip the battery tube to the battery clips.
Connect the battery tube to the motor of the blind.
3
Install Blind
Position the top front lip of the blind under the top front lip of
the brackets.
Push the blind up at the back to click into position as per
diagram to the right.
phillips bit or
pencil
screwdriver
Space Evenly
40mm
knife
!
1
Advertisement
Table of Contents

Related Manuals for VENETA 65101-11752-D


Summary of Contents for VENETA 65101-11752-D
- Page 1 How to install your Motorised Honeycomb Blind #65101-11752-D measuring drill with phillips bit or pencil knife Required Tools tape 2mm bit screwdriver Included Hardware Installation Brackets Installing inside the window frame… At top of window frame, measure 40mm in from each end and mark The hardware can be found in with a pencil (30mm for blind width less than 610mm);...
- Page 2 Remove the double sided tape and carefully place the Light Guard in position. chain and is 100% Child Safe Great Job… Enjoy your new Veneta Blinds! Operating your Use the remote to raise and lower the blind. Ensure the channel displayed on the remote Blind matches the channel of the motor.
- Page 3 Motorised Honeycomb Blind #65101-11752-D Connecting the remote to the blinds: Appendix Install the CR2450 battery into the back of the remote and leave the back plate off. Then select the required channel on the remote. Install the 8 AA batteries into the battery wand...
Need help?
Do you have a question about the 65101-11752-D and is the answer not in the manual?
Questions and answers