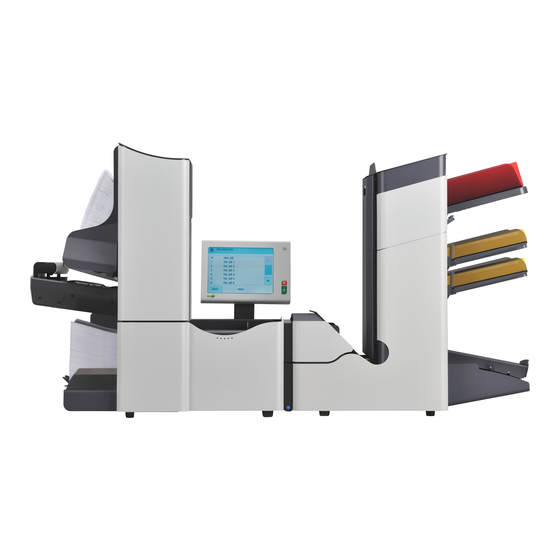
Table of Contents
Advertisement
Quick Links
Download this manual
See also:
User Manual
Table of Contents
1
Unpacking Instructions ...............................................................................1
2
Before you Start ...........................................................................................6
3
Installation ....................................................................................................7
Installing the Feeder Module............................................................................7
Installing the Document F eed Trays.................................................................7
Installing the HCDF ..........................................................................................8
Installing the MaxiF eeder.................................................................................8
High Capacity Envelope Hopper (EF-4).........................................................10
Installing the High Capacity Con veyor Belt....................................................12
4
Filling the Sealing Liquid Reser voir .........................................................13
Filling the Sealing Liquid Reservoir................................................................13
5
Connect the System to Mains Power Supply and Power Up ..................14
Power Up........................................................................................................14
Set Sales Organisation and Countr y Specific Details....................................14
6
Setting Online Services (option) ...............................................................15
Configuring Online Ser vices..........................................................................15
Connecting the First Time..............................................................................16
7
Test the System and Define Custom Jobs ...............................................17
Testing the System.........................................................................................17
Defining Customiz ed Jobs .............................................................................18
Advertisement
Table of Contents

Subscribe to Our Youtube Channel
Summary of Contents for Neopost DS-90
-
Page 1: Table Of Contents
Table of Contents Unpacking Instructions ................1 Before you Start ...................6 Installation ....................7 Installing the Feeder Module................7 Installing the Document F eed Trays..............7 Installing the HCDF ..................8 Installing the MaxiF eeder.................8 High Capacity Envelope Hopper (EF-4)............10 Installing the High Capacity Con veyor Belt............12 Filling the Sealing Liquid Reser voir ............13 Filling the Sealing Liquid Reservoir..............13 Connect the System to Mains Power Supply and Power Up ....14... -
Page 3: Unpacking Instructions
Unpacking Instructions * Contains catch tray (option) - Page 4 * Power stacker support (option)
- Page 6 8. Catch tray (option)
- Page 7 Catch tray RH 10. Catch tray LH...
-
Page 8: Before You Start
Before you Start Your inserter is unpacked and installed on a stab le surface. The following items are delivered with your system: • Operator Manual and this Installation Guide • Power cable, LAN cable, brushes and moistening cloth • A bottle with sealing liquid •... -
Page 9: Installation
Installation Installing the Feeder Module To connect the feeder module to the inserter module Lift the feeder module on the front side and slide it onto the pins of the inserter. Connect the communication cable from the inserter into the plug on the right hand side of the feeder module. -
Page 10: Installing The Hcdf
Move the document feed tray towards the machine and move the hooks over the mounting points (on both sides). Let the document feed tray rest on the machine. Installing the HCDF To install the feeder tray of the HCDF: Pull down lever A. Hook in the feeder tray. - Page 11 Move the maxiFeeder forward until it hooks behind the frame axle. Connect the connector A to the socket B. The maxiFeeder is auto-detected by the system when the system is s witched on.This makes it easy to s witch over from the standard document f e eder tray to the maxiF eeder and vice versa.
-
Page 12: High Capacity Envelope Hopper (Ef-4)
High Capacity Envelope Hopper (EF-4) For feeding large amounts of envelopes a high capacity envelope hopper can be installed. To start up the high capacity envelope hopper: Switch on the hopper. To ensure correct feeding envelope support A has to be adjusted parallel. Proceed as follows: Move the high capacity envelope hopper backwards, away from the inserter. - Page 13 Rotate thumbwheel E to adjust the envelope height setting. The envelope should fit exactly in the space indicated by the arrows. Rotate thumbwheel F to adjust the side guides so, that the envelopes:- Fit exactly between the side guides- Can move freely 10.
-
Page 14: Installing The High Capacity Conveyor Belt
Installing the High Capacity Conveyor Belt To install the high capacity conveyor belt: Move the conveyor belt to the correct position. Connect the adaptor C to the connecting lead. Connect the mains lead cable to the adapter. Connect the mains lead cable to the socket outlet. -
Page 15: Filling The Sealing Liquid Reservoir
Filling the Sealing Liquid Reservoir Filling the Sealing Liquid Reservoir Open the front cover B. Fill the reservoir A to the "Max" lip with sealing liquid. Close the front cover B. Before starting the job, wait approximately 5 minutes for the brushes to moisten or use moistened brushes. -
Page 16: Connect The System To Mains Power Supply And Power Up
Connect the System to Mains Power Supply and Power Up Power Up To start up the system: You can severely damage the machine if it is connected to the incorrect power supply. Before plugging in the machine, check if the local voltage is the same as the voltage mentioned on the type plate. -
Page 17: Setting Online Services (Option)
Setting Online Services (option) Configuring Online Services Before you make your first Online Services connection, make sure that the configuration is correct: Go to the Supervisor menu and press [Online services], [Configuration]. Enter a prefix if applicable. Press the arrow button to enter the second configuration menu. Enter the date and time. -
Page 18: Connecting The First Time
Connecting the First Time To connect to the central server: Press [Connection], [Connect] for the initial declaration call. Press the [i] button to follow the status of the connection.The initial declaration call is finished if the System status shows "Pending declaration". Press [Connect] again for declaration. -
Page 19: Test The System And Define Custom Jobs
Test the System and Define Custom Jobs Testing the System Test the system as follows: Load the document feeder trays. Load the envelope hopper. From the 'Home' menu press [New job], [Automatic]. Press the [1x] button. If necessary adjust address position, insert position and insert fingers. -
Page 20: Defining Customized Jobs
Defining Customized Jobs Define any jobs according to the customer's wishes and applications.


Need help?
Do you have a question about the DS-90 and is the answer not in the manual?
Questions and answers