Advertisement
Quick Links
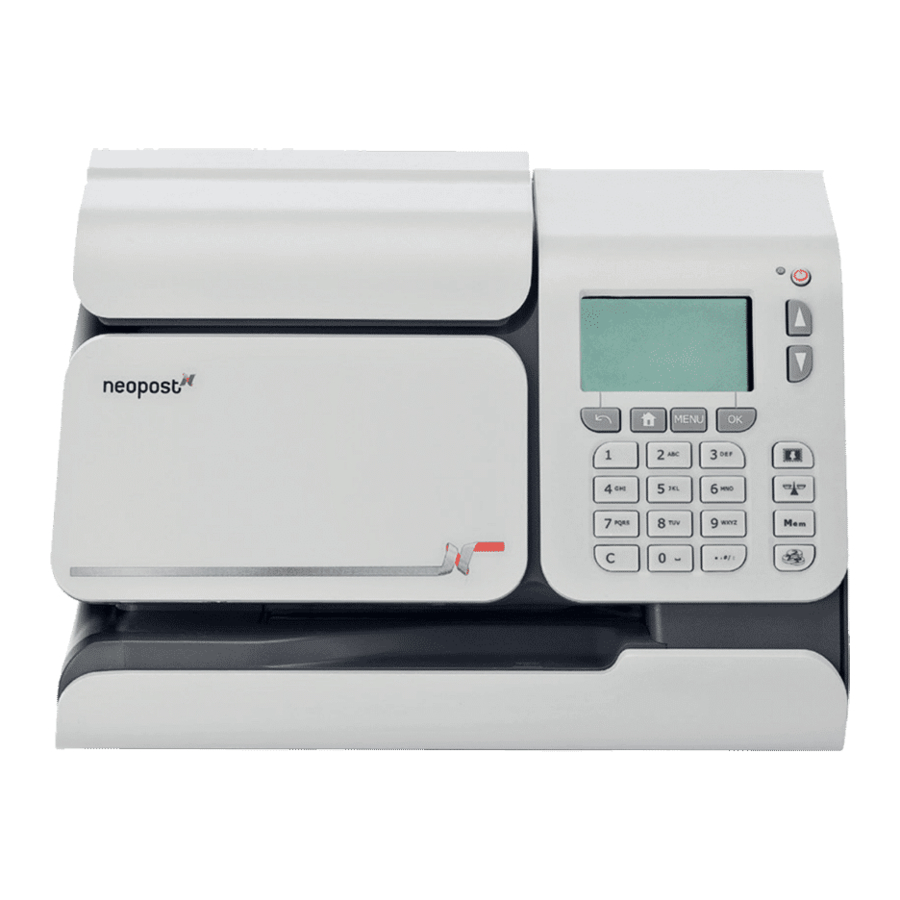
IS-200 Series
Quick Installation Guide
Box contents includes:
Machine base
1
Unpack box, remove packaging.
4
Power the machine on.
9
A C E G I K
B D F H J
Open the door, insert ink cartridge
and follow steps to complete alignment test.
(f)
Meter
2
Insert meter
(b).
5
Select LAN and press 'OK' to test connection type.
10
Your machine is now ready to use. Please turn over for your Quick User Guide.
Weigh platform
LAN cable
6
www.myneopost.co.uk
Registration PIN
Obtain registration PIN from MyNeopost.
Power cable
3
2
3
Plug in LAN cable
, weigh platform cable
(c)
(d - place weigh platform in position)
7
Press OK and enter the amount of credit to add.
Ink cartridge
1
4
and power cable
(e).
8
Complete the declaration.
For more help with your
installation, please visit:
support.neopost.co.uk/
IS200install
or
support.neopost.co.uk/is200_
video_QSG
to watch an installation video.
Advertisement

Related Manuals for Neopost IS-200 Series


Summary of Contents for Neopost IS-200 Series
- Page 1 IS-200 Series Quick Installation Guide Box contents includes: Meter Ink cartridge Weigh platform Machine base LAN cable Power cable Unpack box, remove packaging. Insert meter Plug in LAN cable , weigh platform cable and power cable (b). (d - place weigh platform in position) (e).
- Page 2 To order consumables for your machine please call: IS-200 Quick User Guide or visit www.neopost.co.uk * Calls cost 5p per minute plus your telephone provider’s access charge. For more information about your franking machine and to access a range of support and...
Need help?
Do you have a question about the IS-200 Series and is the answer not in the manual?
Questions and answers
Everytime we use the Neo Post machine we get a mechanical error after it prints the label, we then have to switch off & back on again. I have already replaced the cartridge as advised.
A mechanical error on the Neopost IS-200 Series machine after printing a label could be caused by the carriage tray not moving on the track after ink cartridge installation. This is indicated by error codes such as X-23-117, BAS-23-118, or DBX-23-118.
This answer is automatically generated
Our Neopost machine has a green light that indicates it is connected to power but the screen is blank
The screen on the Neopost IS-200 Series machine may be blank despite the green power light being on because the machine is in sleep mode. To wake it up, press any button or insert mail into the machine.
This answer is automatically generated
I replaced the ink cartridge and now it's not working
The Neopost IS-200 Series may not be working after replacing the ink cartridge because the carriage tray cannot move on the track. This issue is indicated by the error codes BAS-23-117 or DBX-23-117. To resolve this, try replacing the ink cartridge again. If the problem persists, disconnect the power, open the front cover, and manually check if the carriage tray can move left or right. Then, close the front cover and reconnect the power. If the issue continues, contact the Neopost call center.
This answer is automatically generated
How to solve amount is too high problem...