Sign In
Upload
Download
Table of Contents
Contents
Add to my manuals
Delete from my manuals
Share
URL of this page:
HTML Link:
Bookmark this page
Add
Manual will be automatically added to "My Manuals"
Print this page
×
Bookmark added
×
Added to my manuals
Manuals
Brands
Eiki Manuals
Projector
EK-812U
Owner's manual
Eiki EK-812U Owner's Manual
Projection lens is optional
Hide thumbs
1
2
3
4
5
6
7
8
9
10
11
12
13
Table Of Contents
14
15
16
17
18
19
20
21
22
23
24
25
26
27
28
29
30
31
32
33
34
35
36
37
38
39
40
41
42
43
44
45
46
47
48
49
50
51
52
53
54
55
56
57
58
59
60
61
62
63
64
65
66
67
68
69
70
71
72
73
74
75
76
77
78
79
80
81
82
83
84
page
of
84
Go
/
84
Contents
Table of Contents
Troubleshooting
Bookmarks
Table of Contents
Features and Design
General Safety Information
Important Safety Information
Safety Instructions
Safety Precautions
Air Circulation
Installing the Projector Properly
Moving the Projector
Important Information
Canadian Radio Interference Regulations
Table of Contents
Getting Started
Packing Checklist
Iews of P Rojector P Arts
Front-Right View
Rear View
Built-In Keypad
Bottom View
Remote Control Parts
Remote Control Operating Range
Projector and Remote Control Buttons
Remote Control Code
Inserting the Remote Control Batteries
Setup and Operation
Installing the Projection Lens
Starting and Shutting down the Projector
Turn the Projector on
Turn the Projector off
Adjusting the Projector Level
Adjusting the Zoom, Focus, and Keystone
Using the Lens Shift Adjustment
Vertical / Horizontal Lens Shift
Ptional L Enses and P Rojection S Ize
Projection Lens
Projection Size V.s Throw Distance
On-Screen Display (Osd) Menu Settings
OSD Menu Controls
Navigating the OSD
Setting the OSD Language
OSD Menu Overview
Picture Menu
3D Display Menu
HSG Adjustment Menu
Advanced Menu
Output Menu
Image Warping Menu
PIP/PBP Menu
DLP Projector - Owner's Manual
Setup Menu
Lens Function Menu
Menu Preferences Menu
PIN Menu
Communications Menu
Ption M Enu
Power Settings Menu
Light Source Settings Menu
Control Your Projector Using Web Browser
Wired LAN Terminal Functionalities
Supported External Devices
Lan_Rj45
RS232 by Telnet Function
Maintenance and Security
Replacing the Projection Lens
Cleaning the Projector
Cleaning the Lens
Cleaning the Case
U Sing the K Ensington ® L Ock
Troubleshooting
Common Problems and Solutions
Tips for Troubleshooting
LED Error Messages
Image Problems
Laser Diode Problems
Remote Control Problems
Having the Projector Serviced
Hdmi Q & a
Specifications
Pecifications
Projection Distance Vs. Projection Size
Projection Distance and Size Table
Timing Mode Table
Projector Dimensions
Fcc W Arning
Advertisement
Quick Links
Download this manual
Owner's Manual
Multimedia Projector
Model EK-812U/EK-818U
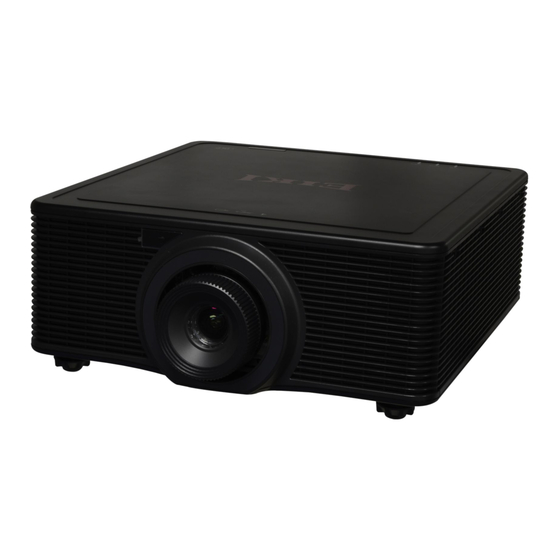
(Projection lens is optional.)
Table of
Contents
Previous
Page
Next
Page
1
2
3
4
5
Advertisement
Table of Contents
Need help?
Do you have a question about the EK-812U and is the answer not in the manual?
Ask a question
Questions and answers
Related Manuals for Eiki EK-812U
Projector Eiki EK-620U Manual
(17 pages)
Projector Eiki EK-800U Quick Start Manual
(2 pages)
Projector Eiki EK-800U Owner's Manual
Multimedia (91 pages)
Projector Eiki EK-800U Service Manual
(99 pages)
Projector Eiki EK-810U Owner's Manual
(81 pages)
Projector Eiki EK-810U Service Manual
(66 pages)
Projector Eiki EK-815U Service Manual
(71 pages)
Projector Eiki EK-820U series Quick Start Manual
(2 pages)
Projector Eiki EK-818U Owner's Manual
Projection lens is optional (84 pages)
Projector Eiki EK-830U Owner's Manual
(78 pages)
Projector Eiki EK-830 Series Owner's Manual
(78 pages)
Projector Eiki EK-850LU Owner's Manual
(92 pages)
Projector Eiki EK-1000LU Owner's Manual
Multimedia projector (92 pages)
Projector Eiki EK-833DU Owner's Manual
(78 pages)
Projector Eiki EK-831DU Owner's Manual
(78 pages)
Projector Eiki EK-820LU Owner's Manual
(82 pages)
This manual is also suitable for:
Ek-818u
Table of Contents
Print
Rename the bookmark
Delete bookmark?
Delete from my manuals?
Login
Sign In
OR
Sign in with Facebook
Sign in with Google
Upload manual
Upload from disk
Upload from URL


Need help?
Do you have a question about the EK-812U and is the answer not in the manual?
Questions and answers