
Related Manuals for ROBBE Arcus II Series


Summary of Contents for ROBBE Arcus II Series
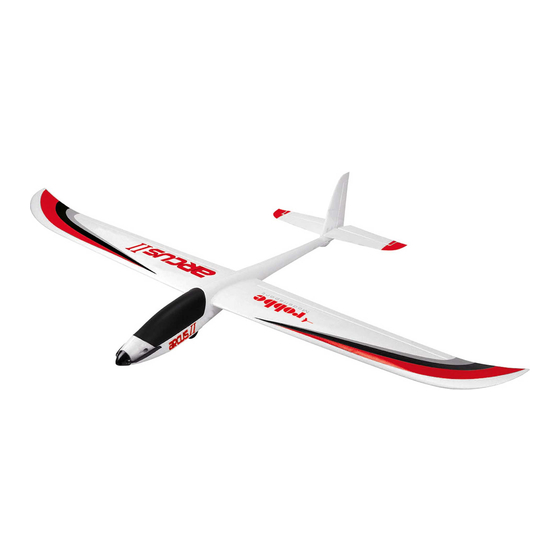
- Page 1 Standard Version No.: 2649 RTF Version No.: 2651 INSTRUCTIONS AND USER MANUAL Night Version No.: 2650 www.robbe.com V1_05/2019...
- Page 2 Either have it checked by your specialist dealer or in the Robbe Service or have it replaced. In particular, all applicable legal requirements must be observed, which can be found in the roof Hidden faults can occur due to wetness or a crash, which lead to a functional failure after a short associations or the relevant authorities.
- Page 3 • Please carry out a functional test of the drive train / power set and remote control. on the Internet at www.robbe.com, in the detailed product view of the • After assembling the model on the airfield, check once again that all model components such as respective device description or on request.
-
Page 4: Table Of Contents
Wing assembly 4-channel computer radio with receiver • Mounting the Wing • No. 6532 LiPo-battery robbe RO-POWER EVO V5 11,1V 3s1300/25(50)C OPTIONAL: Retrofitting with flaps Suitable charger • OPTIONAL: Retrofitting with flaps Mounting the canopy and inserting the flight battery... -
Page 5: Explanation Of Technical Terms
I N S T R U C T I O N S A N D U S E R M A N U A L Explanation of technical terms Engine speed ("throttle") This controls the speed of the drive motor. Lower stick = Motor off Stick up = highest speed Rudder... -
Page 6: Scope Of Delivery
I N S T R U C T I O N S A N D U S E R M A N U A L Scope of delivery Arcus II Standard Version No. 2649: RTF Version No. 2651: - Almost completely assembled model aircraft - Almost completely assembled model aircraft - Foamed fuselage, wing and tail unit Remote control included... - Page 7 I N S T R U C T I O N S A N D U S E R M A N U A L Assembly 1. The tail Picture 3: Pictures 1 and 2: Insert the vertical stabilizer into the horizontal stabilizer. To make the elevator and rudder easy to move, they must be carefully moved up and down several times before assembly.
-
Page 8: Assembly Of The Tail Unit/Adjustment Of The Linkage Rods
I N S T R U C T I O N S A N D U S E R M A N U A L Assembly Assembly of the tail unit/adjustment of the linkage rods Picture 9: Pictures 7 and 8: Tighten the clevis screws only moderately so that the linkage Put all servos in neutral position. - Page 9 I N S T R U C T I O N S A N D U S E R M A N U A L Assembly 2. Wings Picture 1: Picture 2: Picture 3: Loosen the locking screw on the underside of the wing Secure the wing on the carbon tube by tightening the ass the aileron servo cable under the carbon fiber tube.
- Page 10 I N S T R U C T I O N S A N D U S E R M A N U A L Assembly 2. Wings Picture 7: Picture 8: Now push the wings together completely. Secure the second wing with the locking screw on the underside of the wing on the carbon fibre tube.
-
Page 11: Optional: Retrofitting With Flaps
I N S T R U C T I O N S A N D U S E R M A N U A L OPTIONAL: Retrofitting with flaps 3. Procedure for installation of flaps Picture 3: A sharp cutter knife is used to cut out the Pictures 1 and 2: Cut the ailerons in the width of the formed dividing line (1-2mm) up to the hinge. - Page 12 I N S T R U C T I O N S A N D U S E R M A N U A L OPTIONAL: Retrofitting with flaps Procedure for installation of flaps Picture 7: Picture 8: Picture 9: Use a pair of tweezers or a small hook to pull the end of Remove the weight from the cord and attach the Pull the servo cable through the cable shaft.
-
Page 13: Mounting The Canopy And Inserting The Flight Battery
I N S T R U C T I O N S A N D U S E R M A N U A L Mounting the canopy and inserting the flight battery Picture 2: Picture 1: Picture 3: To secure the flight battery against slipping, glue the The canopy is held with a magnetic lock. -
Page 14: Center Of Gravity And Rudder Deflections
I N S T R U C T I O N S A N D U S E R M A N U A L Center of gravity and rudder deflections 1. C.G. = Center of Gravity 2. The rudder deflections Aileron 14mm 14mm... - Page 15 I N S T R U C T I O N S A N D U S E R M A N U A L Flight preparations Correct procedure before the start 1. make sure that the flight battery and the transmitter are charged. 2.
-
Page 16: The First Flights, Flying In
I N S T R U C T I O N S A N D U S E R M A N U A L The first flights, flying in Trimming The model must be trimmed so that it adopts a stable flight attitude. If necessary, the trim Always stand behind or at right angles to the model to avoid wrong control buttons of the remote control system can be used to slightly trim the model. -
Page 17: Spare Parts
I N S T R U C T I O N S A N D U S E R M A N U A L Spare parts For „Standard-Version“ No. 2649 / „RTF-Version“ No. 2651: Item-No. Discription 264902 Horizontal- and vertical stabilizer 264903 Wing set (w/o servos) 264904... - Page 18 I N S T R U C T I O N S A N D U S E R M A N U A L 1. Technical data ESC: Cont. current Boost current BEC-Modus BEC-output No. of cells Weight Measurements mm (max.
- Page 19 I N S T R U C T I O N S A N D U S E R M A N U A L 3. Using the ESC 4. Troubleshooting IMPORTANT! Due to different throttle ranges with different remote controls please calibrate the throttle range before Failure Possible cause Solution...
- Page 20 I N S T R U C T I O N S A N D U S E R M A N U A L 5. Programming the ESC with the transmitter (4 steps) Note: Please note that the throttle curve is set to 0%, the throttle lever to neutral position and the deflection to 100%. 1.
- Page 21 I N S T R U C T I O N S A N D U S E R M A N U A L Manual of LED wire connection Note: The assembly method of aircraft refers to the other manual included. This manual is only for the connection of LED wires.
- Page 22 I N S T R U C T I O N S A N D U S E R M A N U A L 3. Assemble the wings 4. Connect all LED wires Guide the LED wire of the wing and servo wire thru the hole in the fuselage to the Connect all LED wires and ESC to the adapter connector, and power the cabin, as shown in Fig.
-
Page 23: Your Notes
I N S T R U C T I O N S A N D U S E R M A N U A L F O R Y O U R N O T E S... - Page 24 4565 Inzersdorf im Kremstal Austria Phone: +43(0)7582/81313-0 Mail: info@robbe.com UID No.: ATU69266037 „robbe Modellsport“ is a registered Trademark by Modellbau Lindinger GmbH Errors, misprints and technical changes reserved. Copyright 2019 Modellbau Lindinger 2019 Copy and reprint only with our permission.
Need help?
Do you have a question about the Arcus II Series and is the answer not in the manual?
Questions and answers