Advertisement
Quick Links
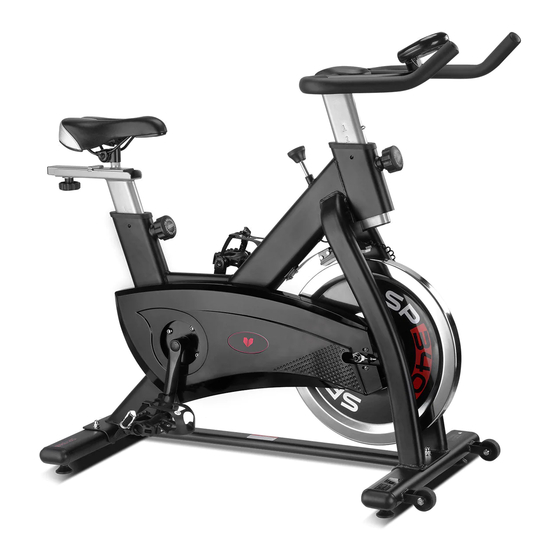
SP-340 OWNER'S MANUAL
Product may vary slightly from the item pictured due to model upgrades
Read all instructions carefully before using this product. Retain this owner's manual for future
reference.
NOTE: This manual may be subject to updates or changes. Up to date manuals are available through our website at www.lifespanfitness.com.au
Advertisement

Related Manuals for LifeSpan SP-340


Summary of Contents for LifeSpan SP-340
- Page 1 SP-340 OWNER’S MANUAL Product may vary slightly from the item pictured due to model upgrades Read all instructions carefully before using this product. Retain this owner’s manual for future reference. NOTE: This manual may be subject to updates or changes. Up to date manuals are available through our website at www.lifespanfitness.com.au...
-
Page 2: Table Of Contents
TABLE OF CONTENTS IMPORTANT SAFETY INSTRUCTIONS CARE INSTRUCTIONS PARTS LIST ASSEMBLY INSTRUCTION ADJUSTMENT INSTRUCTIONS COMPUTER OPERATION EXERCISE GUIDE EXPLODED DIAGRAM WARRANTY REGISTRATION... -
Page 3: Important Safety Instructions
1. IMPORTANT SAFETY INSTRUCTIONS WARNING - Read all instructions before using this machine. It is important your machine receives regular maintenance to prolong its useful life. Failing to regularly maintain your machine may void your warranty. Please keep this manual with you at all times It is important to read this entire manual before assembling and using the equipment. -
Page 4: Care Instructions
equipment or that may restrict or prevent movement. This equipment is designed for indoor and family use only. Care must be taken when lifting or moving the equipment so as not to injure your back. Always keep this instruction manual and assembly tools at hand for quick reference. The equipment is not suitable for therapeutic use. -
Page 5: Parts List
3. PARTS LIST... -
Page 7: Assembly Instruction
4. ASSEMBLY INSTRUCTIONS A. Before assembling make sure that you will have enough space around the item. B. Use the present tooling for assembling. C. Before assembling please check whether all needed parts are available (at the above of this instruction sheet you will find an explosion drawing with all single parts (marked with numbers) which this item consists of. - Page 8 STEP 3: a) First, the elastic bolt (7) of the large ball head is relaxed and pulled down. Then, the armrest regulating tube assembly (17) is inserted into the inter-tube bushing of the main frame assembly (16) to make it in proper position.
- Page 9 STEP 5: Adjusting the Tension: a) Increasing or decreasing the tension allows you to add variety to your workout sessions by adjusting b) the resistance level of the bike. c) To increase tension and increase resistance (requiring more strength to pedal), turn the Emergency d) Brake &...
-
Page 10: Adjustment Instructions
5. ADJUSTMENT INSTRUCTIONS Vertical Seat Adjustment To adjust the seat height, slacken the spring knob on the vertical post stem on the main frame and pull back the knob. Position the vertical seat post for the desired height so that holes are aligned, then release the knob and retighten it. -
Page 11: Computer Operation
6. COMPUTER OPERATION OVERVIEW: The unit is an electronic that display all workout parameters on LCD display. The workout parameters include: Scan, Time, Speed, Distance and Calories. All workout parameters may be selected by the select key. Mode or Function Action If push the button, the unit will be on and display the parameters of the last Power on... -
Page 12: Exercise Guide
7. EXERCISE GUIDE PLEASE NOTE: Before beginning any exercise program, consult your physician. This is important especially if you are over the age of 45 or individuals with pre-existing health problems. The pulse sensors are not medical devices. Various factors, including the user’s movement, may affect the accuracy of heart rate readings. - Page 13 Training Zone Exercise After warming up, increase the intensity to your desired exercise program. Be sure to maintain your intensity for maximum performance. Breathe regularly and deeply as you exercise-never hold your breath. Cool Down Finish each workout with a light jog or walk for at least 1 minute. Then complete 5 to 10 minutes of stretching to cool down.
-
Page 14: Exploded Diagram
8. EXPLODED DIAGRAM... - Page 15 9. WARRANTY AUSTRALIAN CONSUMER LAW Many of our products come with a guarantee or warranty from the manufacturer. In addition, they come with guarantees that cannot be excluded under the Australian Consumer Law. You are entitled to a replacement or refund for a major failure and compensation for any other reasonably foreseeable loss or damage.
Need help?
Do you have a question about the SP-340 and is the answer not in the manual?
Questions and answers