Table of Contents
Advertisement
Quick Links
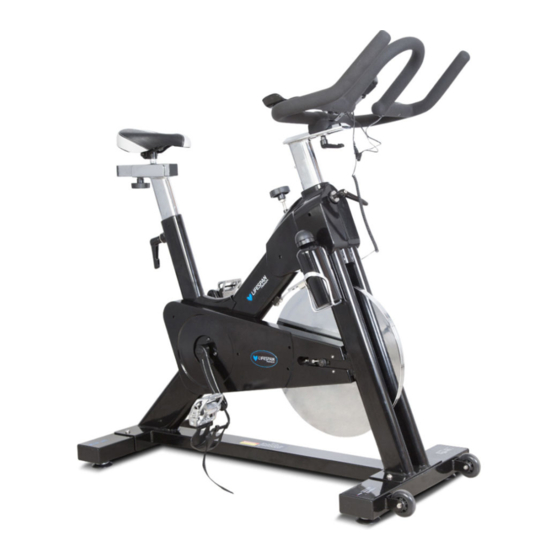
SP-870 M3 Spin Bike
Read all instructions carefully before using this product.
Retain this owner's manual for future reference.
IMPORTANT
All nuts and bolts are to be checked and tightened on a regular basis. This includes pedals and
other moving parts. Failure to do so may cause damage to your threads and void your warranty.
NOTE:
Product may vary slightly from the item pictured due to model upgrades. This manual may be subject to updates or changes.
Up to date manuals are available through our website at www.lifespanfitness.com.au
USER MANUAL
Advertisement
Table of Contents


Need help?
Do you have a question about the SP-870 and is the answer not in the manual?
Questions and answers